
Opening
So how does this journey start? I recently had a birthday (yay, 20!) and my parents had given me this console as a gift. Unfortunately, I don’t consider myself much of a gamer. Shocking, considering as of writing I have the following consoles under my TV:
- Nintendo Gamecube
- Nintendo Wii
- Nintendo Switch
- Microsoft Xbox 360
- Sony PS2
- Sony PS3
I only really play a game if I get really invested and there’s a good story to the game. Atari games don’t much fit into that mould. HOWEVER, for the longest time, I’ve always had a fascination with modding consoles. I’ve modded and sold PS3s, PSPs, 3DSes, and also a PS Vita once. Of course, there’s also my other posts concerning console modding. So even if I don’t much care for the games (Sorry pops), I can still get something out of this.
So, onto doing things. After playing the games on the console for about 20 or 30 minutes, I started by getting a good idea of the hardware by cracking it open.
Hardware Overview
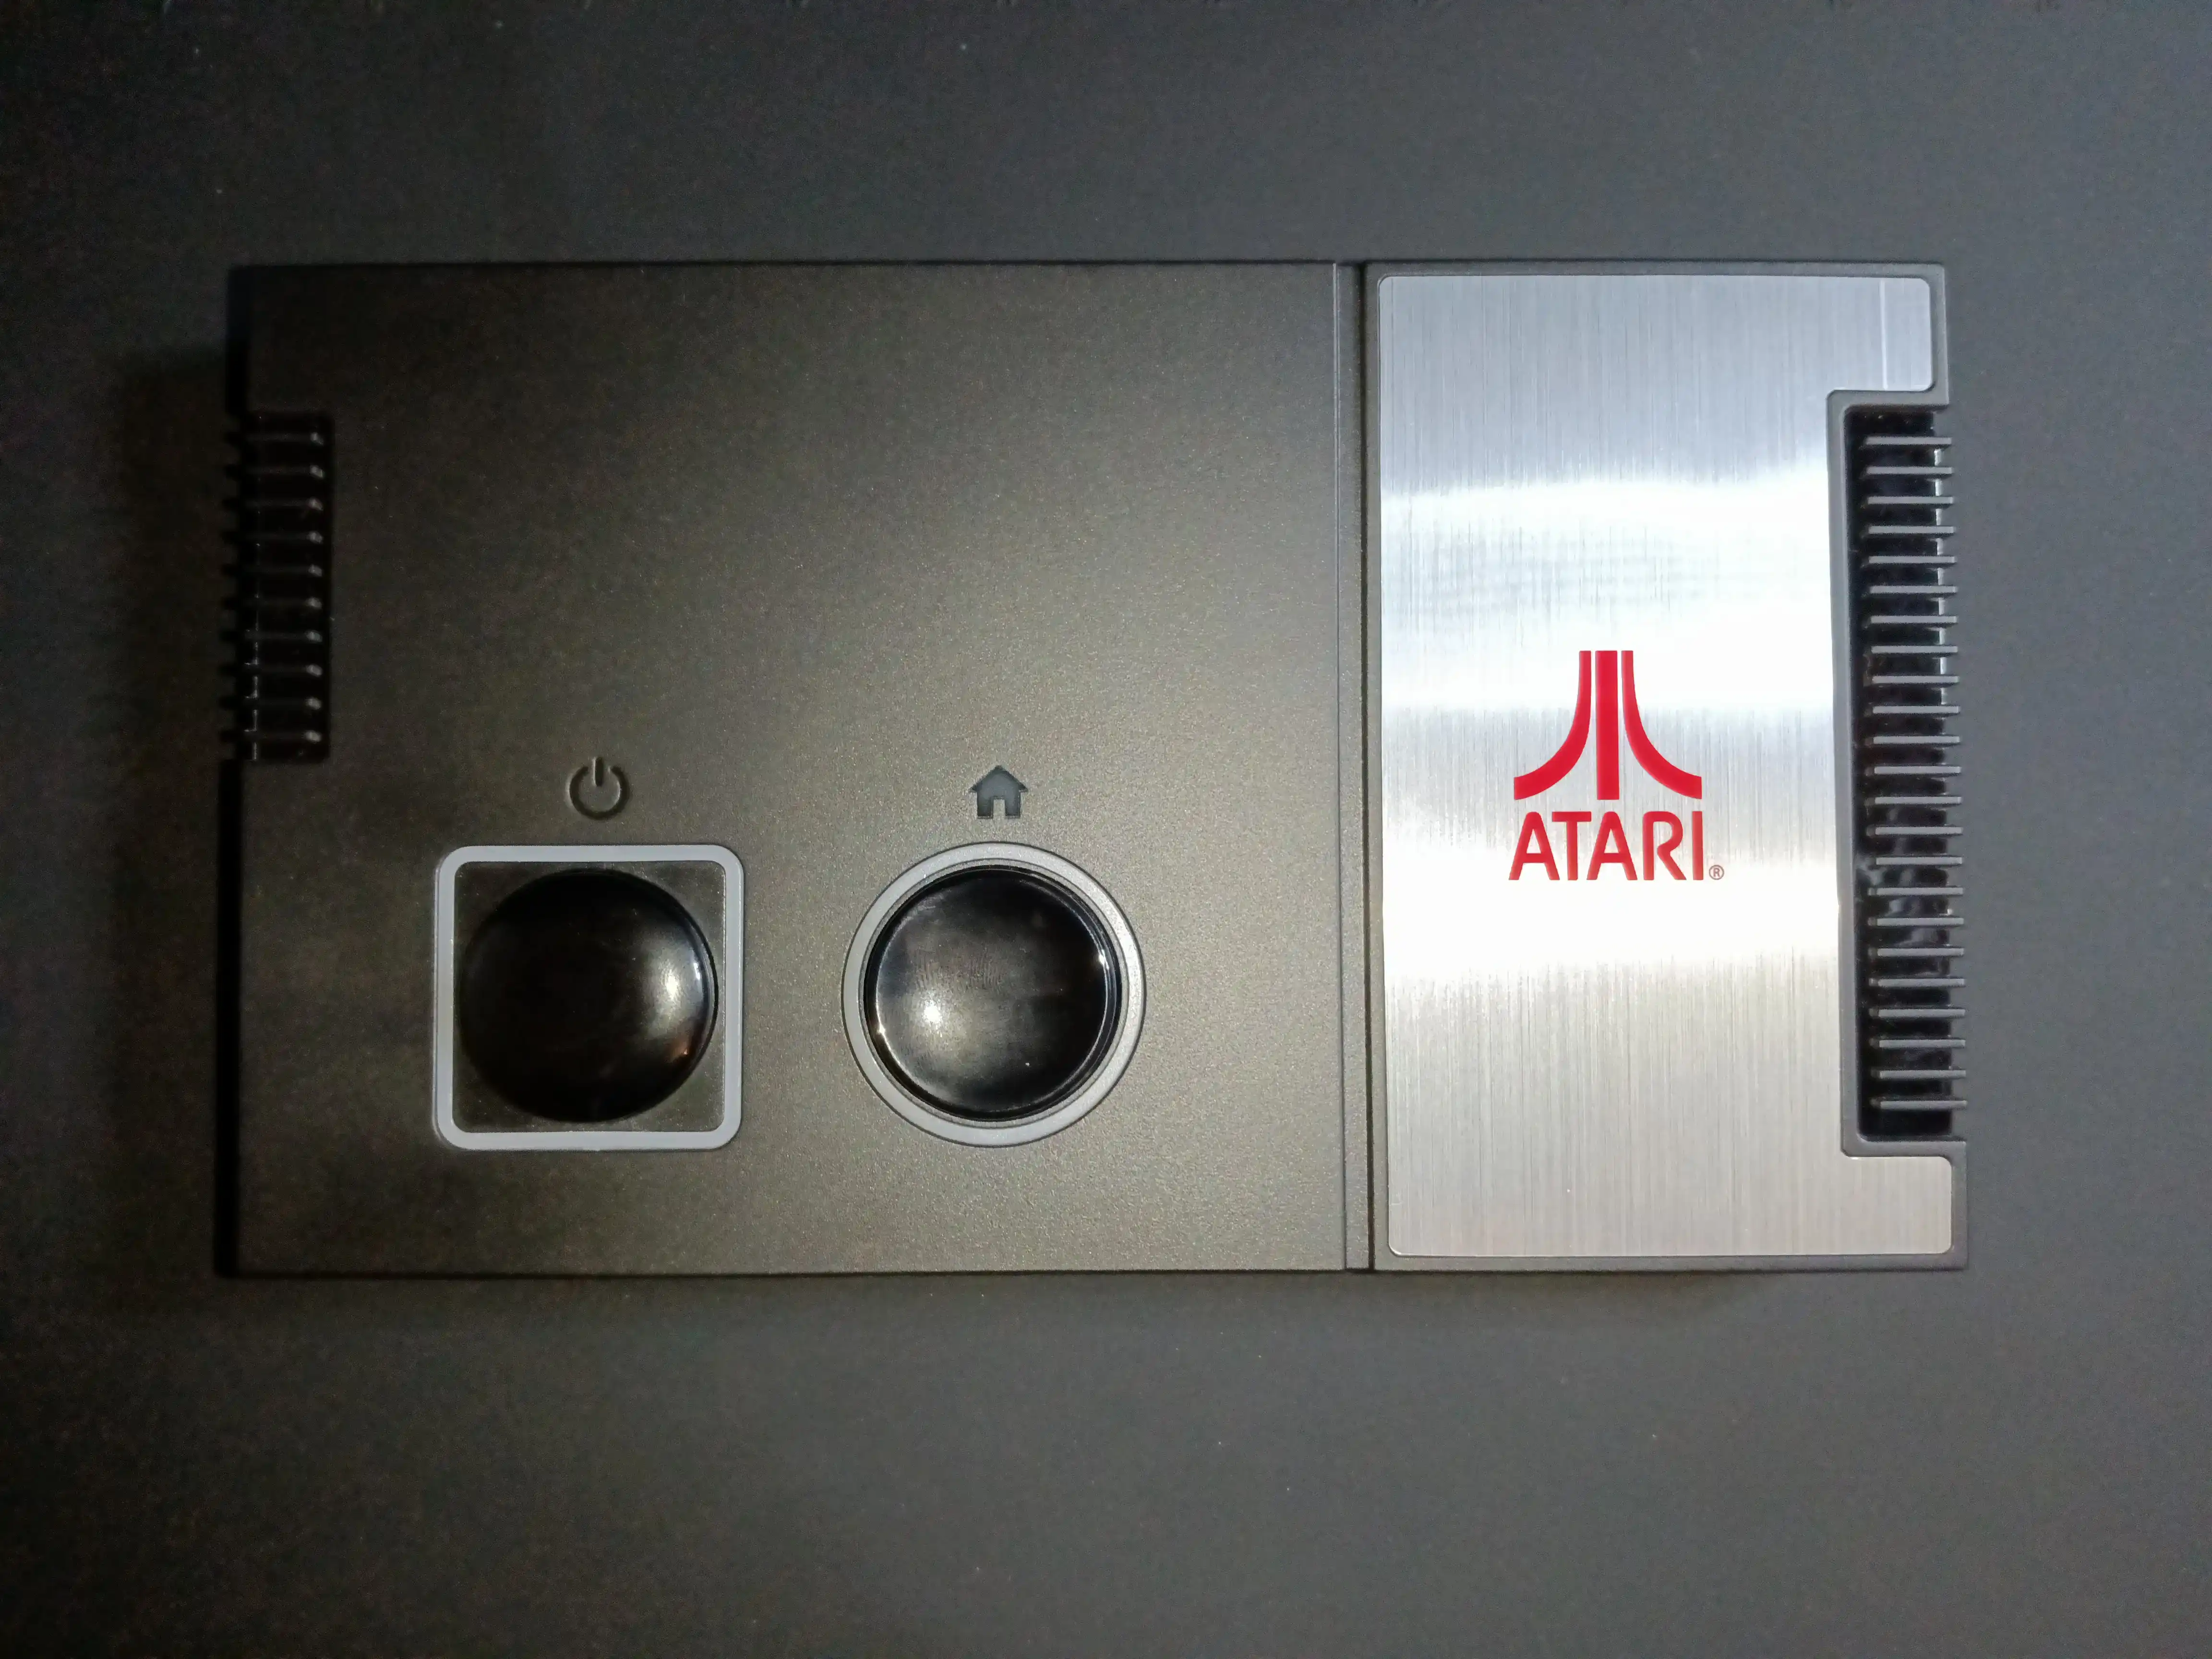
Starting from the top, the console’s pretty simple in design. On the top face, we’ve got two buttons, a power button and a home button. The power button, which is surrounded by a square RGB light, is a toggleable switch. The button’s face is convex. As for the home button, this one’s surrounded by a circular RGB light and is concave. The Atari logo is printed on top of the metal accent on the right side of the unit.
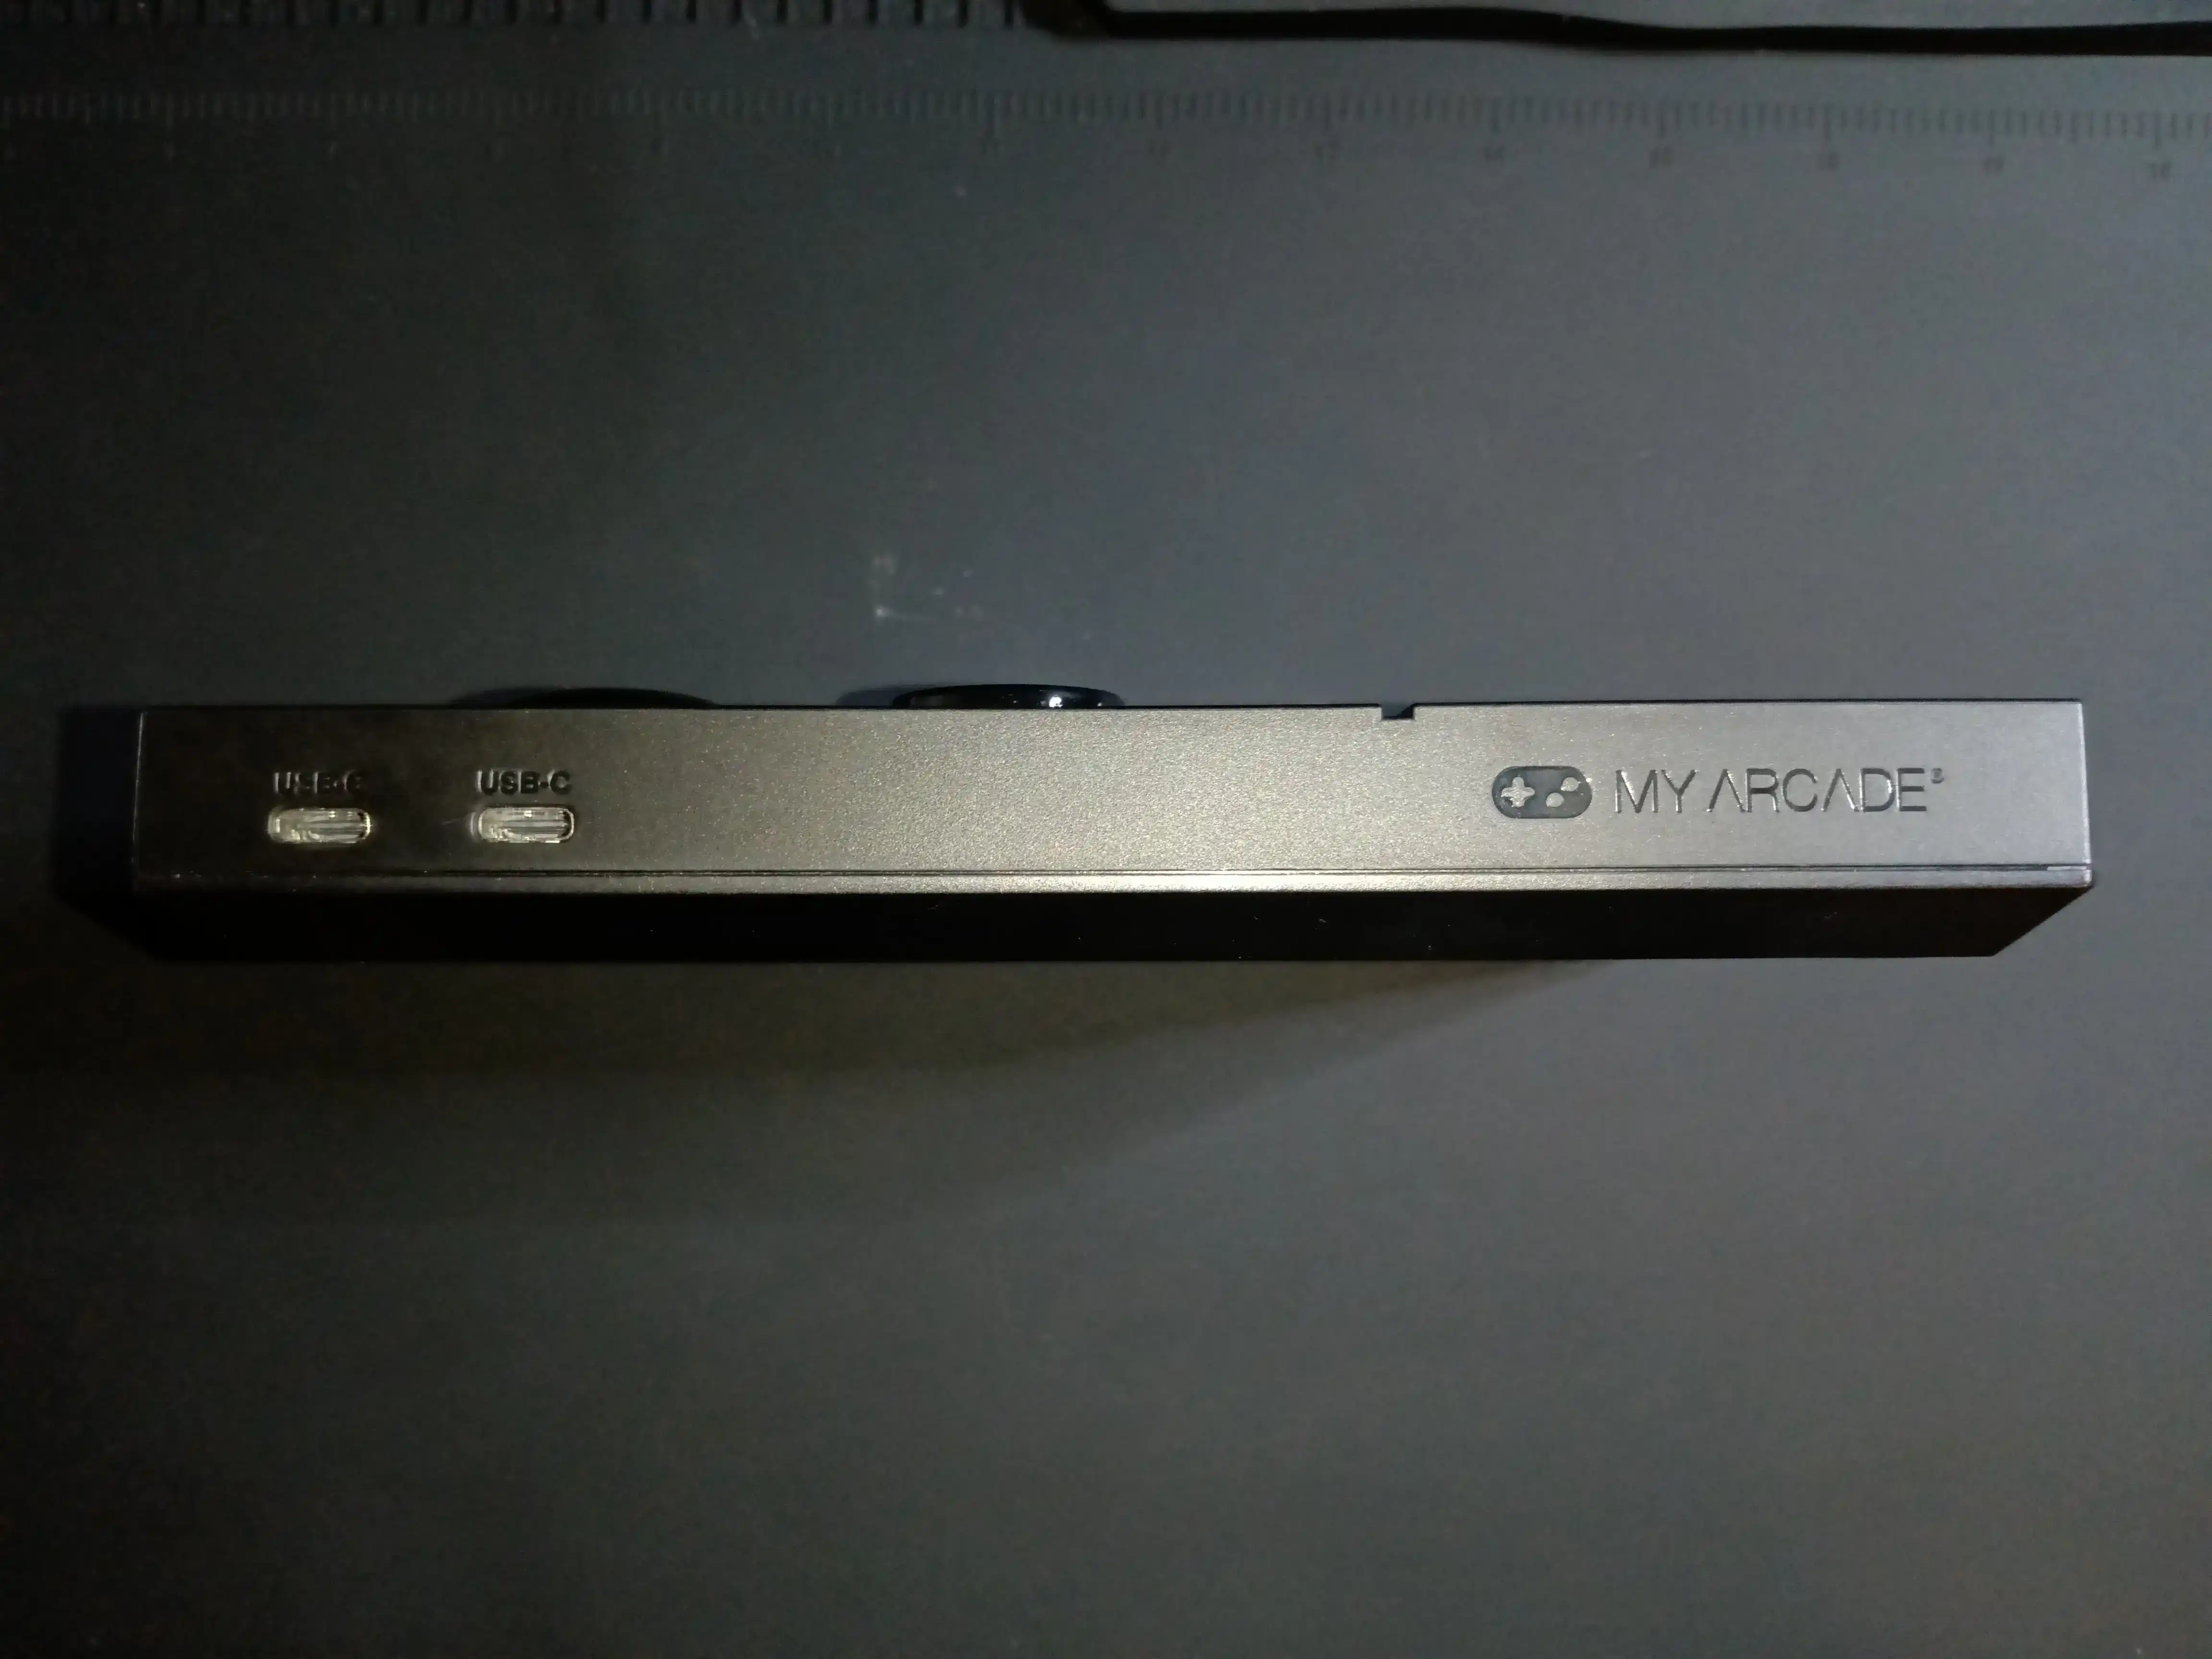
On the front of the console, we’ve got two USB-C ports tucked off to the left. It’s unclear if these carry data. It appears that these are meant for connecting controllers, however, this strikes me as an odd decision as the controllers are wireless, not rechargeable, and C-to-C cables were not included in the box. Regardless, the controllers have a matching “5V IN” USB-C port. The “MY ARCADE” logo is embossed with a glossy finish on the opposing edge.
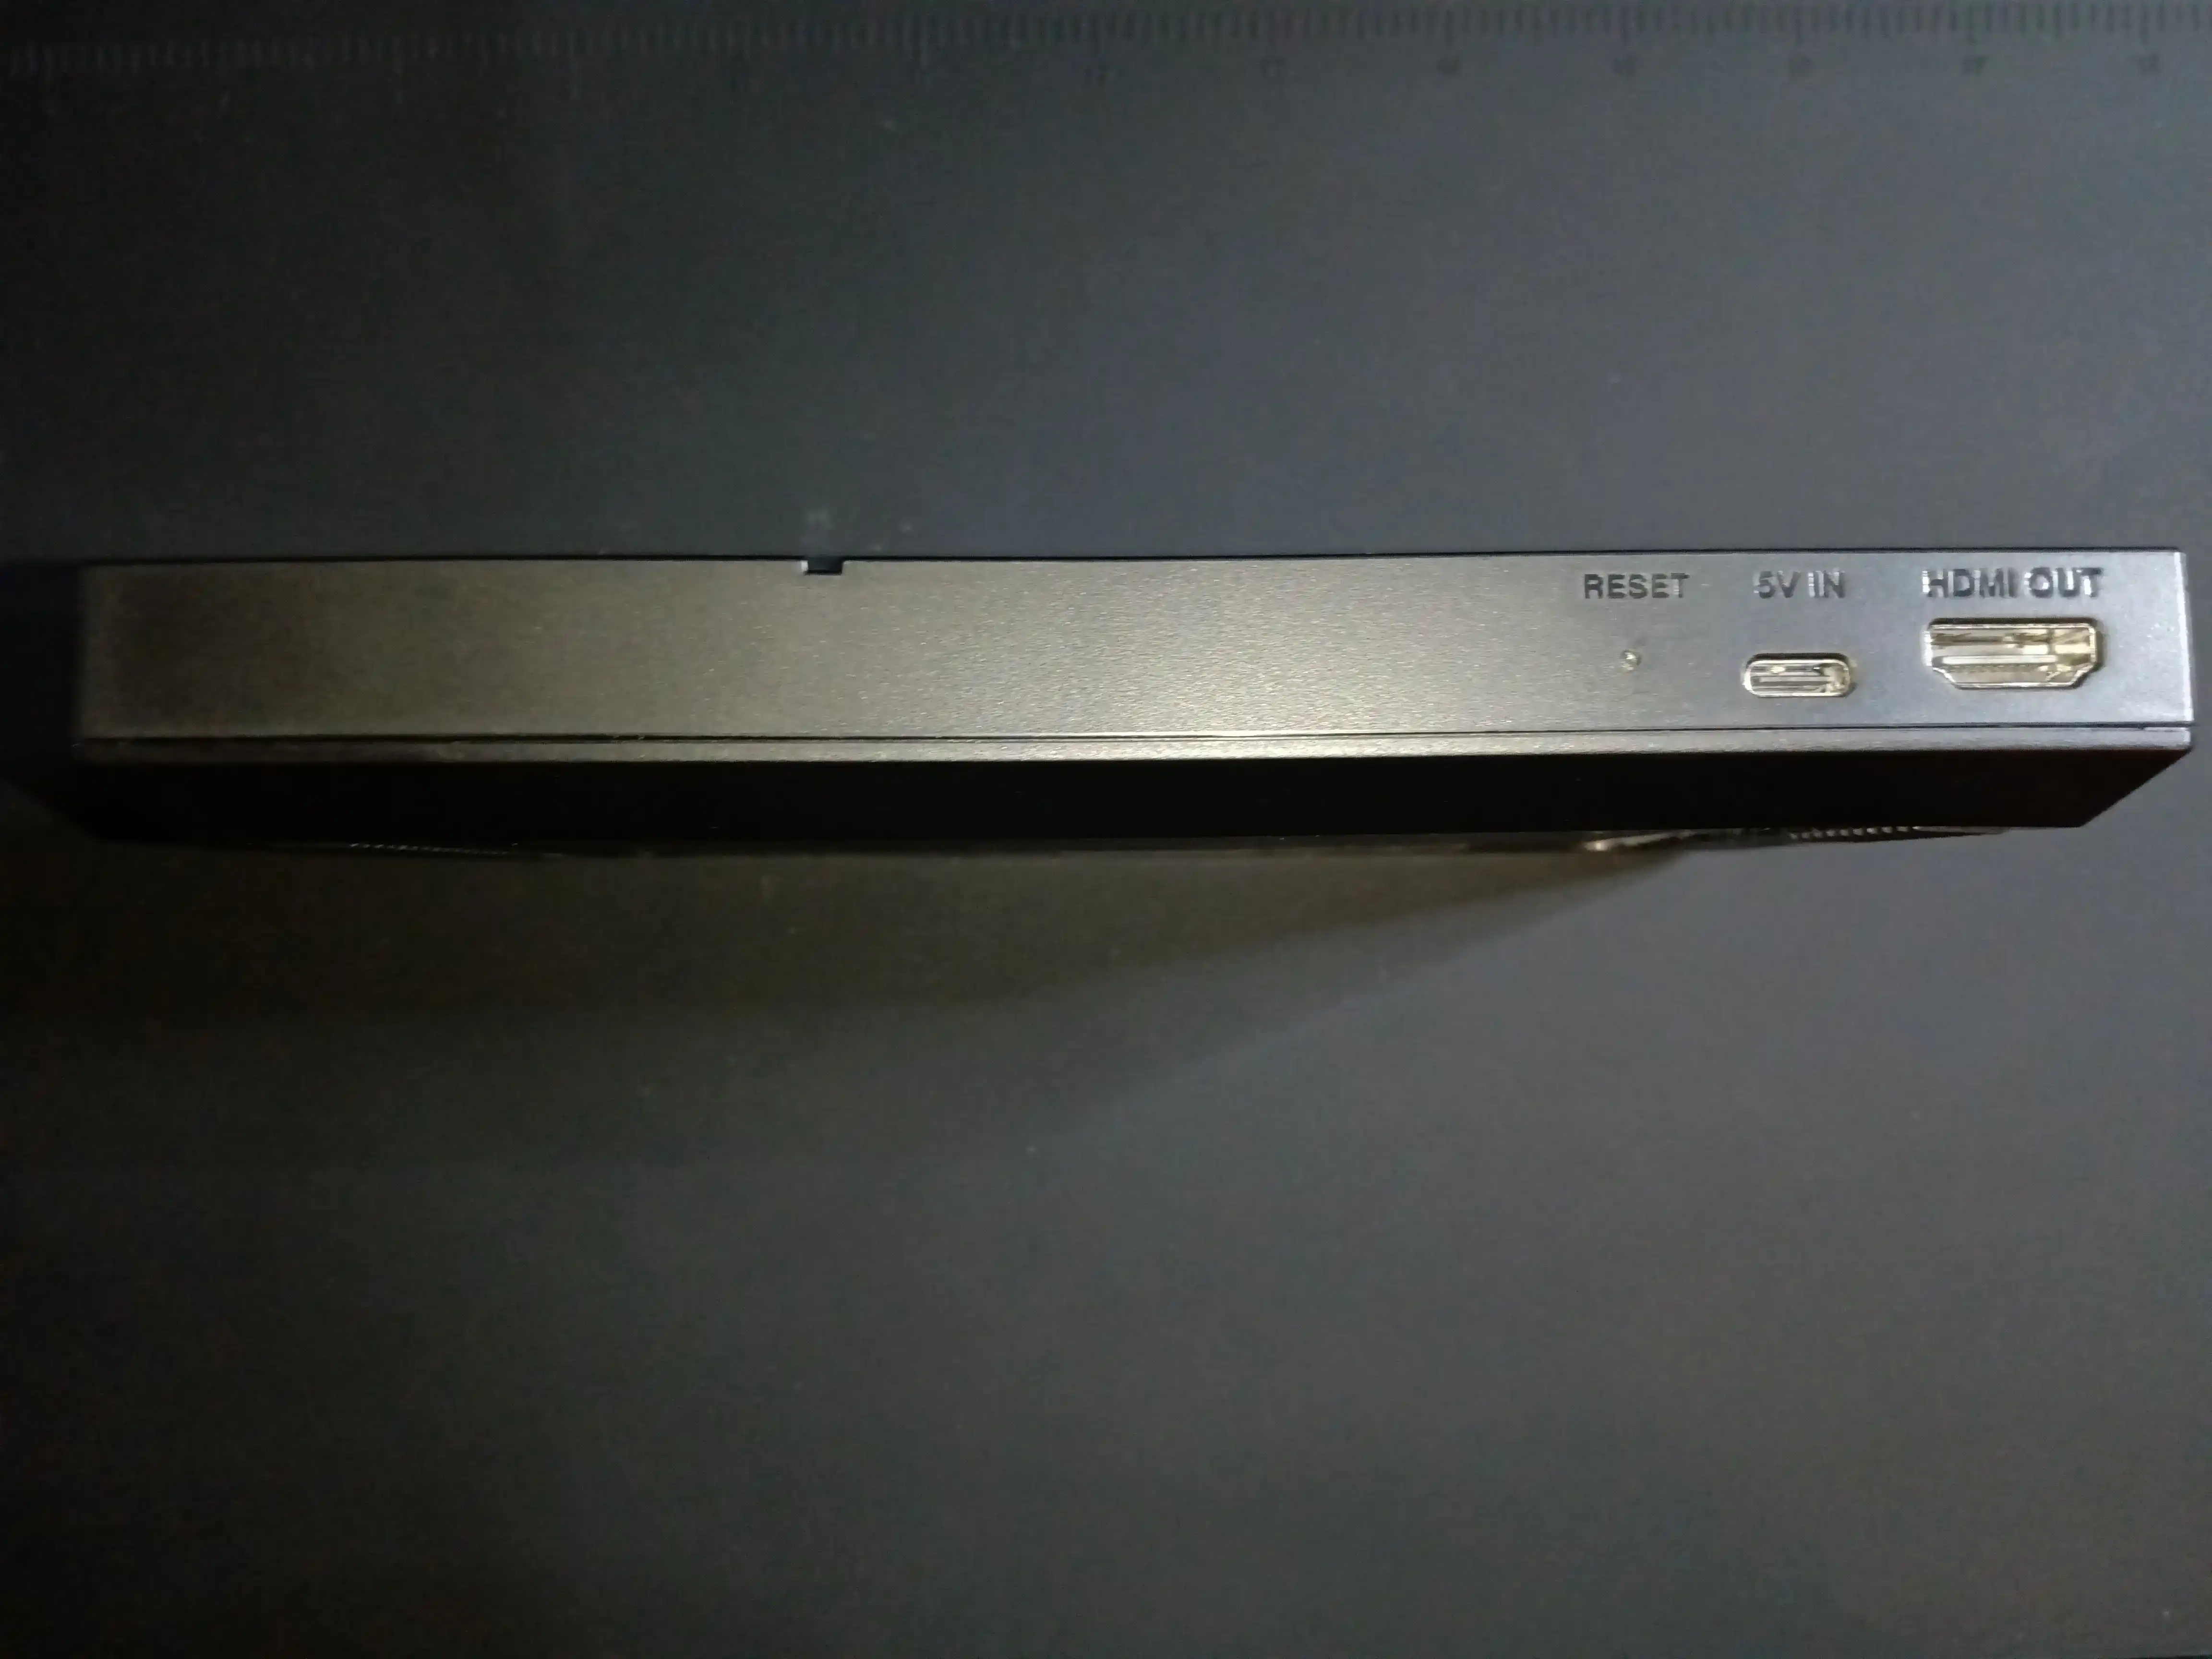
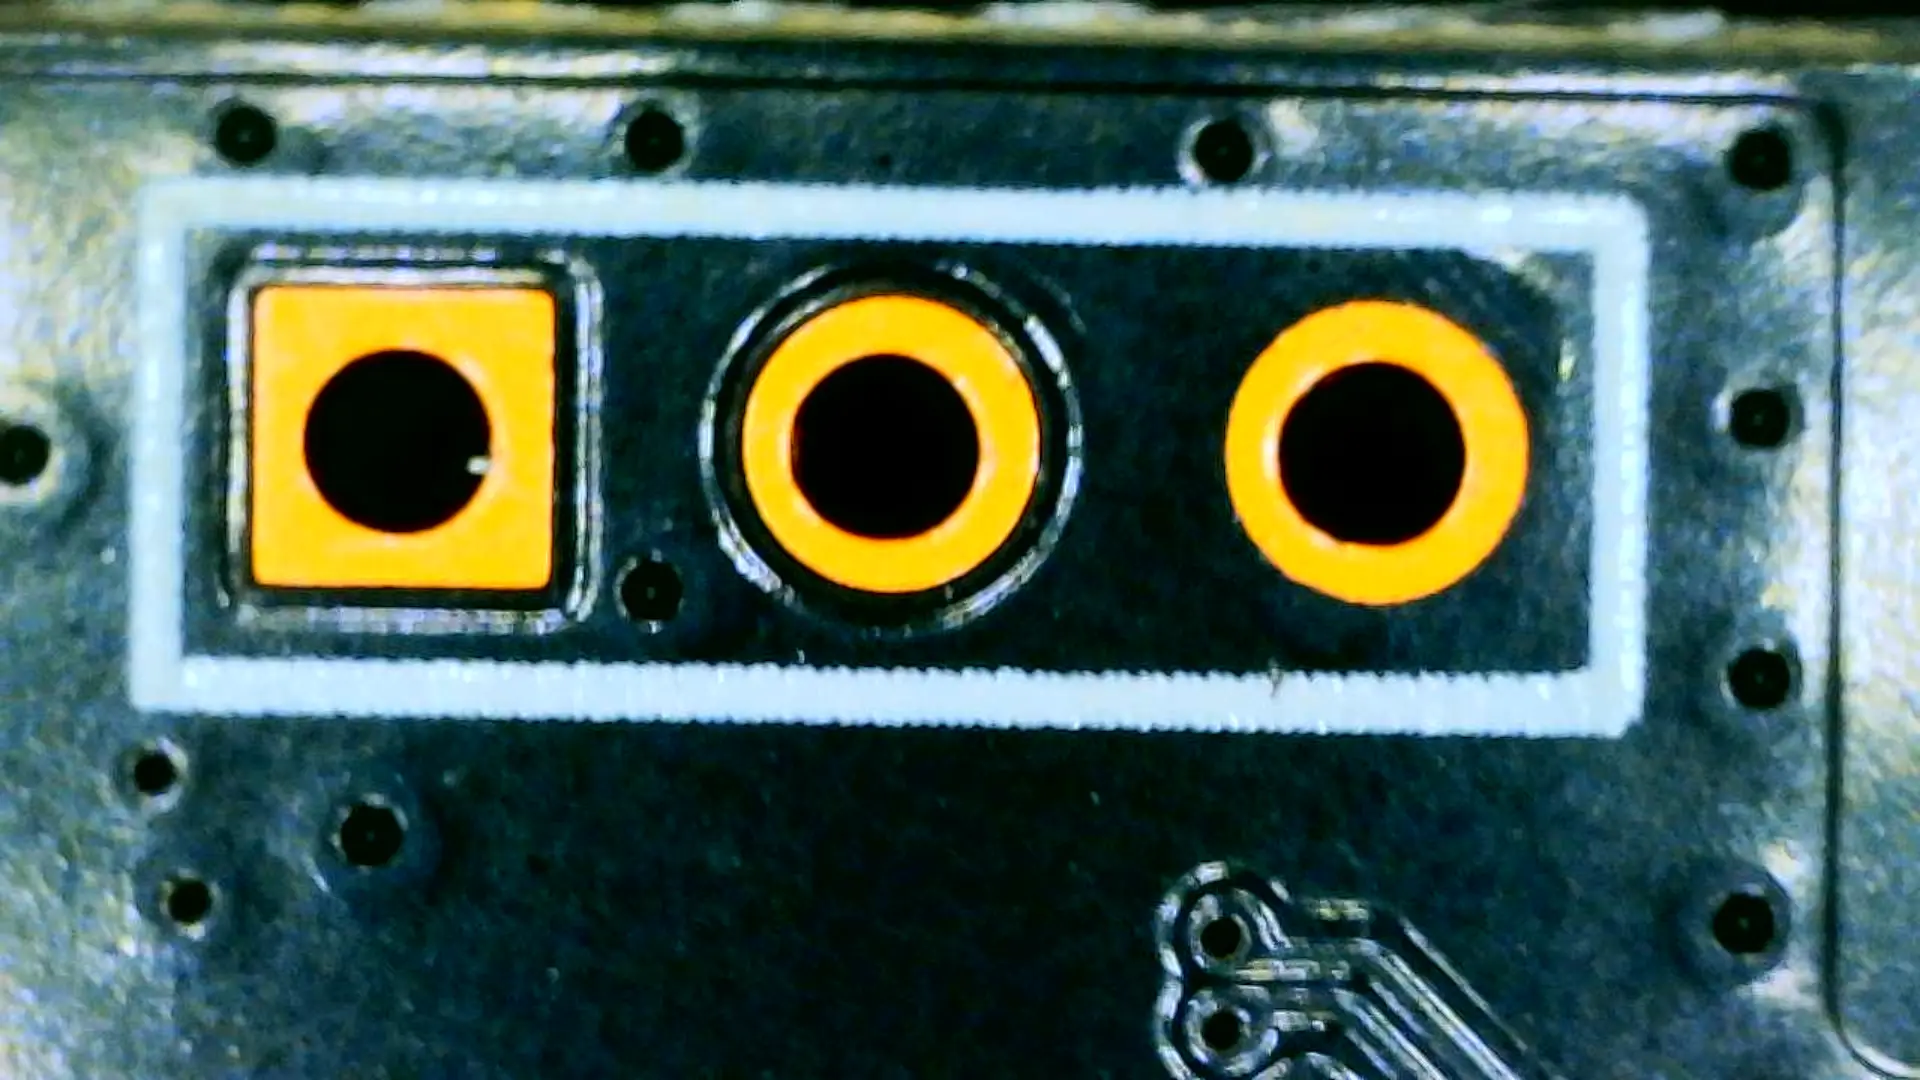
Moving to the back, we’ve got quite plain I/O. From the right edge working left, we find an HDMI out, a USB-C port labeled “5V IN”, and a hole containing a tactile button labled “RESET”. There’s nothing else on this face. No HDMI revision or resolution is listed, however, my TV picked up a 1280x720p signal. The RESET switch is curiously undocumented in the manual whereas all other buttons and indicators are.
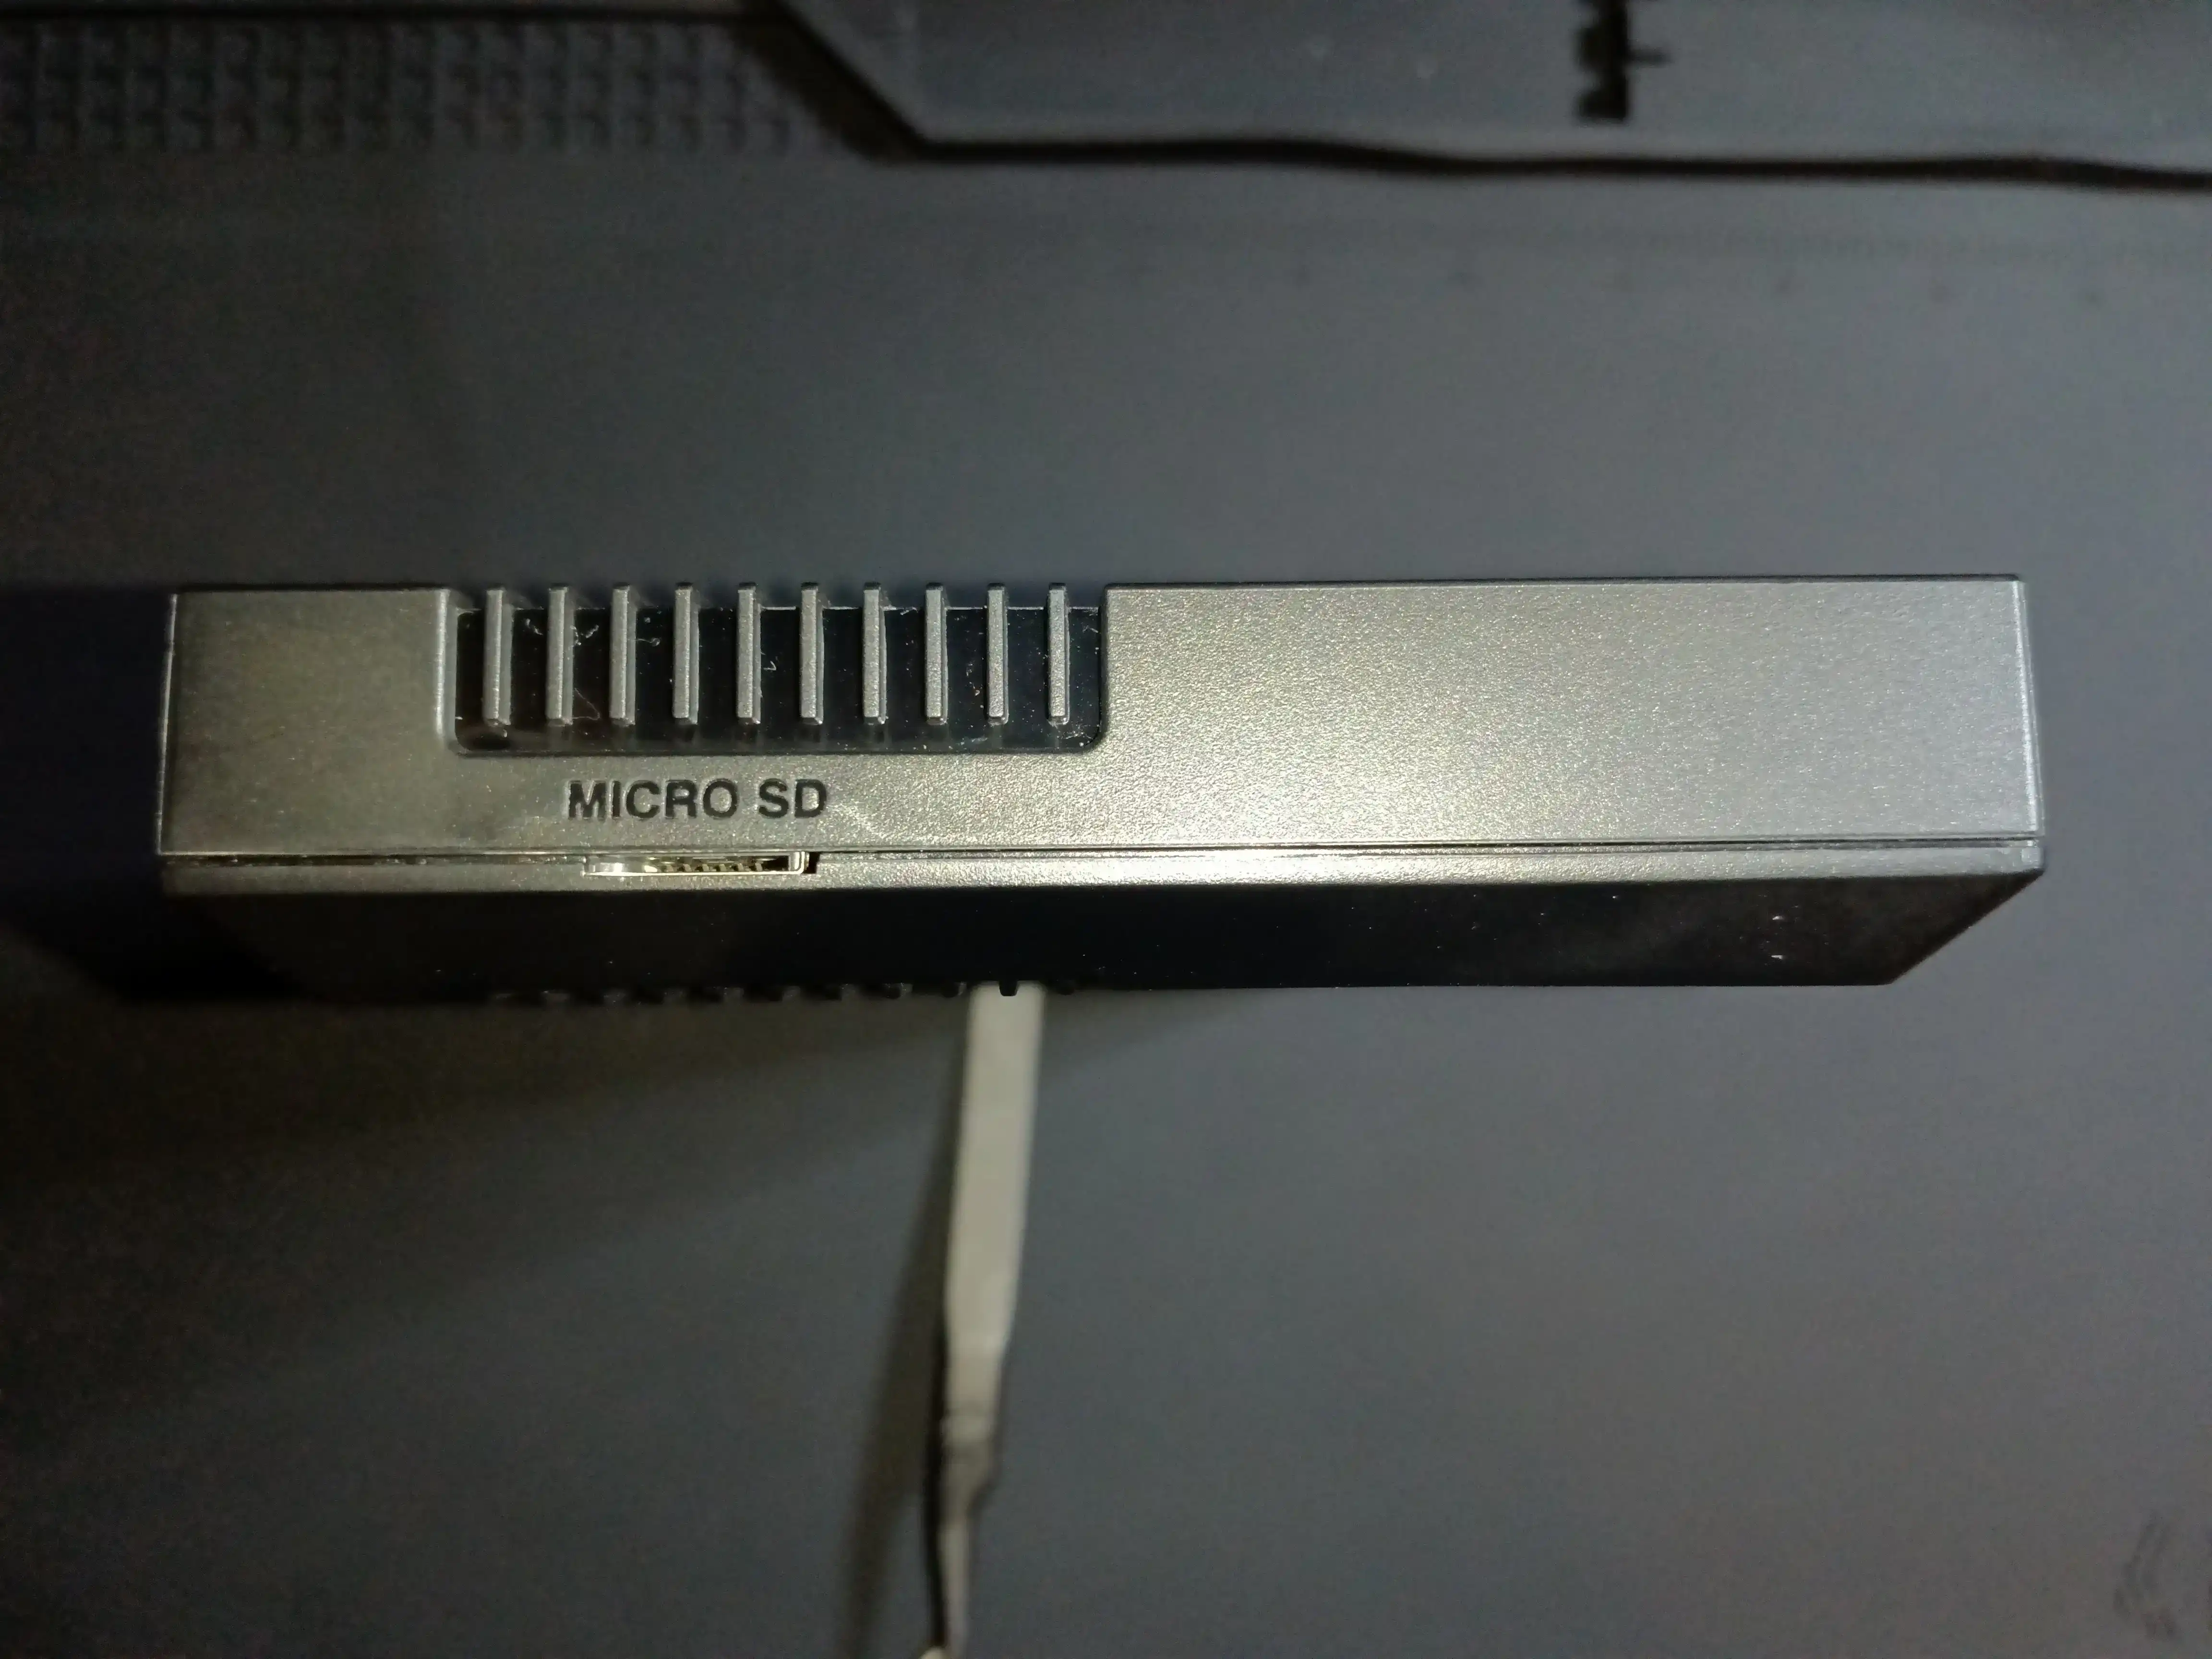
Looking on the left face, we find one more feature: A micro-SD card slot. The console allegedly utilizes this for storing savestates. I was unable to verify this as I didn’t have an SD card on-hand. To use this feature, the SD card of up to 128GB and in FAT32 format should contain a folder labeled “States” in the root directory. The console will store any savestates made from the pause menu here if so desired. The console can also save states internally. Four savestates are allowed for any given game, two for the internal memory, and two for the SD card.
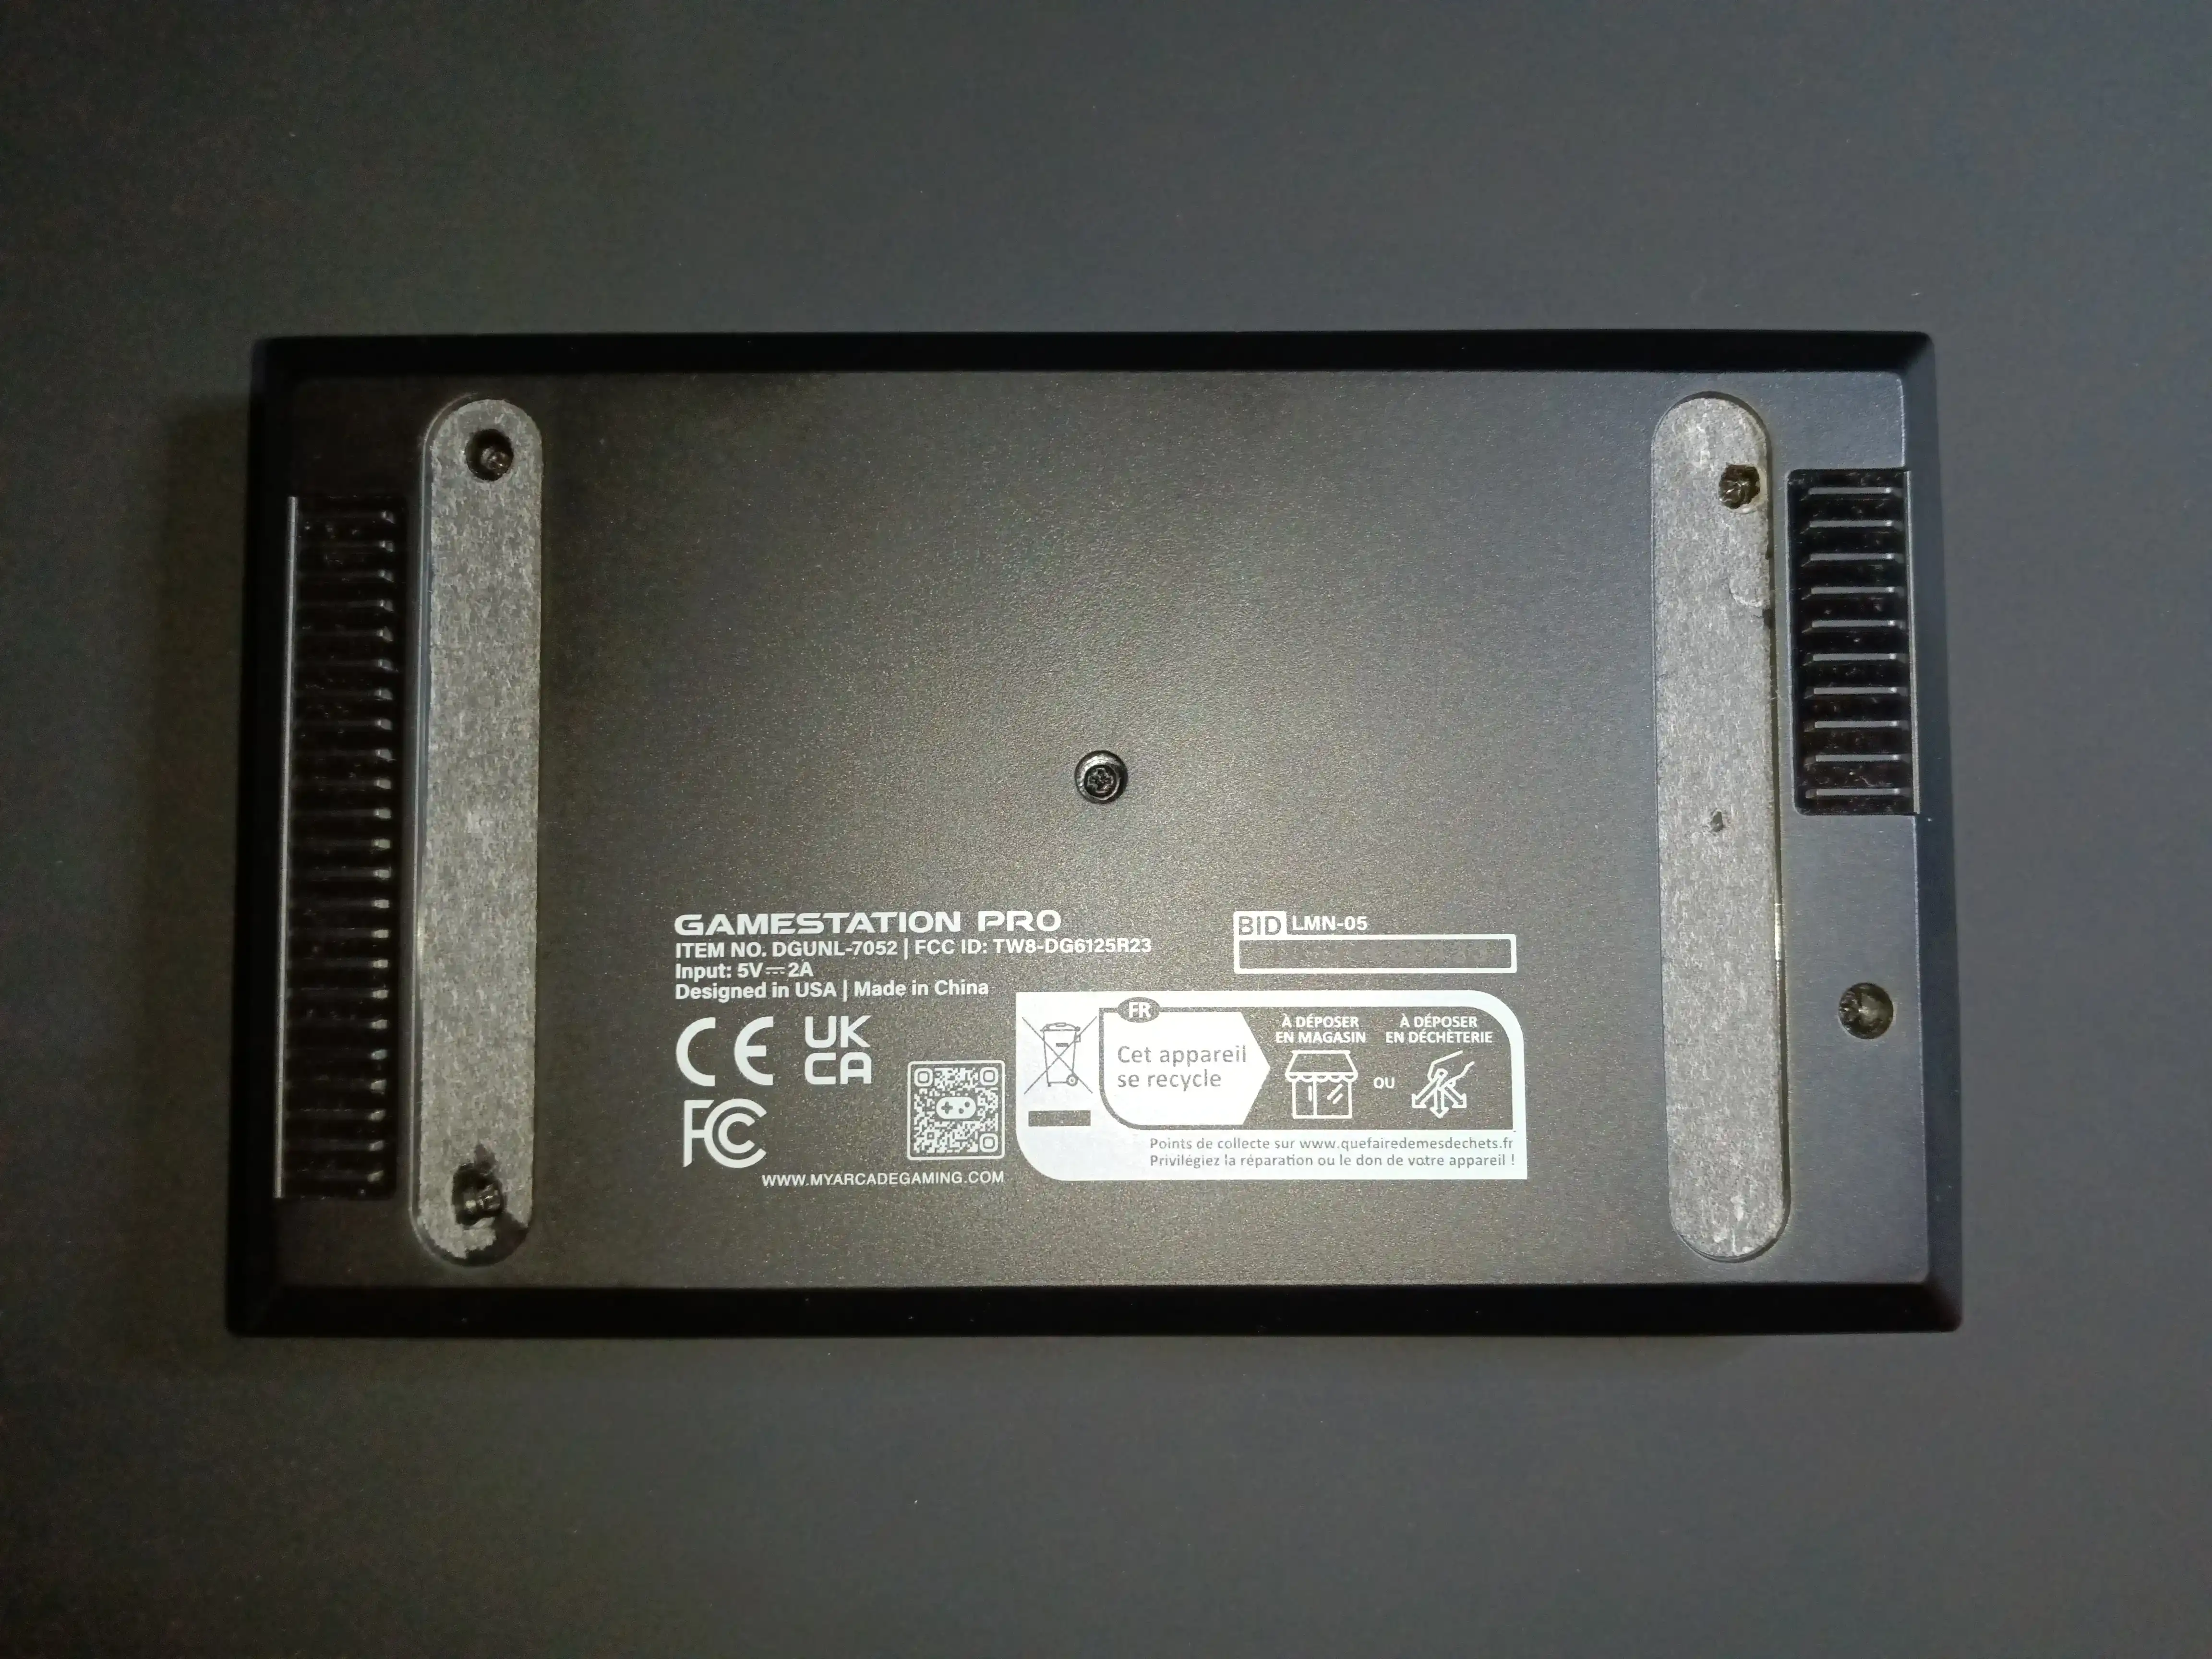
On the bottom, we find five screws, three of which are hidden away under rubber feet. There’s both English and French writing for the regulatory and disposal guidelines.
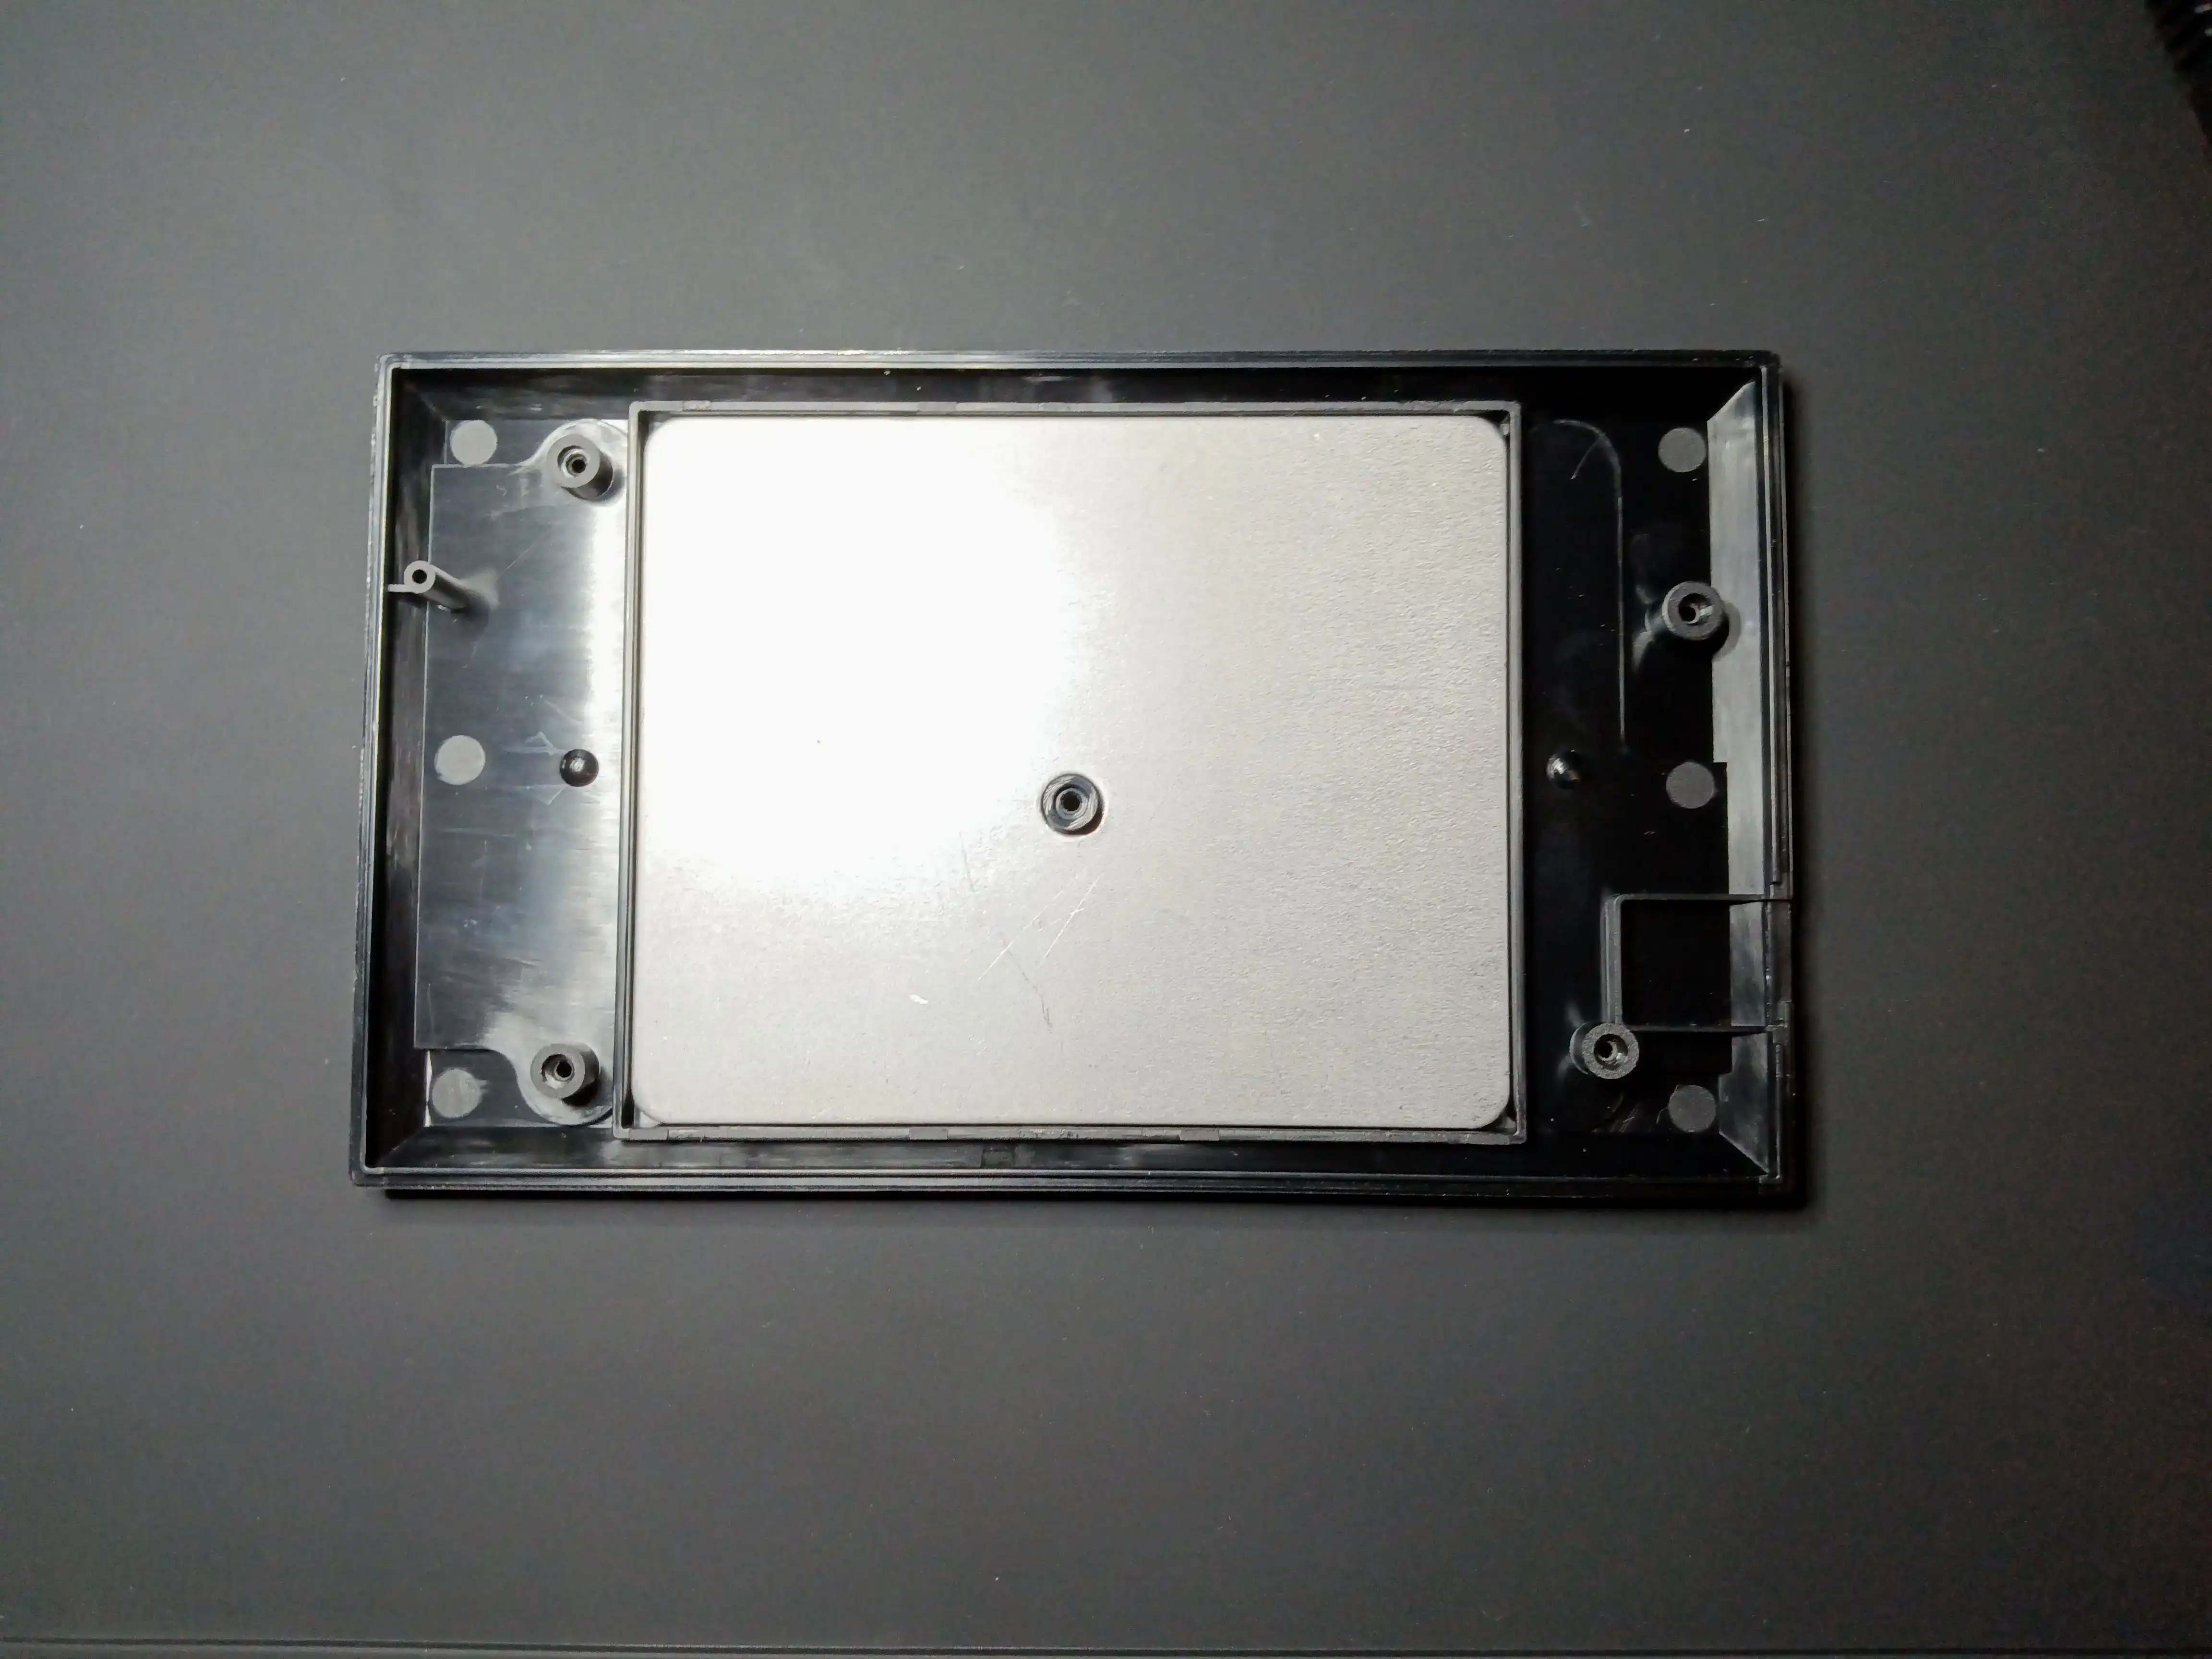
After removing these five screws with a Philips head screwdriver, the bottom cover comes off with no funny business in the way of glue, clips, or otherwise. On the other side of the lower half of the case, we find a big metal plate. Comparing the weight of this bottom panel to the rest of the console, I found the two to be around equal in weight.
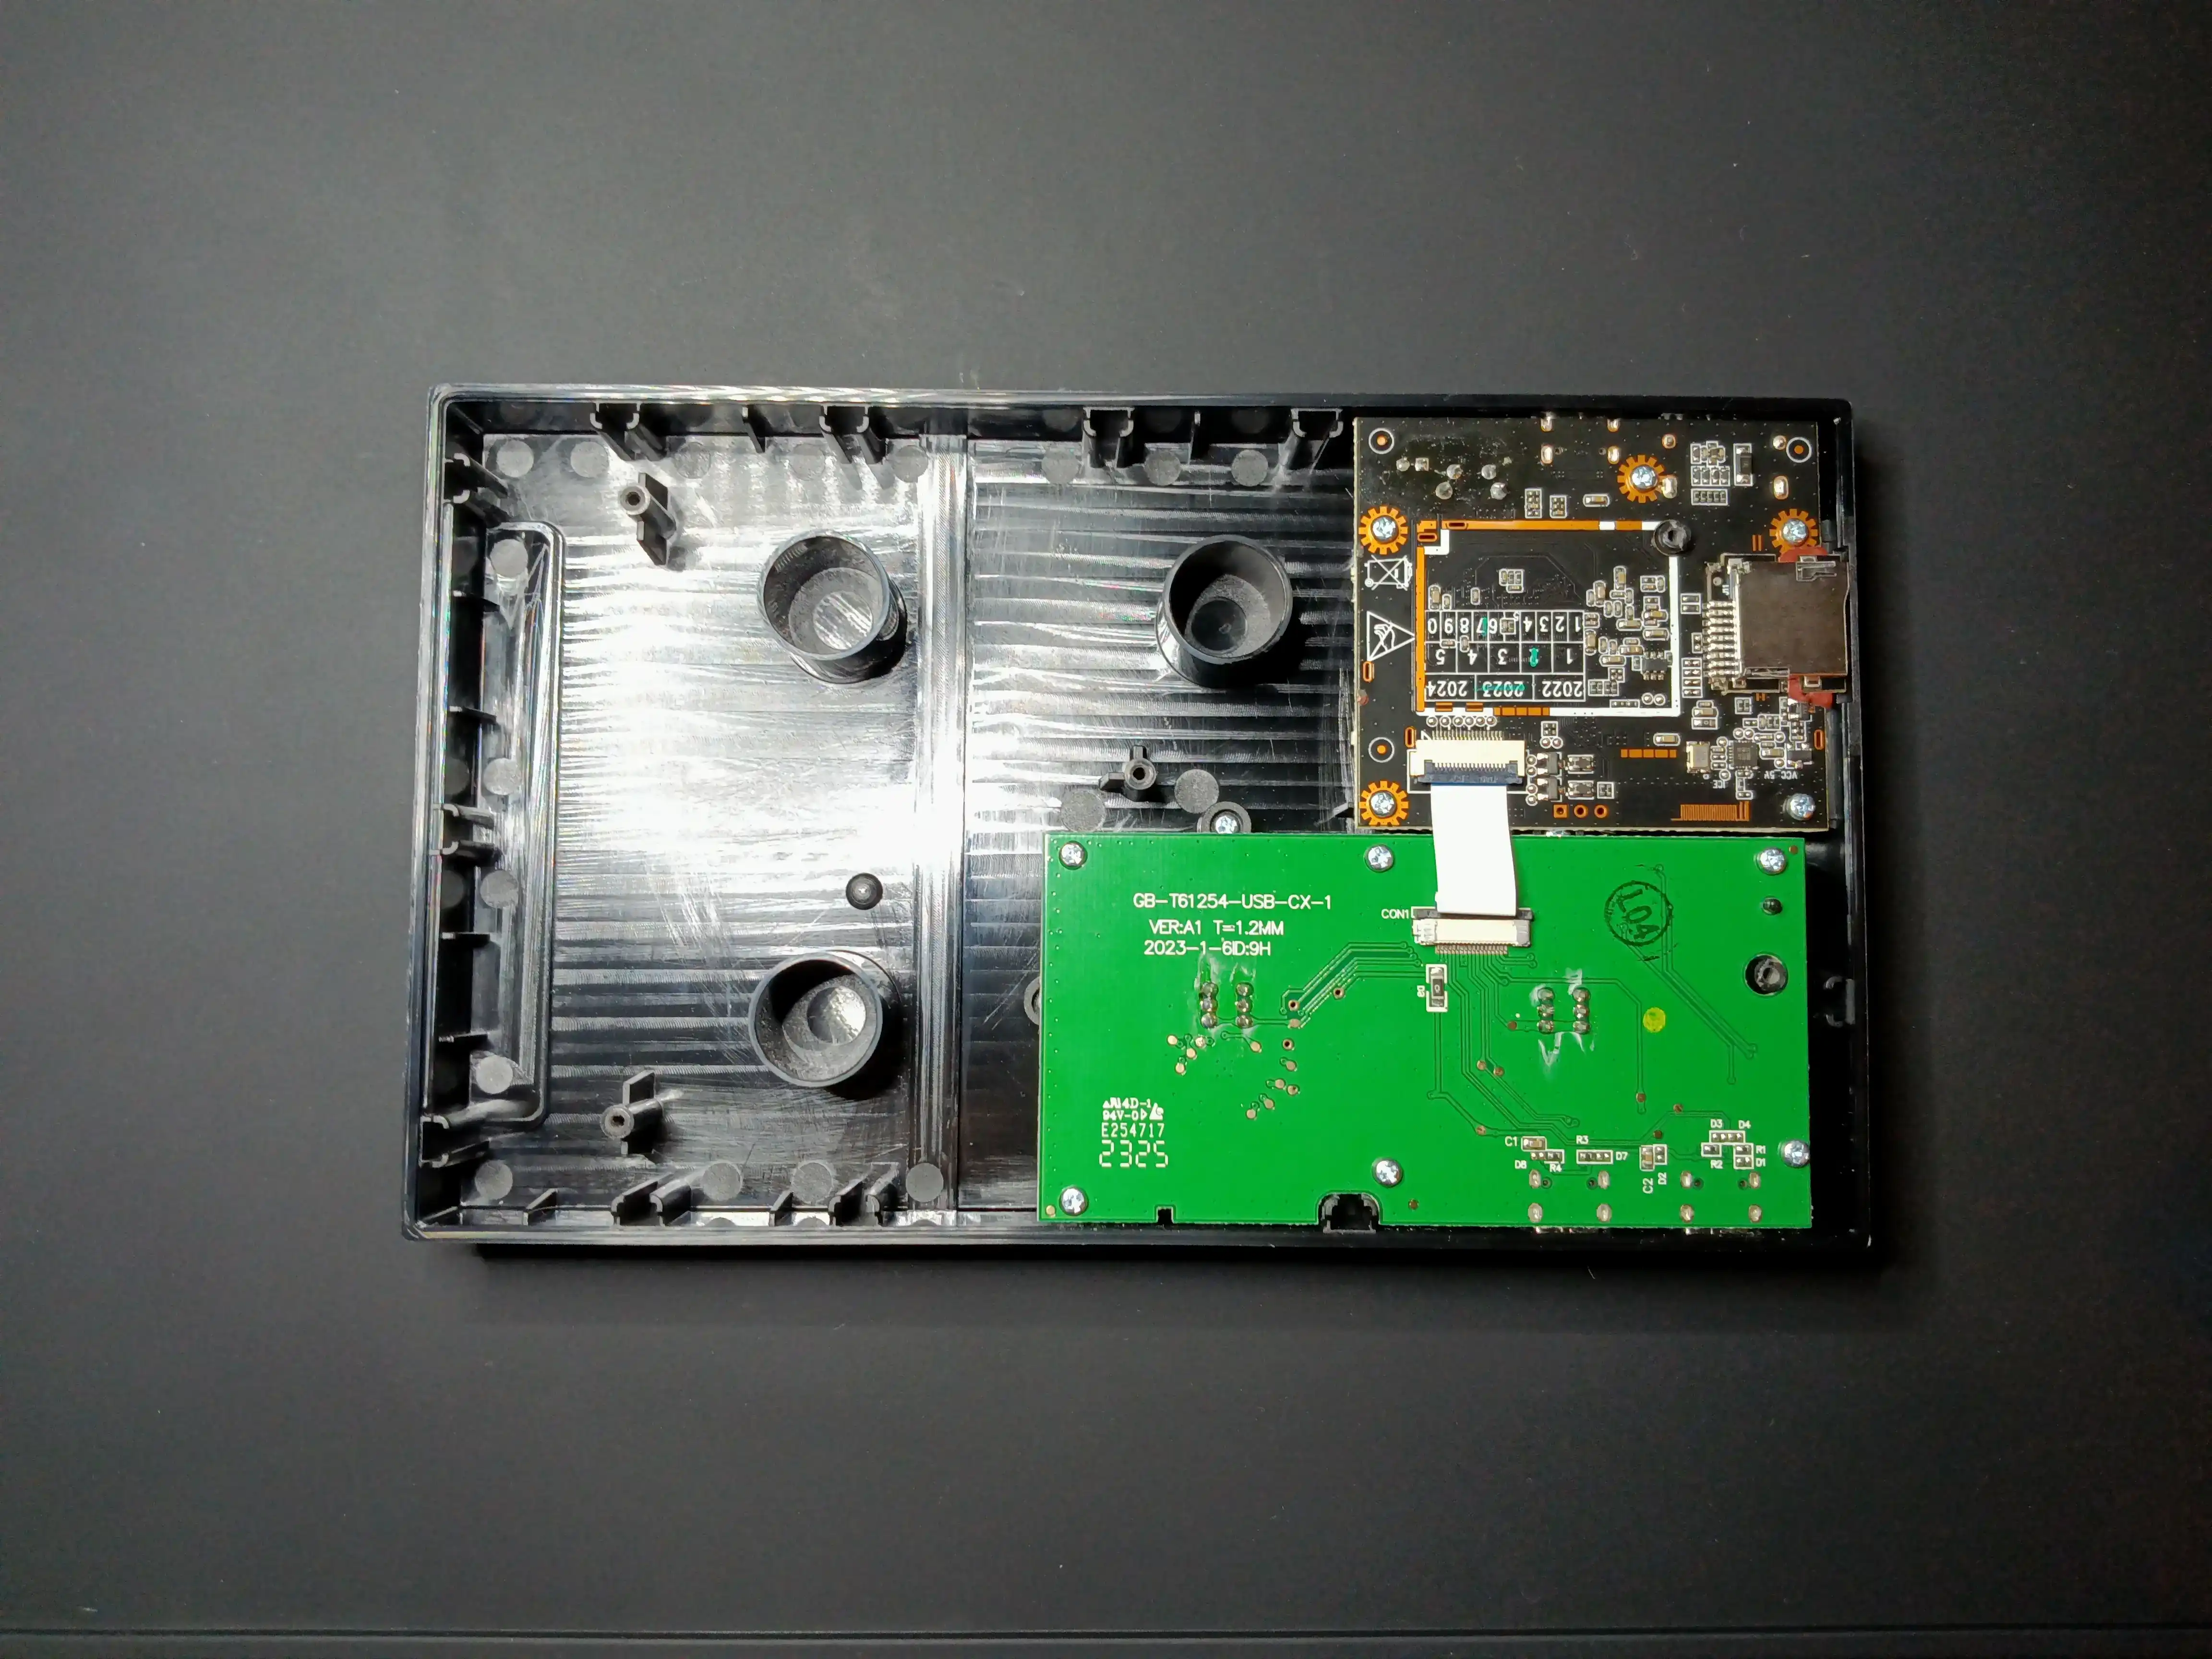
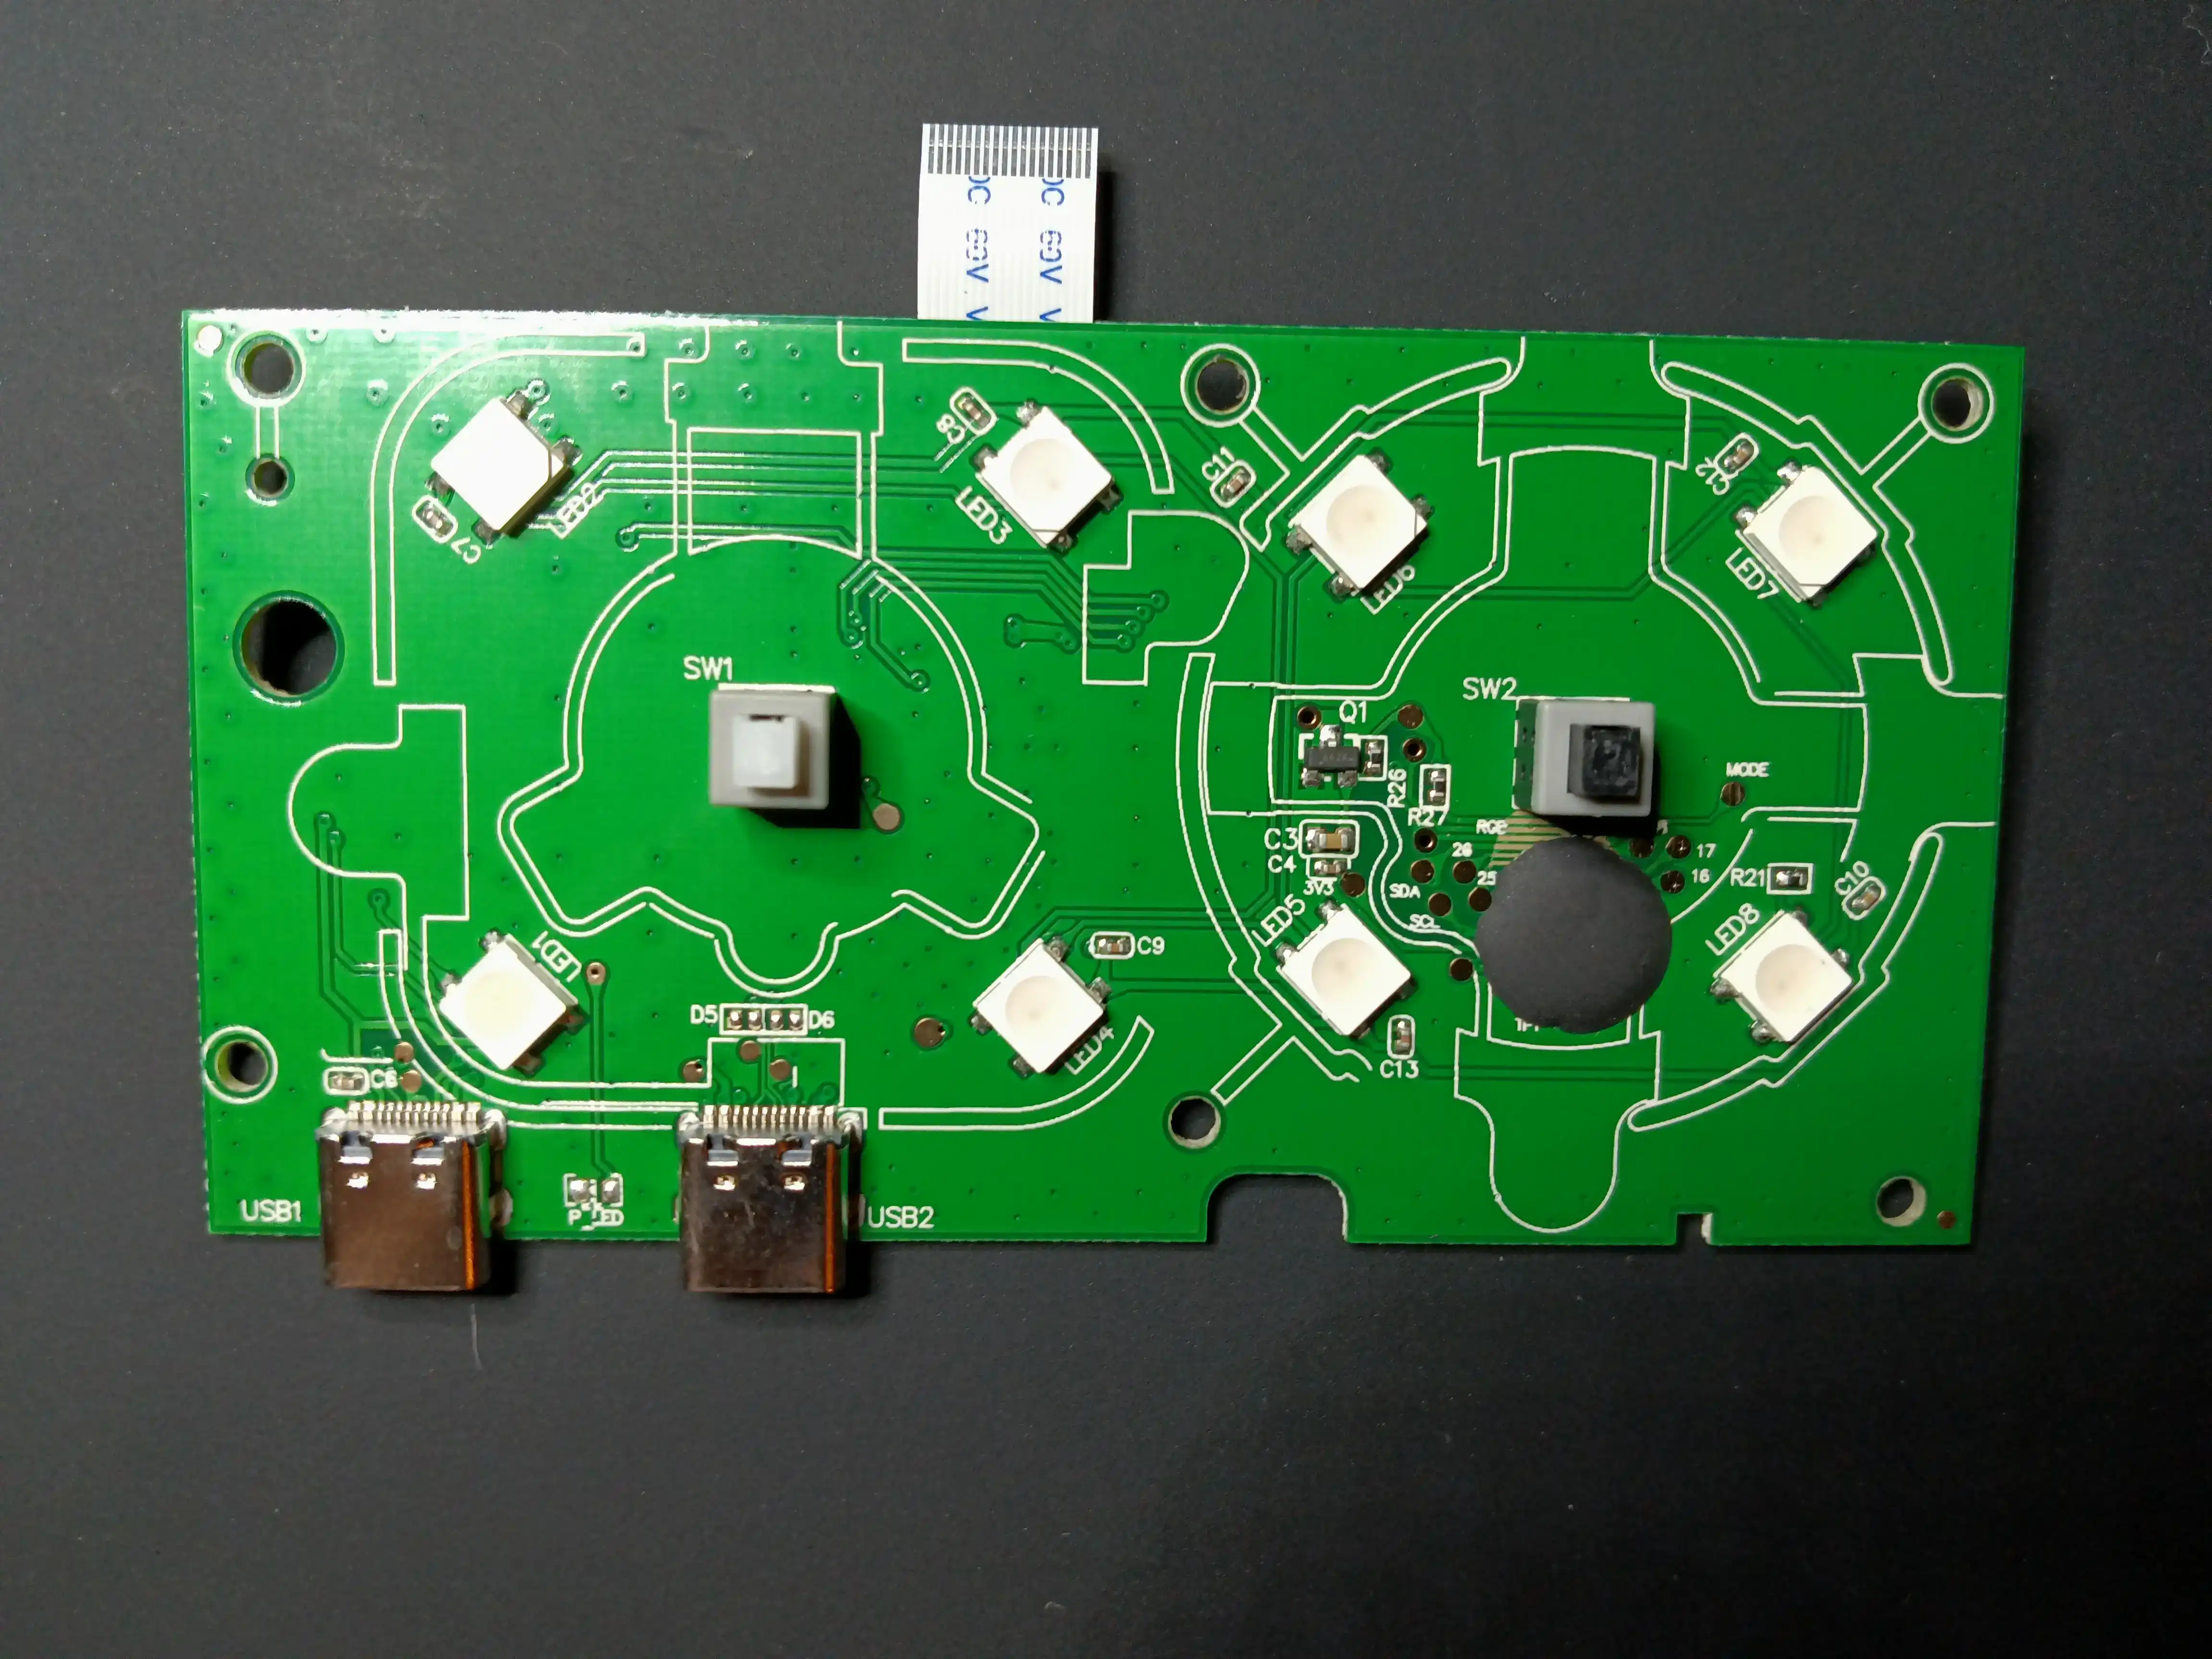
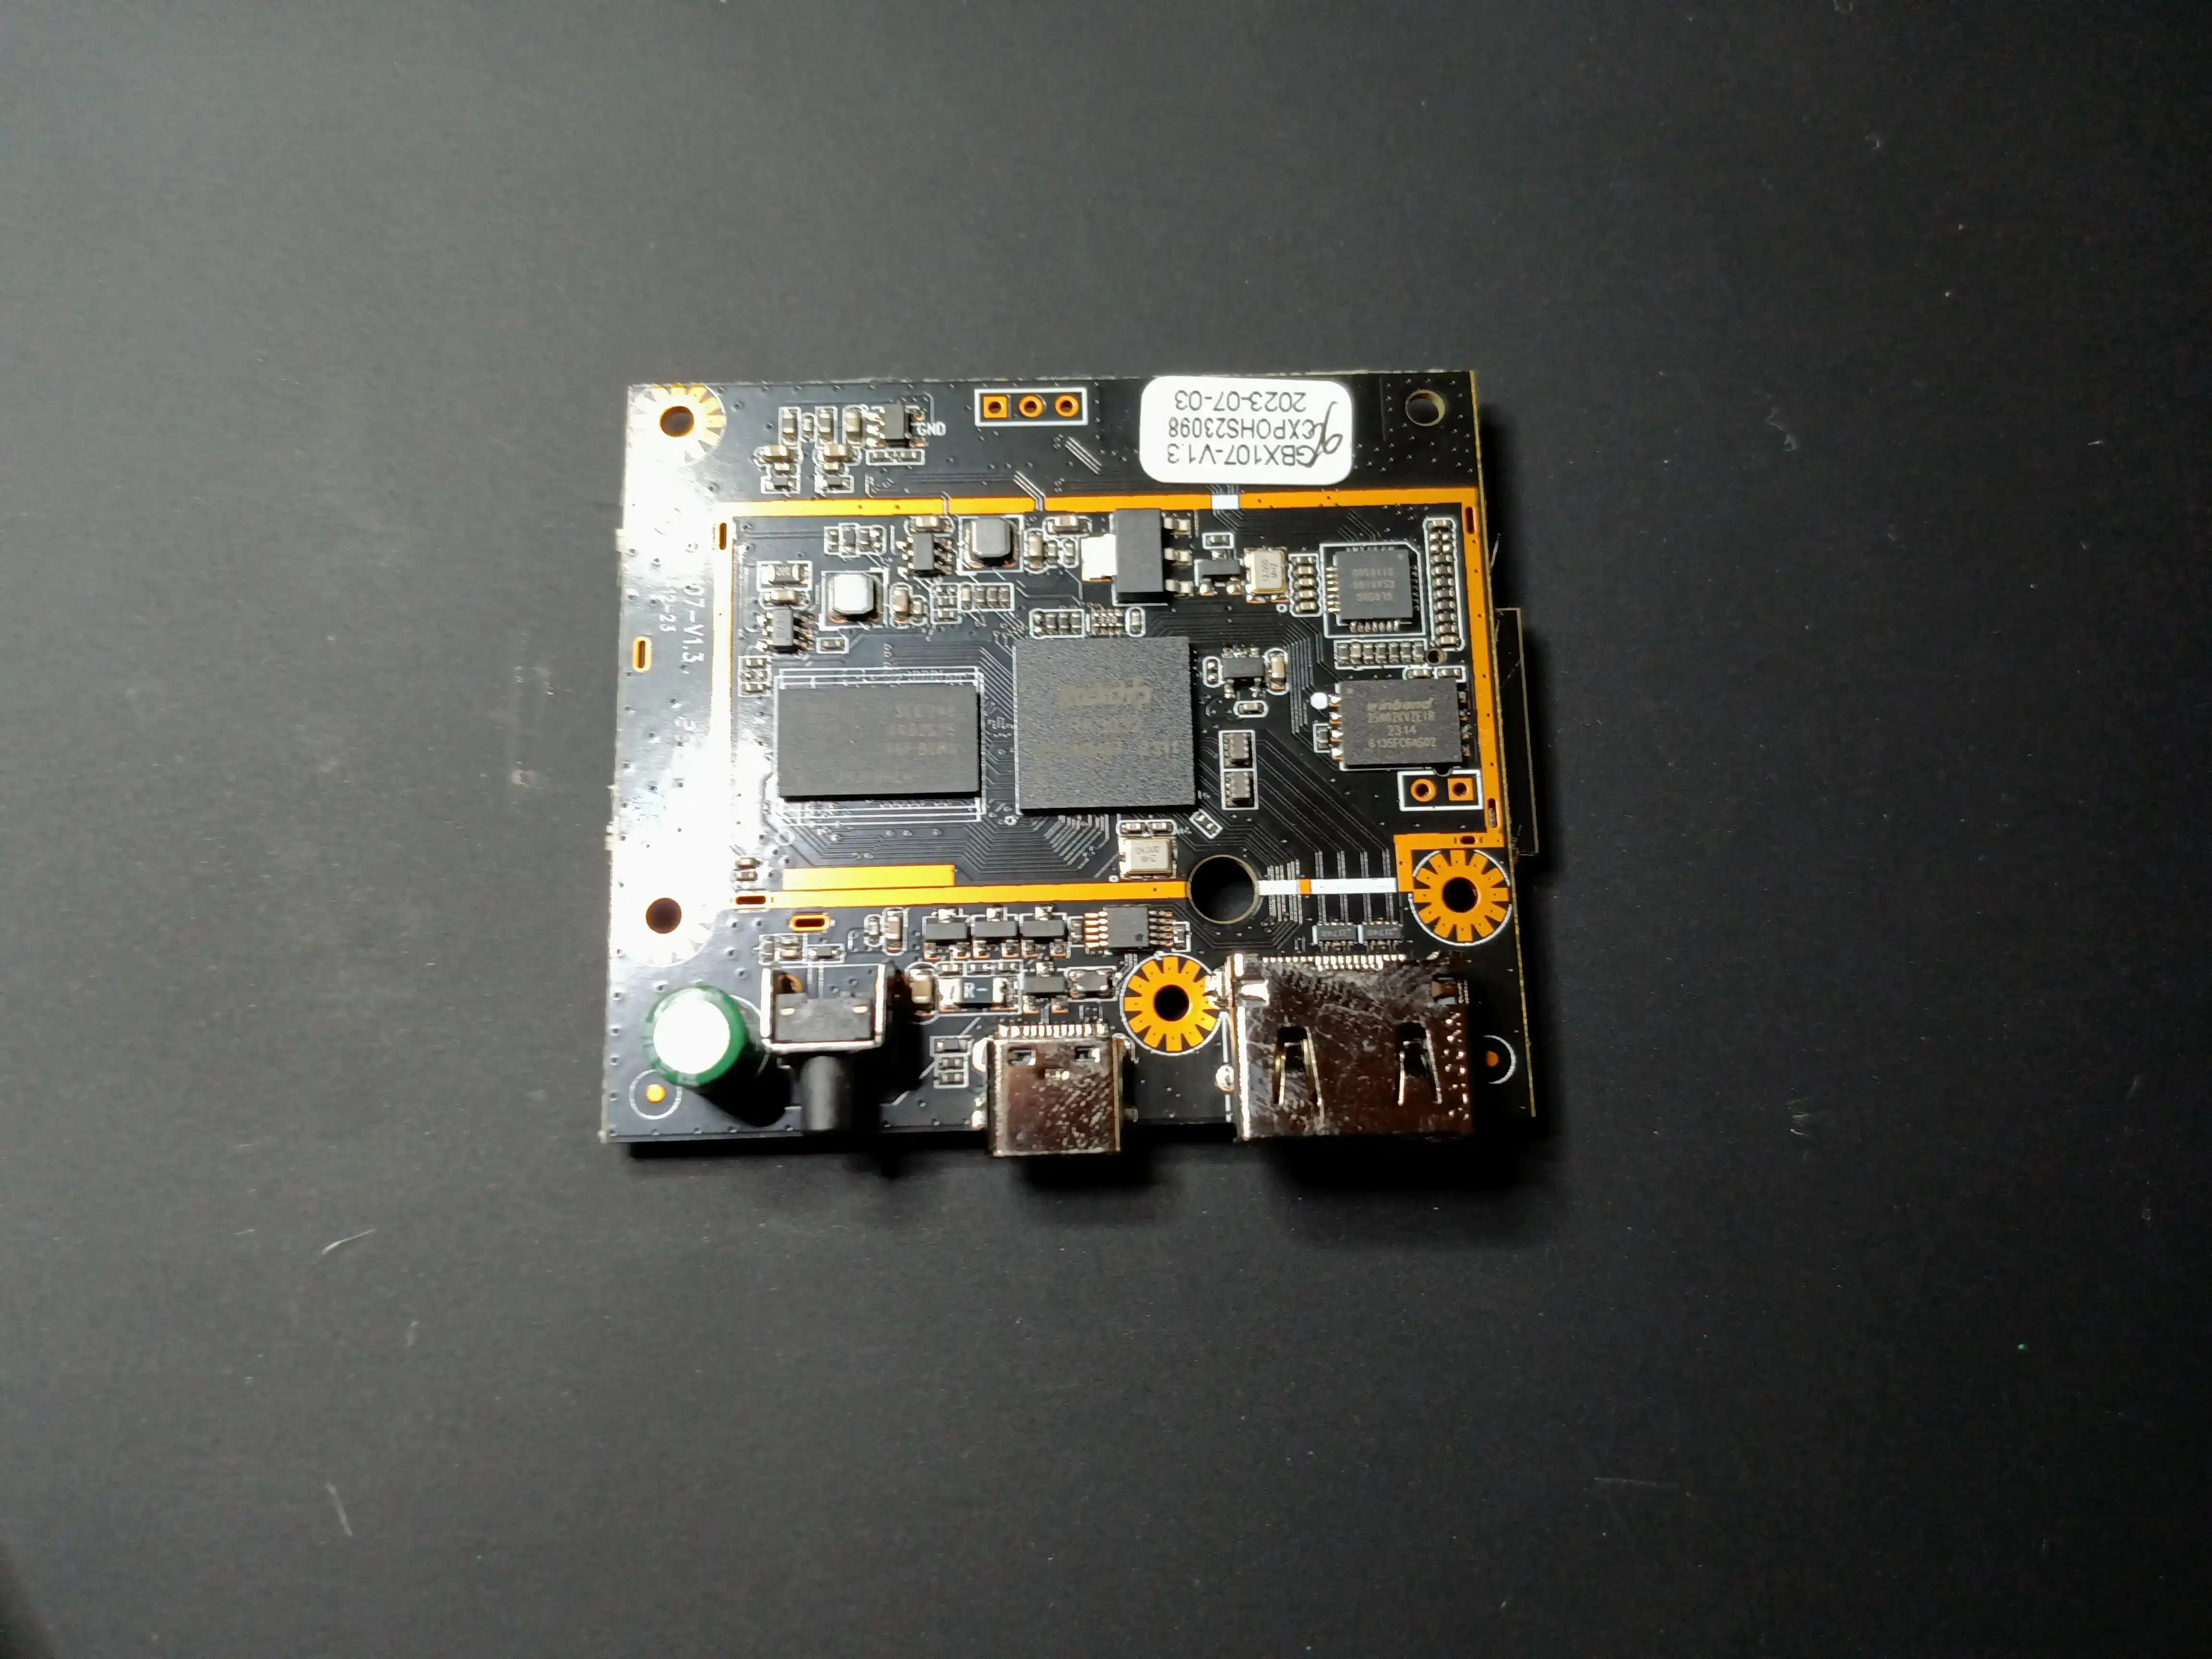
Looking at the more technology-rich half of the housing, we’re… still pretty barren. We can see the main board, a black PCB measuring 60mm by 52.5mm, on which the SD card slot, HDMI port, 5V in, and reset switch are attached. The other of the two boards present is a green PCB measuring 97.5mm by 48.5mm. This daughter board handles the two switches on top as well as the two front USB ports. The two are connected with a ribbon cable.
Here’s the top with the boards removed. There’s really nothing notable about this half of the housing other than the buttons. Every technological bit of this unit is contained either on the daughter board or the main board.
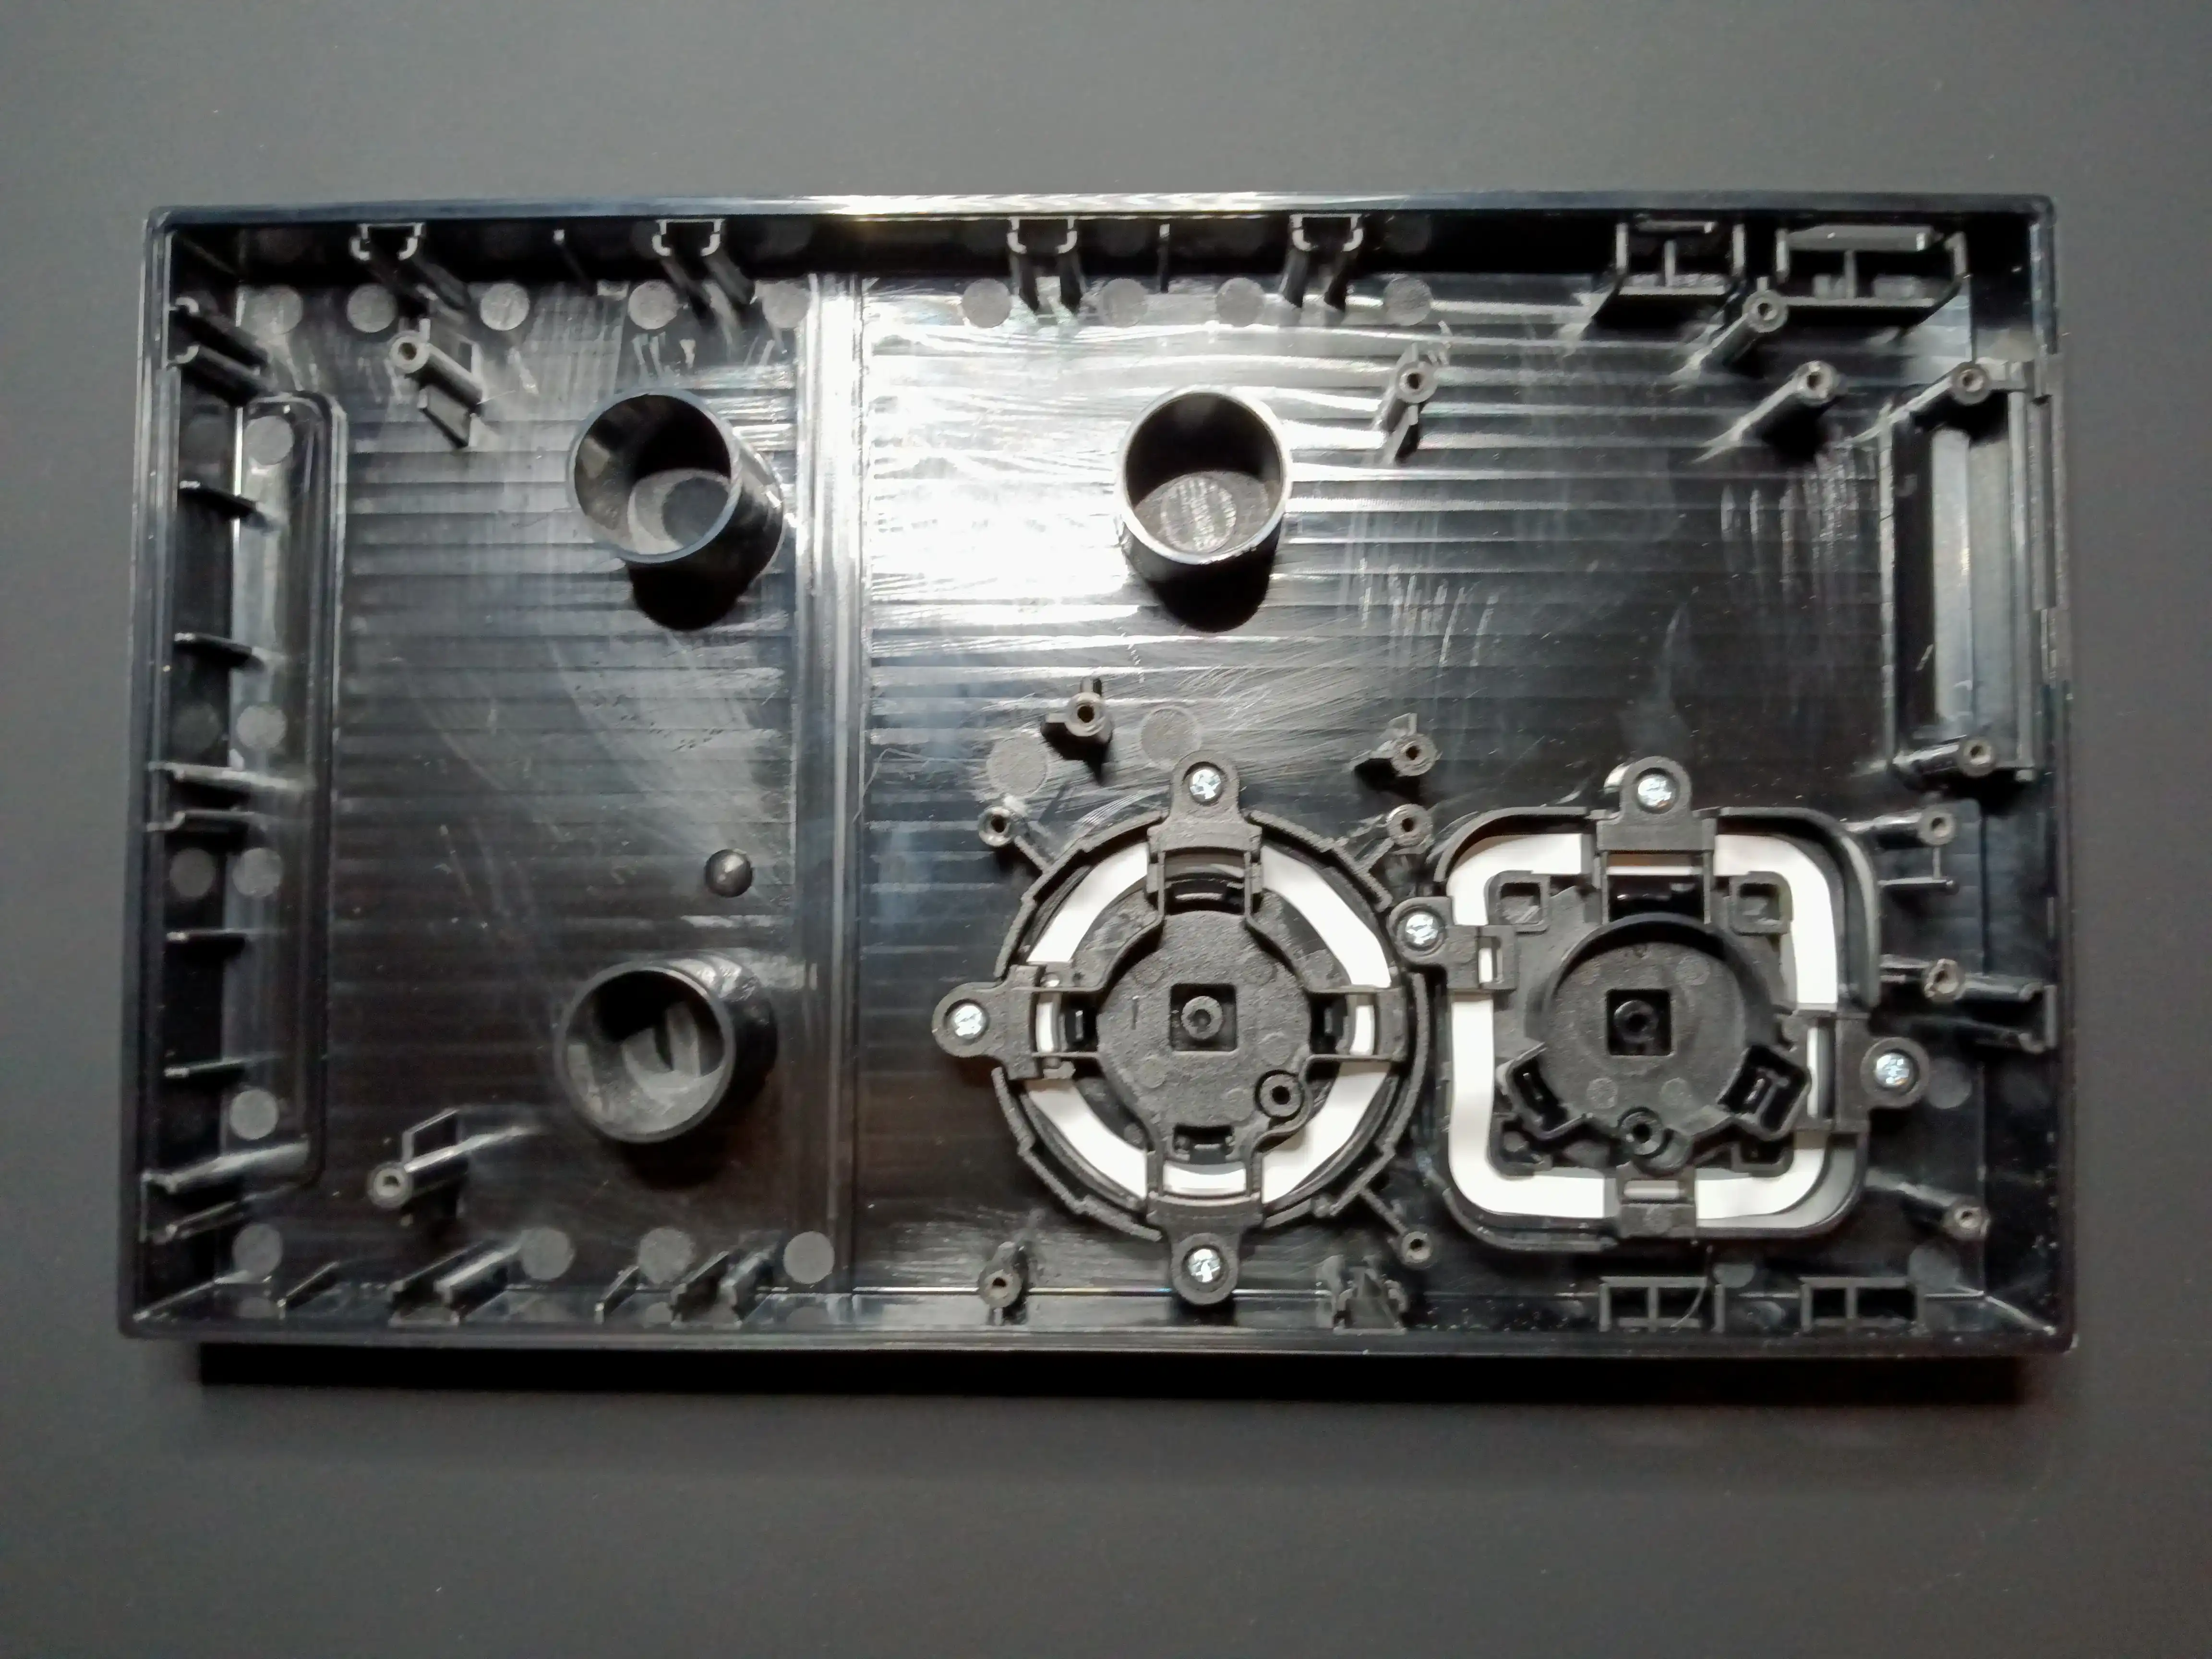
Here’s the daughter board. It appears each button is given 4 LEDs for the lighting.
Finally, here’s the main board. Let’s break this down in a new section.
Components Overview
Focusing on the mainboard, there’s a few components that are obvious candidates for investigation.
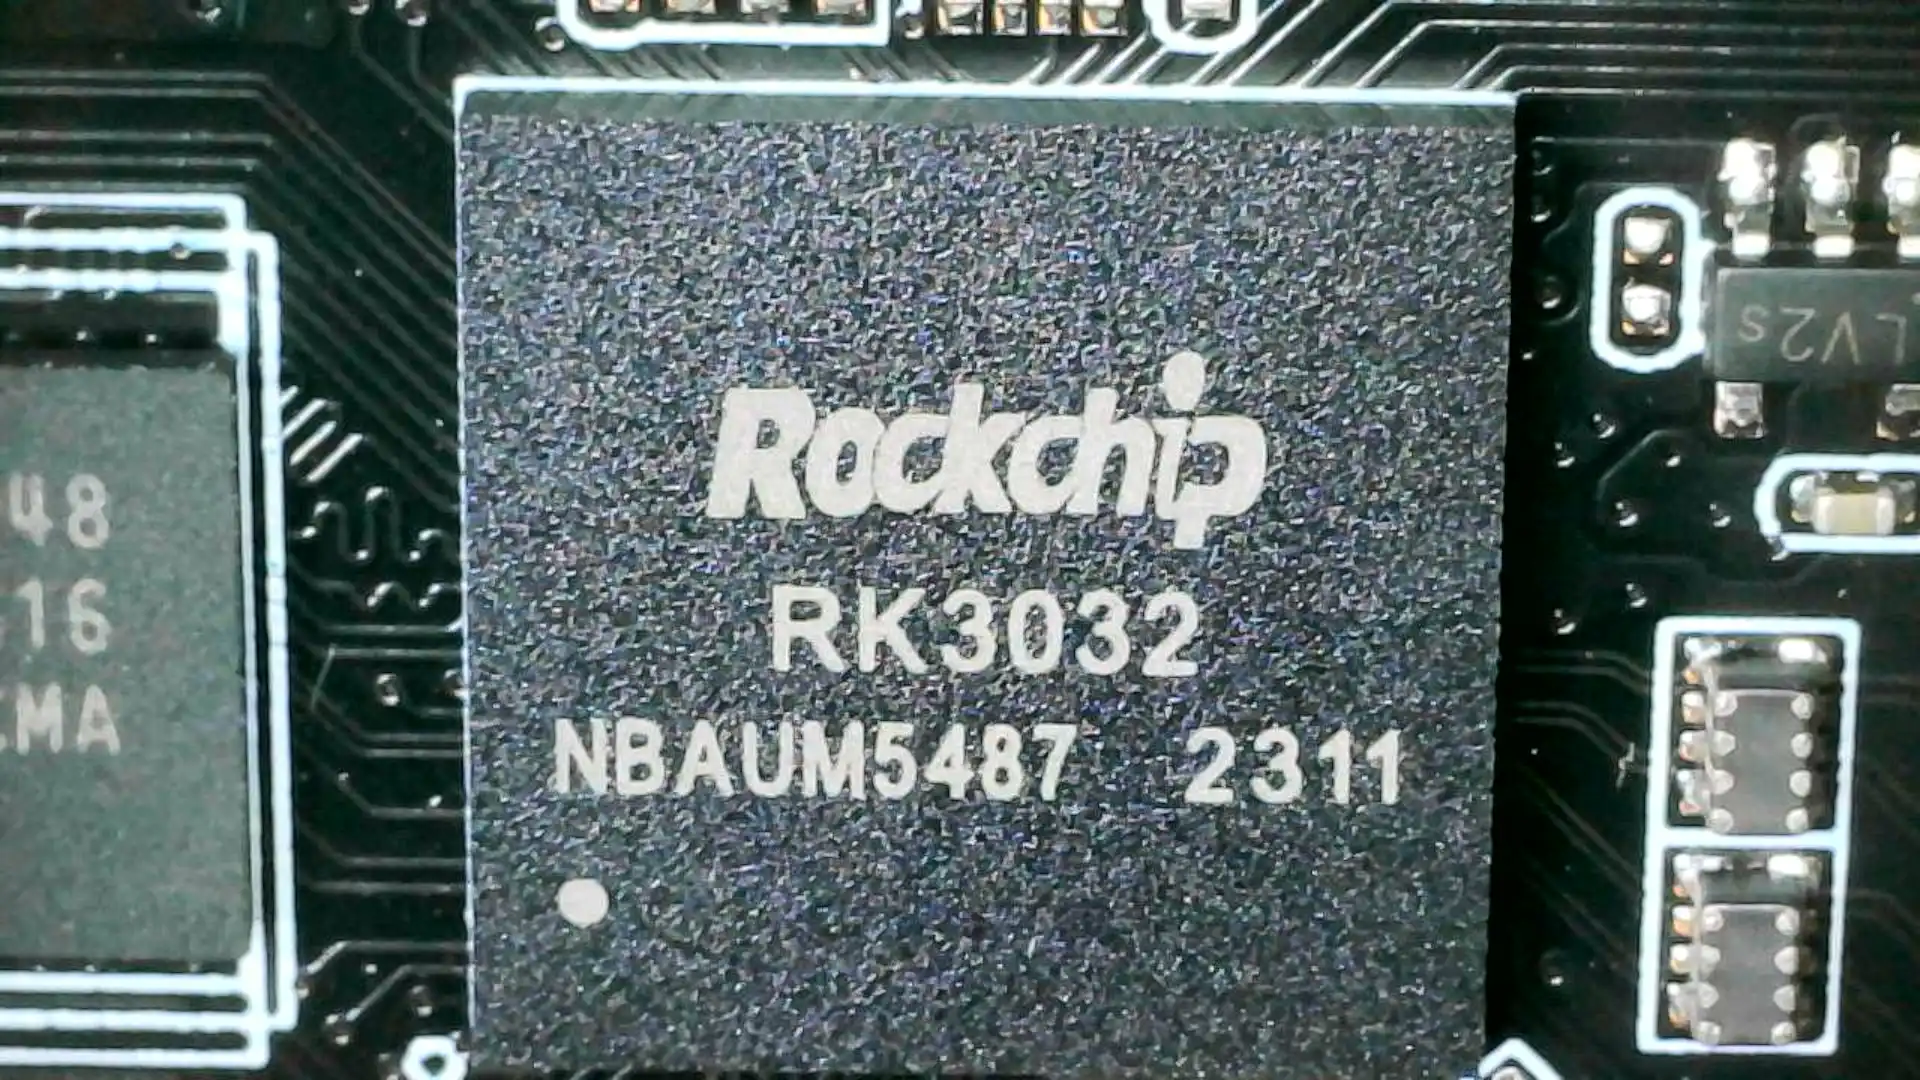
Let’s start with the CPU. This is a Rockchip RK3032, and according to the product datasheet found on sekorm.com, it’s a dual-core 32-bit Cortex-A7 arm SoC. This is the same architecture that we’d see in the Raspberry Pi 2. The chipset sports support for HDMI 1.4a and does support HDCP. It can output resolutions between 480i and 1080p from its Mali 400 GPU. It supports USB 2.0 via OTG for USB connectivity. I didn’t see any guides for this on rock-chips.com, however, I did find guides for the RK3036, a simmilar SoC, so I used the links there for more info on this presumed familiy of products.
Here’s our storage. It’s a Winbond SPI flash chip with 2 gigabits of storage, i.e. 256 megabytes. Digikey has this product for sale so I was able to get info on this chip from their attached datasheet.

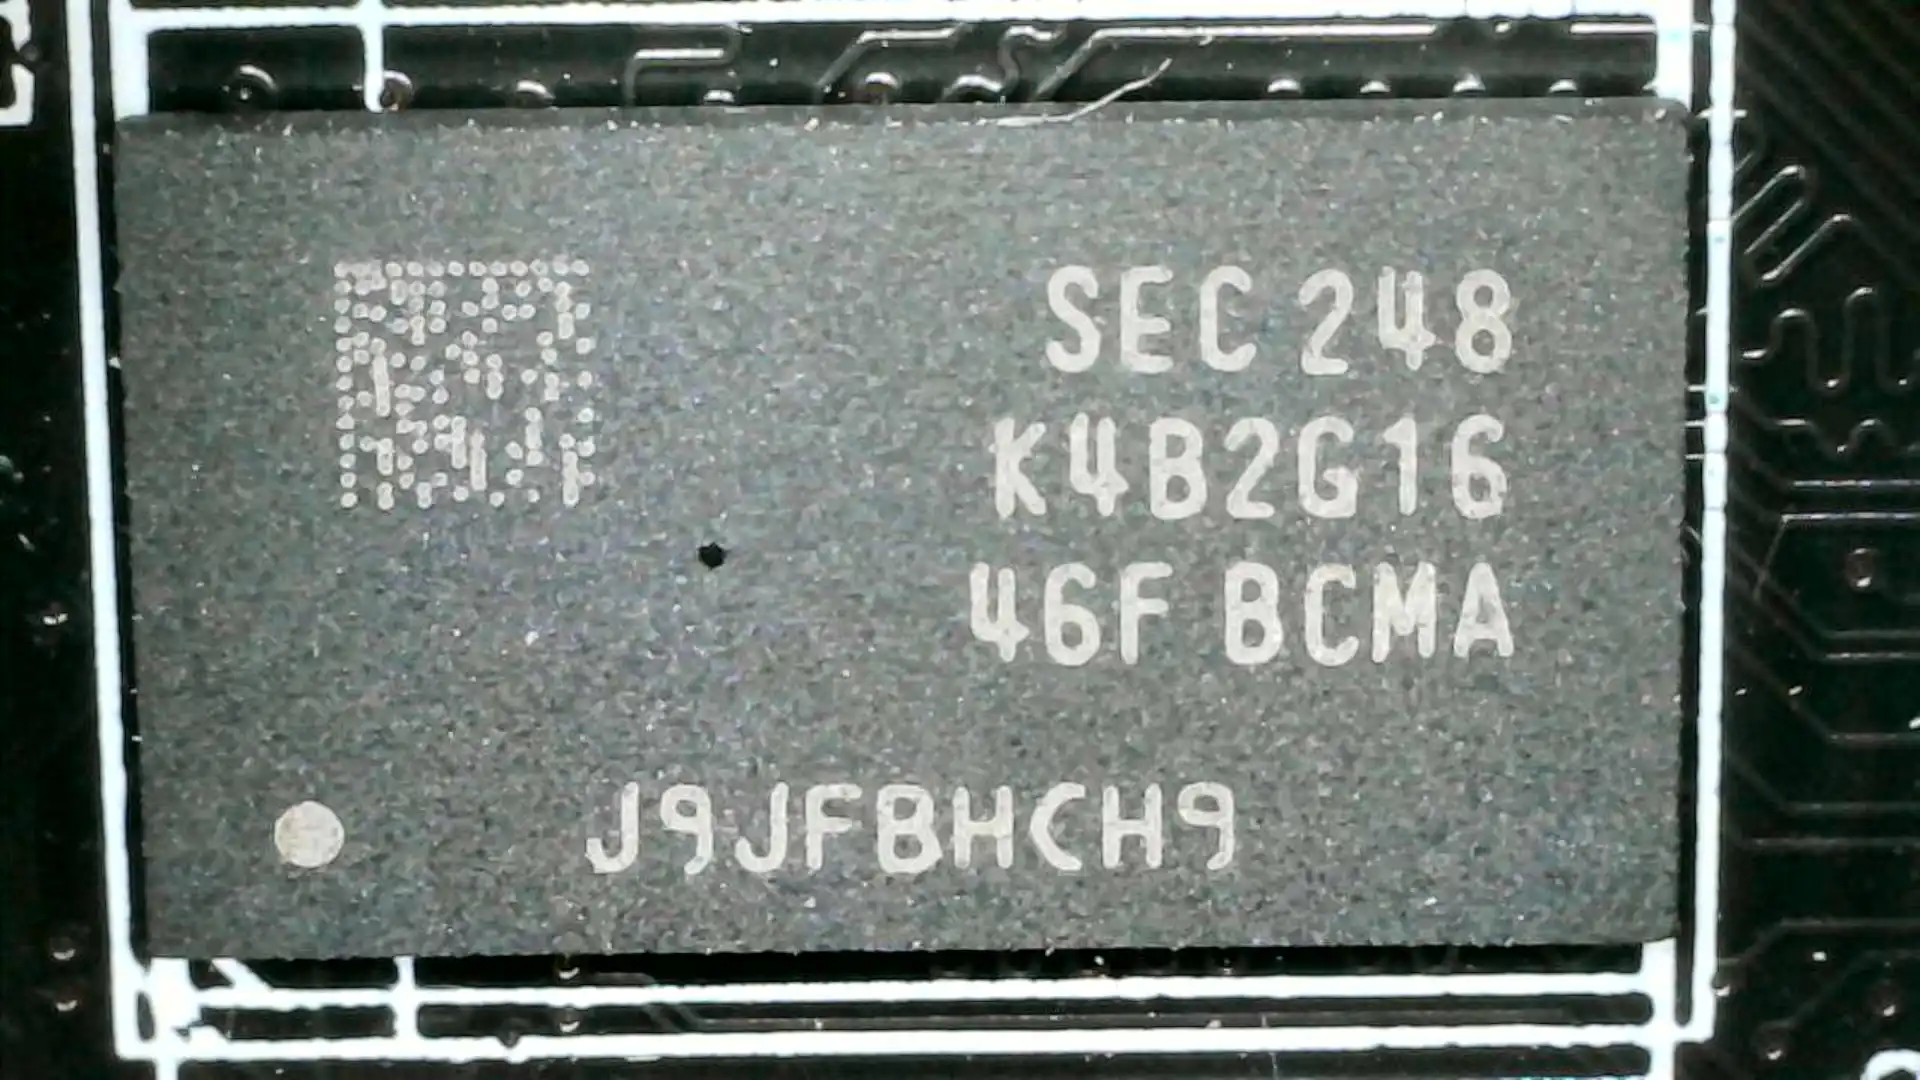
For our RAM, we’ve got a single 2 gigabit, again, 256 megabyte, Samsung DDR3 module. Yet again, datasheets were easy to find for this one with some linked on Samsung’s website.
Here’s our USB controller. I don’t have much to say on it. It’s a USB 2.0 Genesys Logic controller that’s billed as being low-power.

There’s a model number silkscreened on the board. I didn’t find any results for it on DuckDuckGo.
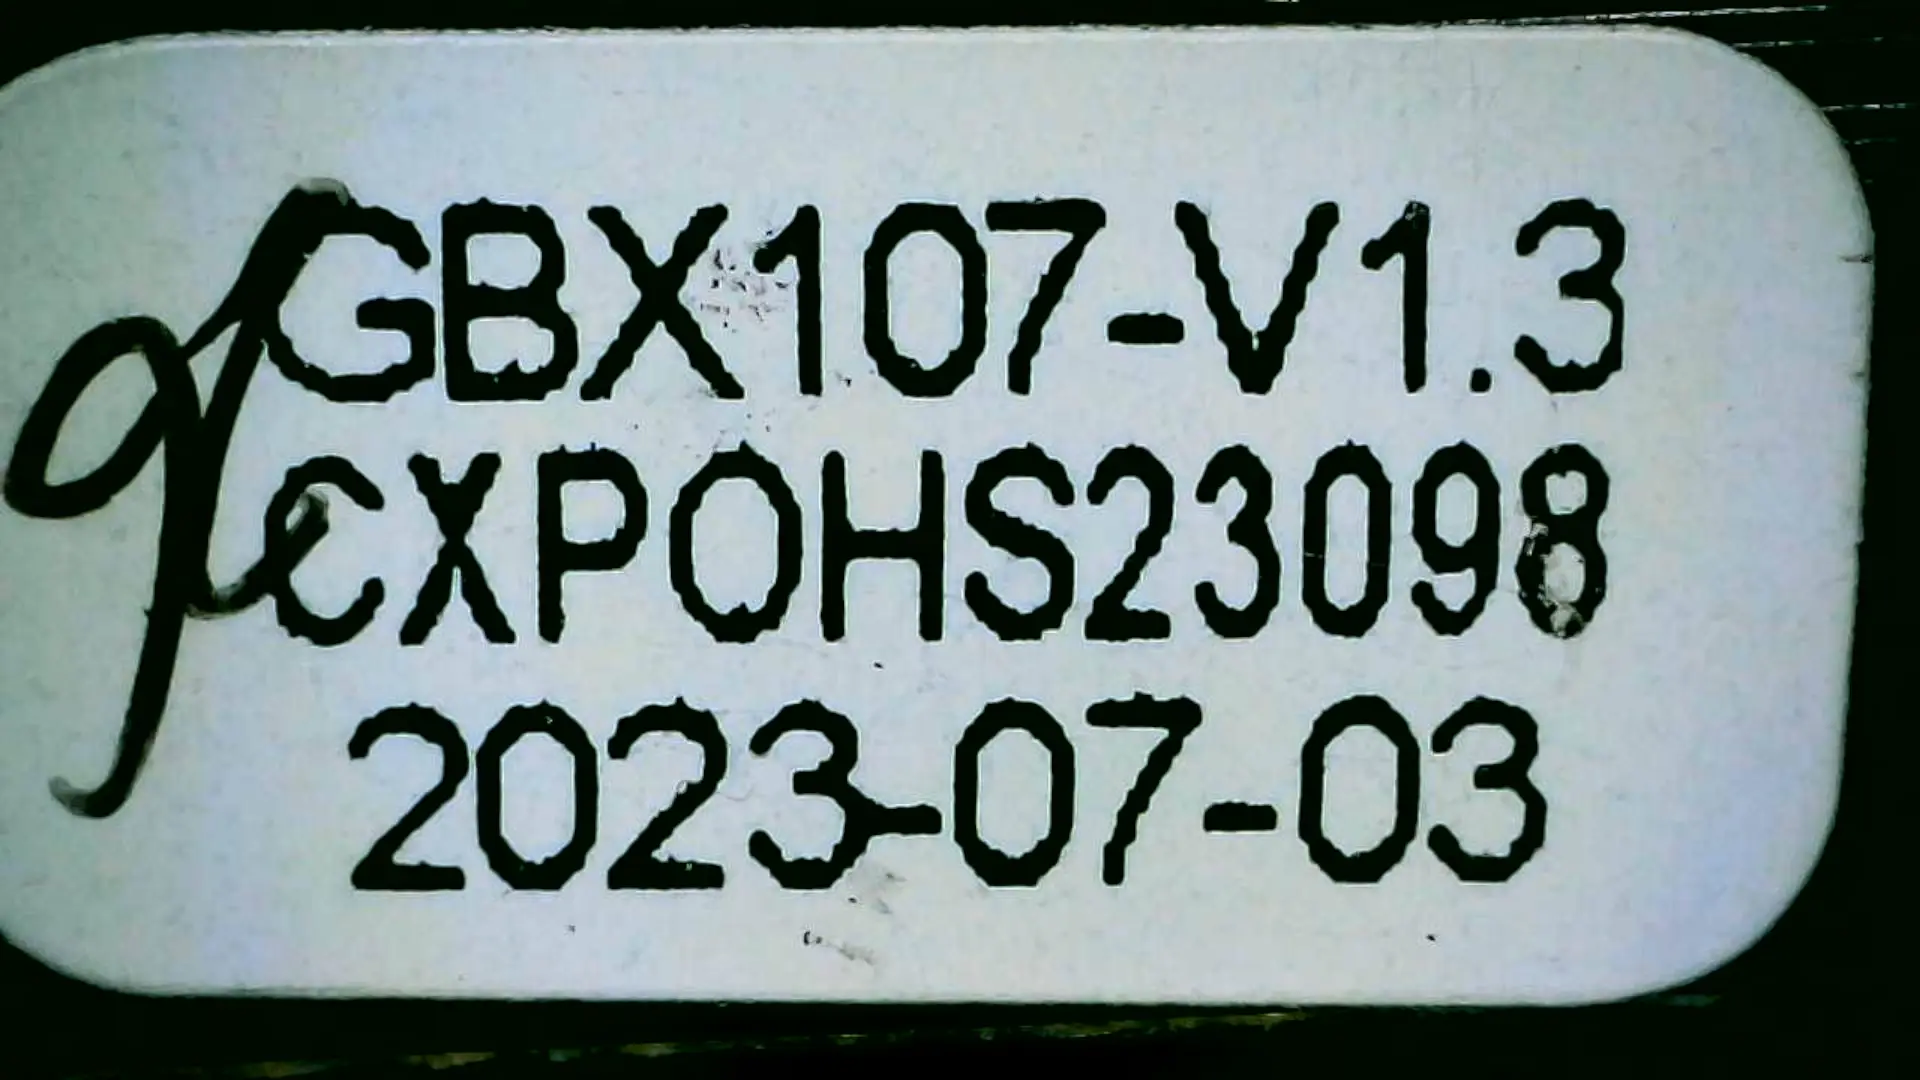
Here’s a sticker with more model number gibberish.
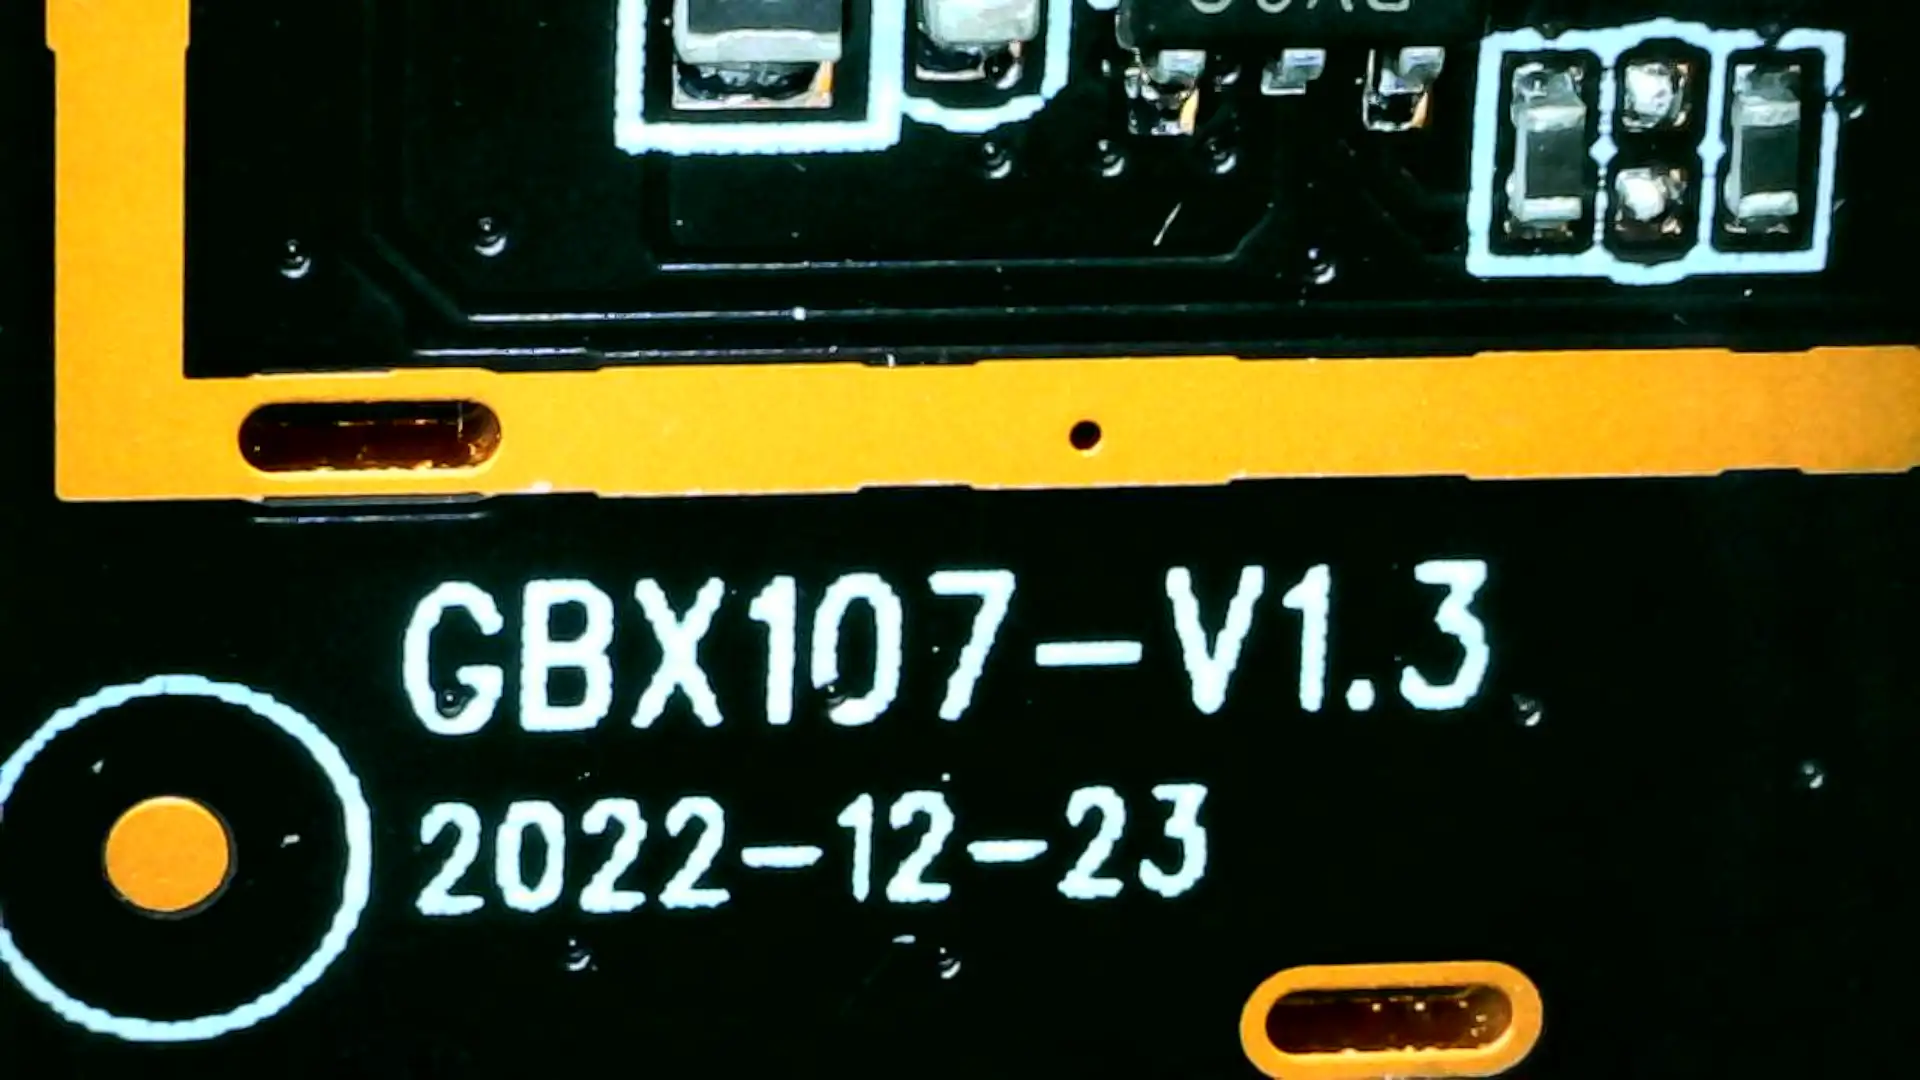
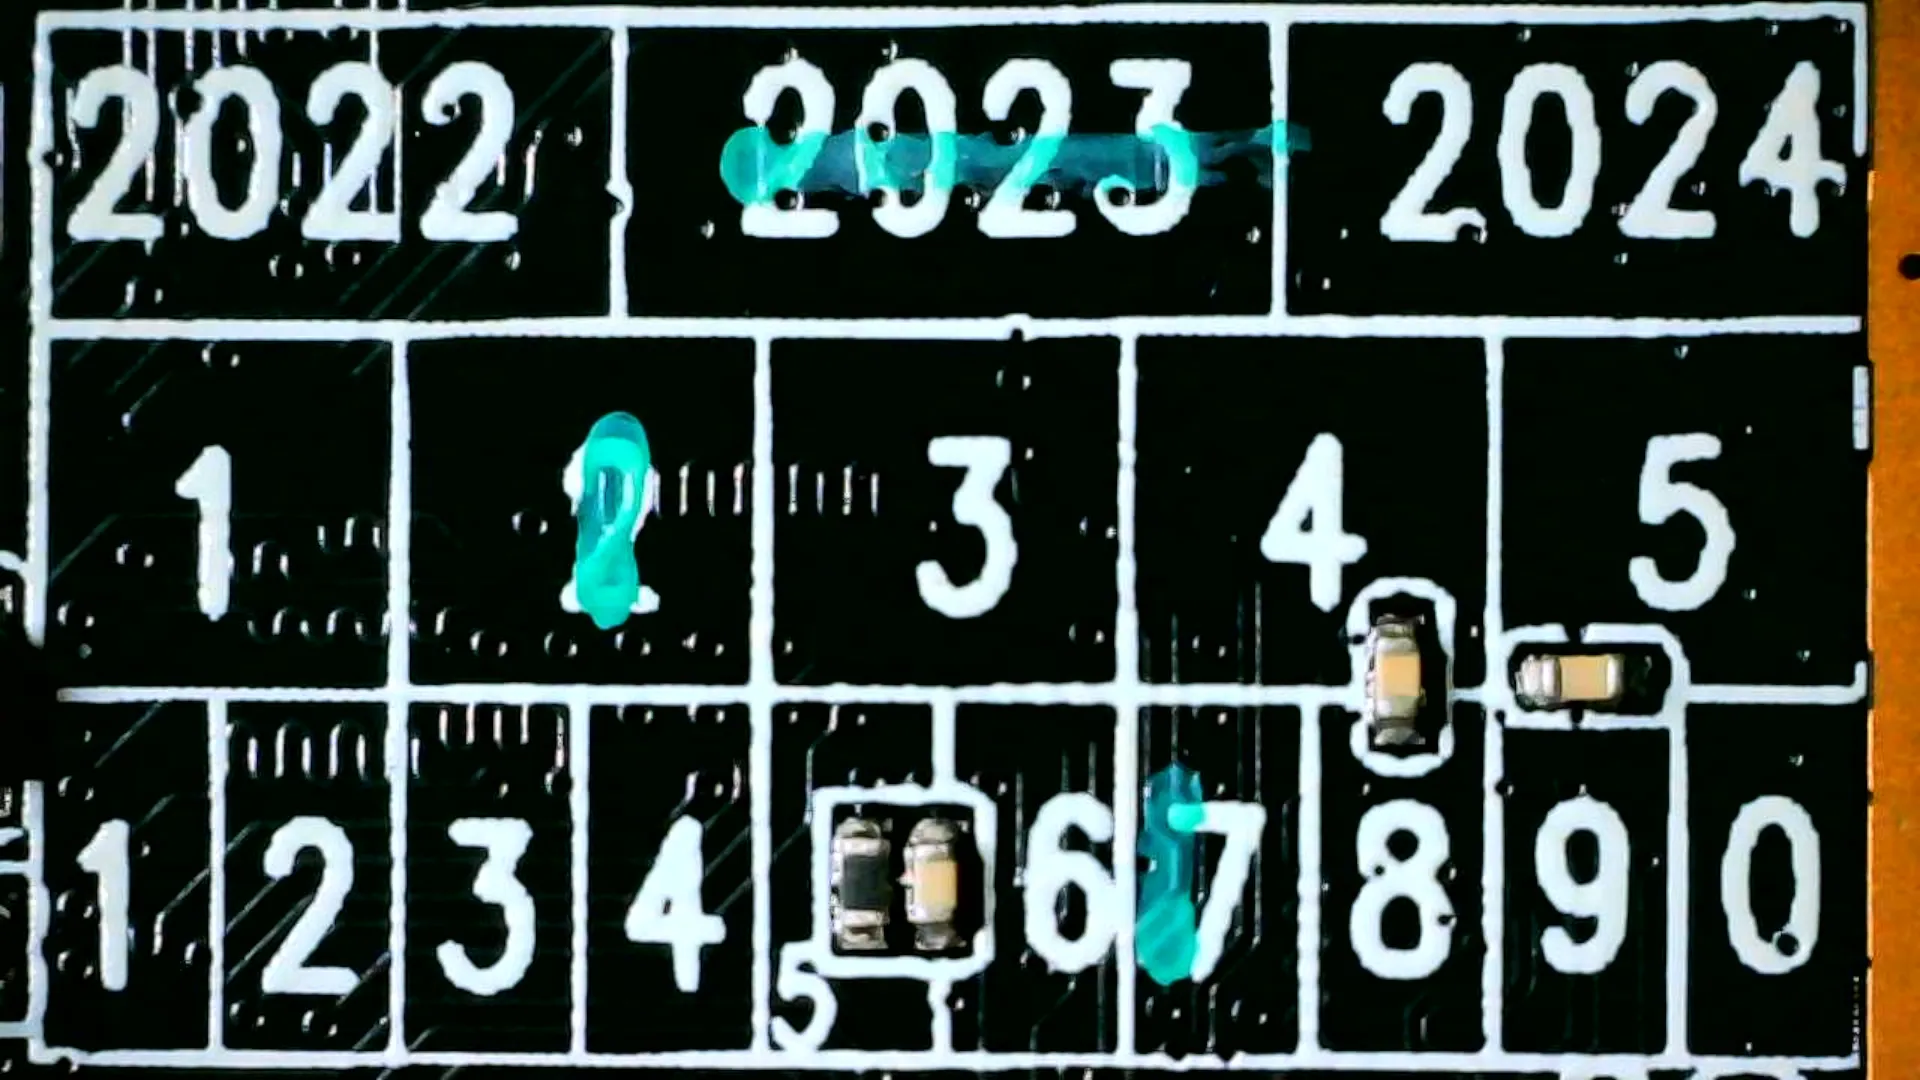
Finally, here’s some manufacturing date thingy that was silkscreened on the bottom and then marked with a marker after the fact.
RockUSB Mode
Now that we have all the hardware details, let’s start looking for a way to read the firmware! According to the
RockChip wiki, we can use a mode called RockUSB to boot into
a sort of bootloader mode. This mode is automatically engaged if no storage is present on the system. We can disable
the SPI by, according to the wiki, “[shorting] the spi signal to GND”. Having no idea what they meant by this, I picked the
most important SPI signal I could think of, CLK, and shorted it to ground like so.
I applied power to the board via my laptop. Rather than the RGB lights on top turning on as they usually do, there were no signs of life.
However, I opened a terminal and checked lsusb…
lsusb

...

Bus 003 Device 103: ID 2207:301a Fuzhou Rockchip Electronics Company RK3036 in Mask ROM mode
Bingo! We’ve got the device in RockUSB mode!
It was at this point that I started to fret, however. What if I wasn’t the first to try to run DOOM on this console? What if this idea has already been executed and I’m simply late to the party? I’d been avoiding searching the web for this console explicitly in order to avoid exposure to coming across other’s work so I could grow my plan organically, but my curiosity got the best of me. I fired up DuckDuckGo, and…

A firmware update? I opened the instructions PDF.
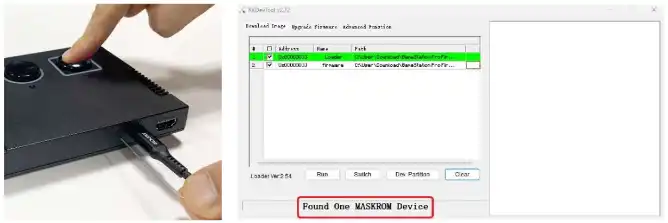
A firmware update with goddamn RockChip development tools???
Using This to Our Advantage
OK, wow. That was really unexpected. So now we actually know what the RESET button does, at least before startup. I tried
booting the unit the same way they do in the guide, and sure as shit, it ends up in RockUSB mode all the same as before, just much
much simpler. I had already gotten rkdeveloptool, the Linux/Unix equivalent of the software used in the
PDF guide, running in a virtual machine, however, I was unable to find the proper files to load from MASKROM mode into usbplug
mode. This is important because certain features such as DRAM access are not available in MASKROM mode, and due to this, you can’t do
much. For example, if you run the “print partition table”, i.e., ppt, command while in MASKROM mode, you’ll be greeted as such:
sudo rkdeveloptool ppt
Read GPT failed!
Read parameter failed!
Not found any partition table!
However, if we load the Loader.bin file contained in the update .zip file and try again, we get somewhere!
sudo rkdeveloptool db Loader.bin && sleep 1 && sudo rkdeveloptool ppt
Downloading bootloader succeeded.
**********Partition Info(GPT)**********
NO  LBA       Name
00  00000040  IDBlock
01  00000400  uboot
02  00000800  boot
03  00002C00  rootfs
04  00027C00  data
Incredible. It was at this point that I attempted to make a backup of the internal SPI. I figured it would be a good idea to have one if I was to move forward with this. I started by grabbing details on the flash.
sudo rkdeveloptool rfi
Flash Info:
	Manufacturer: SAMSUNG, value=00
	Flash Size: 230 MB
	Flash Size: 471040 Sectors
	Block Size: 128 KB
	Page Size: 2 KB
	ECC Bits: 0
	Access Time: 40
	Flash CS: Flash<0>
I then attempted to read all sectors on the flash to a file.
sudo rkdeveloptool rl 0 471040 Backup.img
Read LBA to file (100%)
I then wrote the file back to the flash.
sudo rkdeveloptool wl 0 Backup.img
Write LBA from file (100%)
I then went to boot the console, aaaaand, it won’t boot anymore. Shit. The original firmware is now lost media, womp womp. I’m still not sure what I got wrong. Alas, I still had the firmware update file! I went to write it the same as before, but this time, it actually booted! Neat! Now we have a file that writes properly that we can start modifying!
Exploring the Firmware Update Image
Let’s get started on that firmware file. Using a tool named binwalk, we can search for data stored within the provided
Firmware.img. Let’s give that a try.
binwalk -e Firmware.img
DECIMAL       HEXADECIMAL     DESCRIPTION
--------------------------------------------------------------------------------
123688        0x1E328         CRC32 polynomial table, little endian
353064        0x56328         CRC32 polynomial table, little endian
743356        0xB57BC         SHA256 hash constants, little endian
786764        0xC014C         CRC32 polynomial table, little endian
799274        0xC322A         Android bootimg, kernel size: 1684947200 bytes, kernel addr: 0x64696F72, ramdisk size: 1763734311 bytes, ramdisk addr: 0x6567616D, product name: "ddr 0x%08x size %u KiB"
966800        0xEC090         Flattened device tree, size: 3307 bytes, version: 17
1048576       0x100000        Android bootimg, kernel size: 4365048 bytes, kernel addr: 0x10008000, ramdisk size: 0 bytes, ramdisk addr: 0x0, product name: ""
1050624       0x100800        Linux kernel ARM boot executable zImage (little-endian)
1077168       0x106FB0        gzip compressed data, maximum compression, from Unix, last modified: 1970-01-01 00:00:00 (null date)
5418496       0x52AE00        Flattened device tree, size: 24040 bytes, version: 17
5767168       0x580000        Squashfs filesystem, little endian, version 4.0, compression:gzip, size: 70742377 bytes, 1639 inodes, blocksize: 131072 bytes, created: 2023-12-08 06:48:50
83361792      0x4F80000       Linux EXT filesystem, blocks count: 139264, image size: 142606336, rev 1.0, ext2 filesystem data, UUID=ca7a0f82-7739-42c1-b83e-238b500f500f
Looking at our binwalk output, it looks like we’ve got two interesting partitions: A squashfs partition and an EXT2 partition.
Let’s look at what’s in our squashfs partition!
ls _Firmware.img.extracted/squashfs-root/ -lhn
total 24K
drwxr-xr-x 1 1000 1000  698 Dec  8 00:48 bin
lrwxrwxrwx 1 1000 1000    8 Jun  9  2020 data -> userdata
drwxr-xr-x 1 1000 1000   18 Dec  6 05:15 dev
drwxr-xr-x 1 1000 1000  528 Dec  8 00:48 etc
-rwxr-xr-x 1 1000 1000  178 Dec  6 05:15 init
drwxr-xr-x 1 1000 1000 1.1K Dec  8 00:48 lib
lrwxrwxrwx 1 1000 1000    3 Dec  6 04:30 lib32 -> lib
lrwxrwxrwx 1 1000 1000   11 Dec  6 04:40 linuxrc -> bin/busybox
drwxr-xr-x 1 1000 1000    0 Jun  9  2020 media
drwxr-xr-x 1 1000 1000   12 Dec  6 05:10 mnt
drwxr-xr-x 1 1000 1000    0 Dec  6 05:10 oem
drwxr-xr-x 1 1000 1000    0 Jun  9  2020 opt
drwxr-xr-x 1 1000 1000    0 Jun  9  2020 proc
drwx------ 1 1000 1000    0 Jun  9  2020 root
drwxr-xr-x 1 1000 1000    0 Jun  9  2020 run
drwxr-xr-x 1 1000 1000 1.2K Dec  8 00:48 sbin
lrwxrwxrwx 1 1000 1000   10 Dec  6 05:10 sdcard -> mnt/sdcard
drwxr-xr-x 1 1000 1000    0 Jun  9  2020 sys
drwxrwxrwt 1 1000 1000    0 Jun  9  2020 tmp
lrwxrwxrwx 1 1000 1000   10 Dec  6 05:10 udisk -> media/usb0
drwxr-xr-x 1 1000 1000   16 Dec  8 00:48 userdata
drwxr-xr-x 1 1000 1000   56 Jan 23  2021 usr
drwxr-xr-x 1 1000 1000   58 Dec  6 05:15 var
Alright, looks like this is our root partition. Squashfs is supposed to be read-only, so that would make sense contextually speaking. What does our EXT2 partition look like?
ls _Firmware.img.extracted/ext-root -lhn
total 28K
drwxr-xr-x 1 1000 1000   44 Dec 30 00:04 Games
-rw-r--r-- 1 1000 1000  652 Dec 30 00:04 asound.conf
-rw-r--r-- 1 1000 1000   20 Dec 30 00:04 compiling_time.txt
-rw-r--r-- 1 1000 1000  16K Dec 30 00:04 database.sqlite3
-rw-r--r-- 1 1000 1000 1.6K Dec 30 00:04 start_local_sd.sh
OK, it appears the games are stored on the EXT2 partitions. Digging into the other files on the root of this partition,
the two standouts are database.sqlite3, which appears to be for saving a recent games list, and start_local_sd.sh, which
appears to be the script that spawns Retroarch.
Digging around the squashfs partition, I found a few interesting paths. Here they are:
| Path | Contents |
|---|---|
/etc/init.d/S49Launcher |
Startup script for the console’s software. |
/usr/bin/game |
What I presume to be the console’s home menu. It’s launched by the startup script. |
/usr/local/share/minigui/ |
LOTS of files for the main menu. Graphics in PNG, GIF, and JPEG format, an sqlite database with the details for each game, and audio files for music and sound effects. |
/usr/lib/libretro/ |
All libretro cores compiled for the system reside in this folder. |
On the note of available cores, here’s a list of every core the system ships with:
| Library Name | Emulated System | ID in start_local_sd.sh |
|---|---|---|
| Jungle2003_libretro.so | Arcade | 10 |
| Jungle2014_libretro.so | Arcade | 9 |
| Jungle2016_libretro.so | Arcade | 11 |
| a5200_libretro.so | Atari 5200 | 12 |
| a5200_libretro_new.so | Atari 5200 but NEW! | 13 |
| fceumm_libretro.so | Nintendo Entertainment System / Nintendo Famicom | 1 |
| genesisplusgx_libretro.so | Sega Genesis, Master System, Game Gear, etc. | 2 |
| mednafen_pce_fast_libretro.so | PC Engine / TurboGrafx 16 | 16 |
| mgba_libretro.so | Nintendo Gameboy Advance | 4 |
| prosystem_libretro.so | Atari 7800 | 6 |
| snes9x2002_libretro.so | Nintendo SNES / Super Famicom | N/A (Unused?) |
| snes9x_libretro.so | Nintendo SNES / Super Famicom | 3 |
| stella2014_libretro.so | Atari 2600 | 5 |
| stella_libretro.so | Atari 2600 | N/A (Unused?) |
| vice_xpet_libretro.so | Commodore 64 | 17 |
For those three Jungle20XX entries, I had a suspicion that those are MAME because I definitely recall there being a 2003 release of MAME.
I opened up Jungle2003_libretro.so in HxD and yep, I found may occurrences of the string “MAME 2003”. The same goes for
Jungle2016_libretro.so, where I found many occurrences of “MAME 2016”. I’m not entirely sure what version of MAME Jungle2014_libretro.so
is though. There’s only one reference to “MAME 2014” instead of the many featured in the other two. Regardless, it’s MAME. Not sure why
they renamed it.
The a5200 core is a bit ambiguously named, so I did my homework on this one. If we open the core in HxD, there’s a
few strings starting at hex 000202D0. For example, the string
Set the effective range of the emulated analog joystick when using the gamepad's left analog stick for movement. starts
at hex 00020E20 and ends at hex 00020E90. If we download
the source code for a5200, we can run a quick one-liner with grep to search the
entire source code for this string:
grep -Rnw . -e "Set the effective range of the emulated analog joystick when using the gamepad's left analog stick for movement."
./libretro/libretro_core_options.h:264:      "Set the effective range of the emulated analog joystick when using the gamepad's left analog stick for movement. Lower values equate to slower speeds. 'Auto' sets value based on cartridge checksum (requires good ROM dumps).",
There you have it, a5200 confirmed.
Reorganizing the table around the start_local_sd.sh script, we get the following:
| ID | Library or Executable |
|---|---|
| 0 | (Unassigned) |
| 1 | fceumm_libretro.so |
| 2 | genesisplusgx_libretro.so |
| 3 | snes9x_libretro.so |
| 4 | mgba_libretro.so |
| 5 | stella2014_libretro.so |
| 6 | prosystem_libretro.so |
| 7 | (Unassigned) |
| 8 | (Unassigned) |
| 9 | Jungle2014_libretro.so |
| 10 | Jungle2003_libretro.so |
| 11 | Jungle2016_libretro.so |
| 12 | a5200_libretro.so |
| 13 | a5200_libretro_new.so |
| 14 | virtualjaguar_libretro.so |
| 15 | /usr/bin/stella |
| 16 | mednafen_pce_fast_libretro.so |
| 17 | vice_xpet_libretro.so |
Two things to notice here. Entry 15 lists /usr/bin/stella rather than a Libretro core library. This is because the
script will run /usr/bin/stella instead of Retroarch with the stella_libretro.so core if it receives ID 15 for the core.
There’s also entry 14, which lists virtualjaguar_libretro.so. This core isn’t present on the console. Maybe at one point
the Gamestation Pro was to run Jaguar games? I’m not sure.
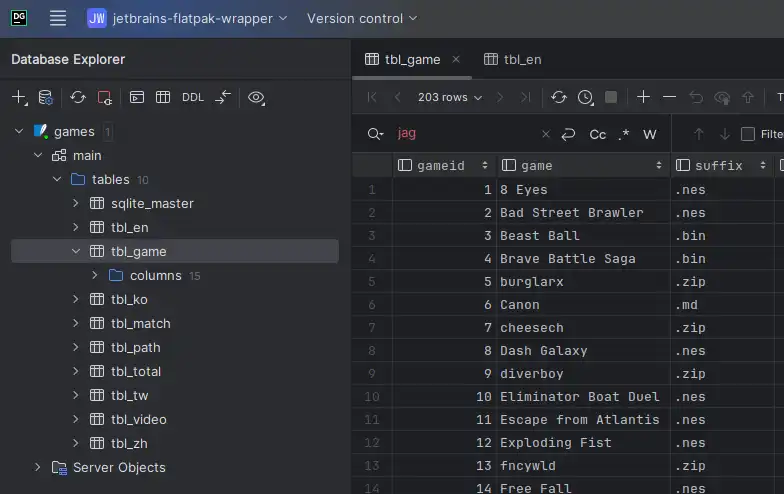
Now why spend so long harping on these IDs? I’ll tell you why. Looking into the sqlite database at
/usr/local/share/minigui/res/db/games.db, if we look at the table tbl_games, we see our answer. Let me set the
scene with yet another table.
| Column Name | Stored Data |
|---|---|
| gameid | Sequential unique ID for each game on the system. |
| game | The name of the game. This must be exactly the same as the ROM title on the EXT2 partition, minus the file extension. |
| suffix | File extension for the ROM on the EXT2 partition, i.e. “.nes” for the game “8 Eyes”. |
| release_date | The year in which the game was released. |
| players | Player count. String value that’s “1”, “1 OR 2”, or “2 ONLY”. |
| ko_id | Not certain. There’s another table, tbl_ko, with a few entries that have titles for another language. I assume it’s for translations of titles. |
| video_id | Same situation as ko_id. There’s tbl_video with a few mp4 filenames that line up with some IDs, so it must be for video trailers or something. |
| class_type | Not sure. Educated guess. The start_local script passes an option for a config file, so maybe this is what configures that option? |
| game_type | This ID lines up with the ID in the above table. Used to select the proper Libretro core. |
| save | Probably toggle for savestate functionality. Either 0 or 1. |
| timer | IDK why it’s called this but this is the directory the ROM file is in. |
| about | The “About” text that appears in the main menu. |
| controls | Also appears in the main menu, instructions for game controls. |
| vertical | Bool for selecting if the game is displayed vertically I think. |
OK, so if we know the general format of how to add a ROM, where the libraries are stored, and how the libraries are loaded,
we should be able to go as far as adding our own core without making significant changes. Thus, the goal was set of building and
loading prboom_libretro.so onto the console.
Baby Steps
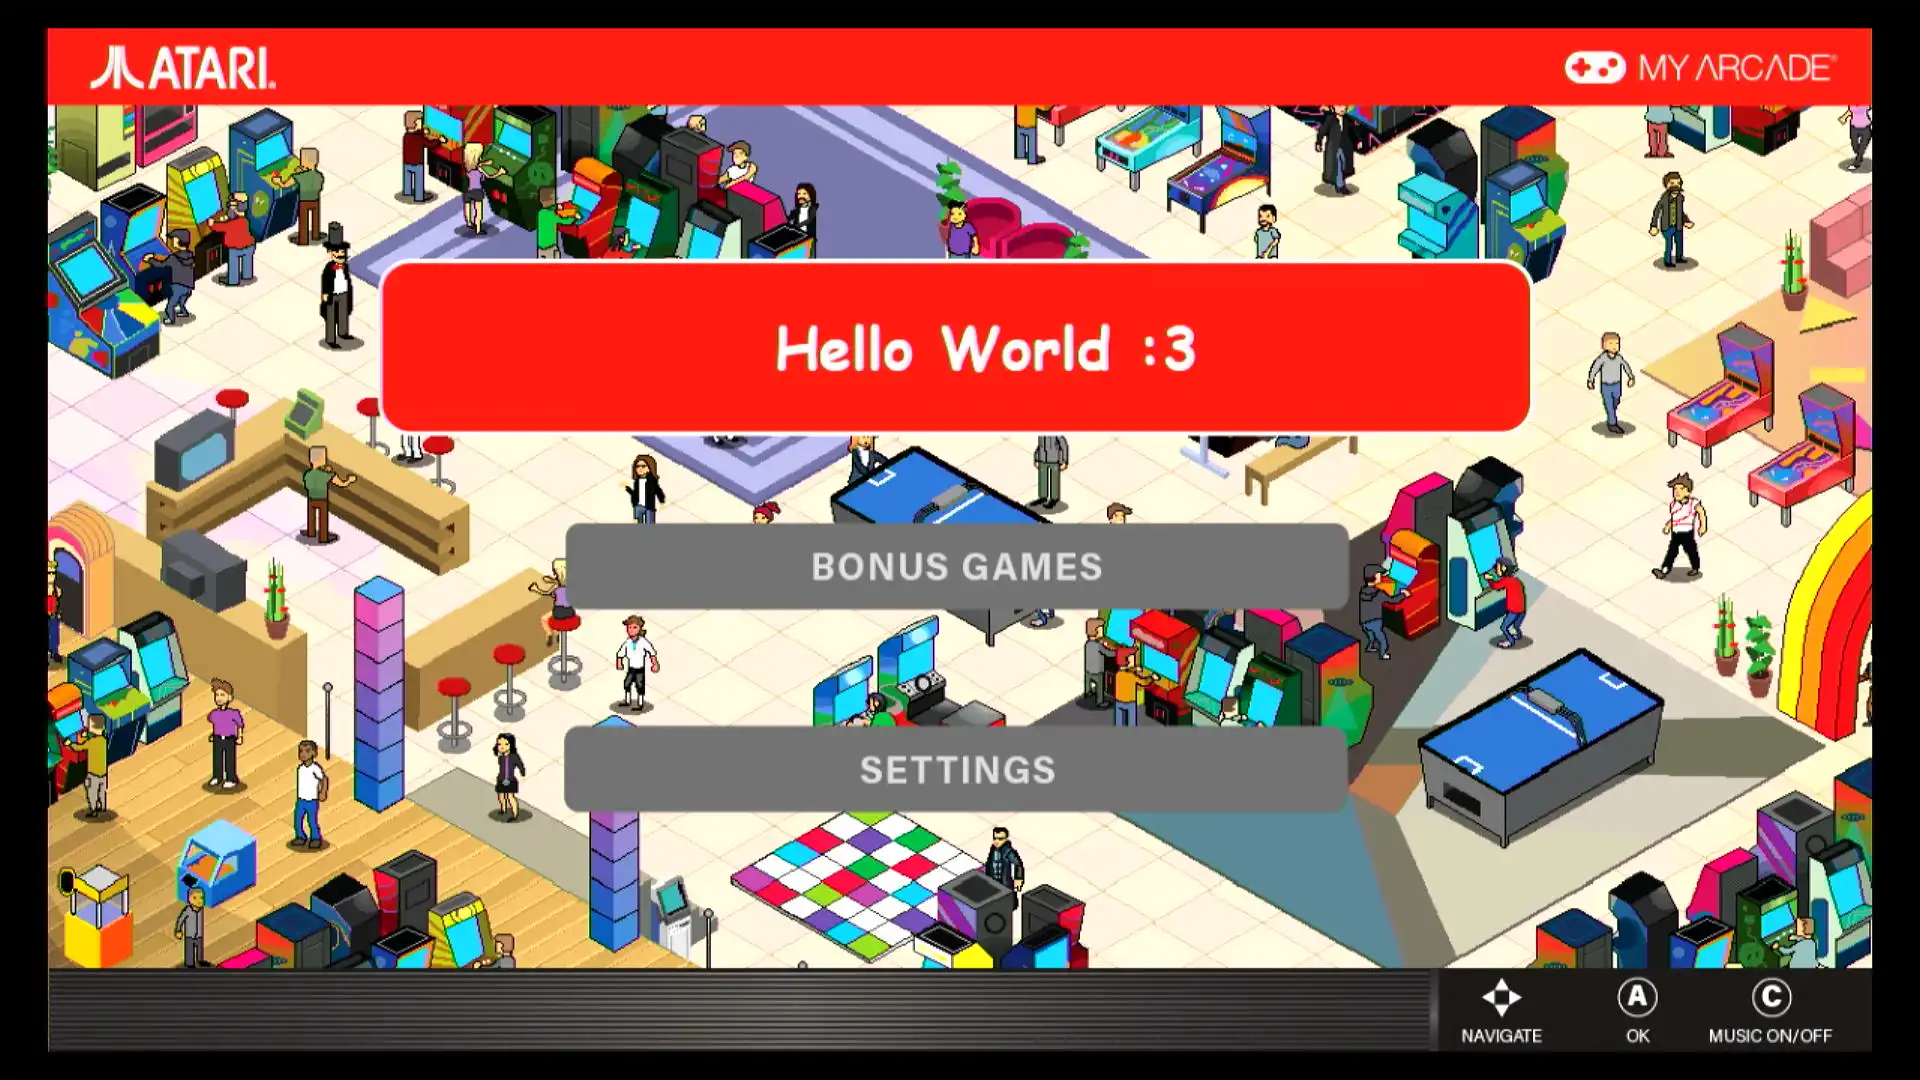
Setting goals is cool and all, but this metaphorical automobile gets goes from zero to sixty in two-point-eventually, so we’re going to need to start slow. So. We’ve got lot’s of PNG and JPEG graphics for the menu. An easy start would be to modify one of these graphics, find it in the menu, and check to see if our modification worked. Thankfully, this is an easy task. Without even connecting a controller, we’re already presented two graphics: The background, and the “Atari Games” button. I opened the “Atari Games” button in GIMP, set my Hello World, and exported the graphic.
There was one issue that I observed: The image grew in size after my edit. I have zero idea of how to partition this
device, so if partitions exceed their allocated space, I’m in trouble. Regardless, I pushed forth. Using mksquashfs, I compiled
a new rootfs partition.
mksquashfs squashfs-root squash.sqfs
Parallel mksquashfs: Using 4 processors
Creating 4.0 filesystem on squash.sqfs, block size 131072.
[=======================================================/] 2248/2248 100%

Exportable Squashfs 4.0 filesystem, gzip compressed, data block size 131072
	compressed data, compressed metadata, compressed fragments,
	compressed xattrs, compressed ids
	duplicates are removed
Filesystem size 63271.35 Kbytes (61.79 Mbytes)
	45.04% of uncompressed filesystem size (140462.55 Kbytes)
Inode table size 20681 bytes (20.20 Kbytes)
	30.82% of uncompressed inode table size (67108 bytes)
Directory table size 18311 bytes (17.88 Kbytes)
	49.63% of uncompressed directory table size (36897 bytes)
Number of duplicate files found 18
Number of inodes 1875
Number of files 1306
Number of fragments 133
Number of symbolic links 424
Number of device nodes 0
Number of fifo nodes 0
Number of socket nodes 0
Number of directories 145
Number of hard-links 0
Number of ids (unique uids + gids) 1
Number of uids 1
	kilobyte (1000)
Number of gids 1
	kilobyte (1000)
(Of course, this command snippet was made after the fact. Please pretend that the filesystem size is reported as over 70Mbytes.)
Wary but determined, I rsync‘d the new squashfs partition over to my virtual machine and wrote out the partition.
sudo rkdeveloptool wlx rootfs squash.sqfs
Write LBA from file (100%)
I fired up the console and…
Changes are present! Unfortunately though, after clicking the button to enter the games list, the console crashes. My hypothesis is that the change in size lead to the rootfs overflowing into the EXT2 partitition and overwriting some important data. Thus, we’re now faced with a new problem: What crap can we cut from the rootfs in order to make room for our changes?
Crap We Can Cut
After digging through the files, here’s a list of anything I can think of that goes unused or can go unused.
| Path | Size | Contents | Archive Link |
|---|---|---|---|
/usr/local/share/minigui/res/images/Scrolling.gif |
6.7MiB | A gif that scrolls a bunch of game box arts to the left. If I’m not mistaken, this graphic is used in the original firmware for the “Atari Games” button but goes unused in the new firmware. | /assets/posts/myarcadedoom/cutcrap/Scrolling.gif |
/usr/local/share/minigui/res/images/logo.mp4 |
1.8MiB | A video file that’s used for the startup animation. We can modify the startup script, /etc/init.d/S49Launcher, and comment out the line that plays the video for a faster boot and to cut out this video. |
/assets/posts/myarcadedoom/cutcrap/logo.mp4 |
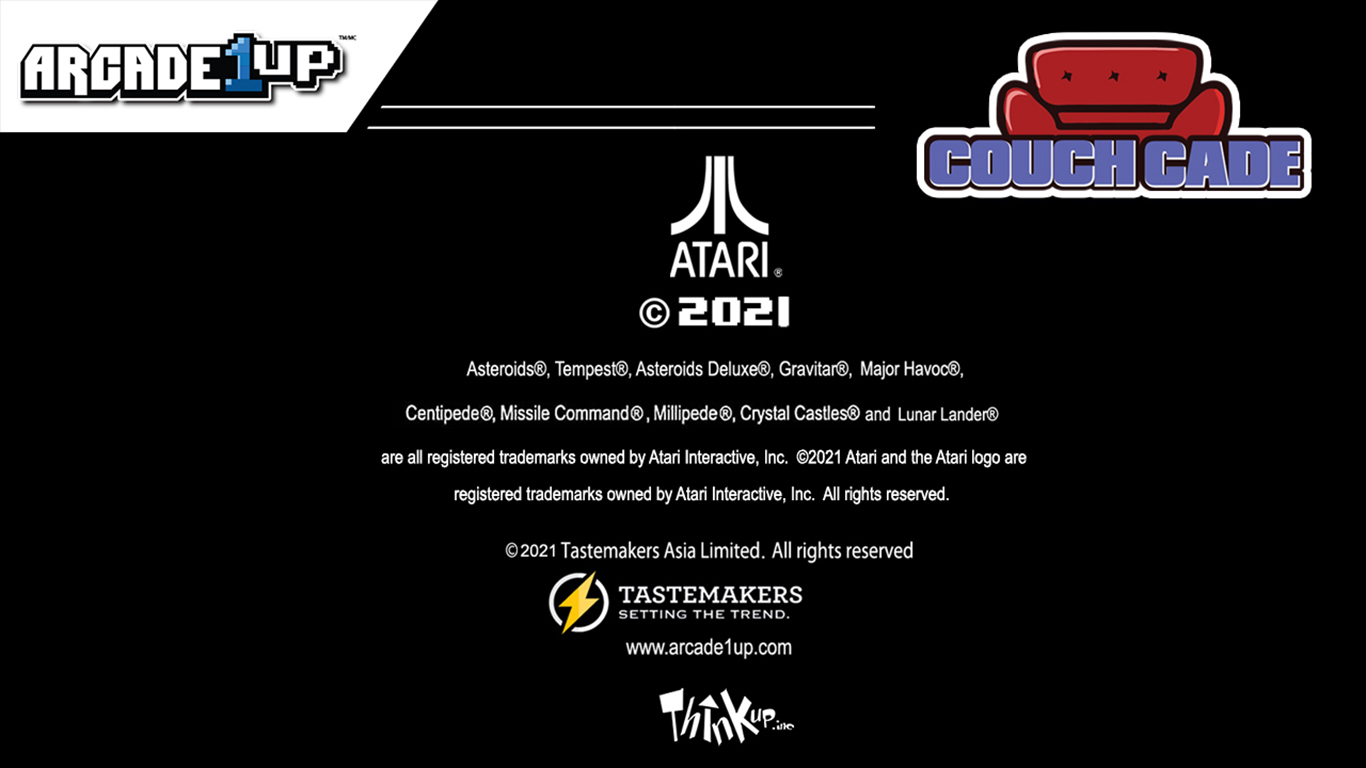
/usr/local/share/minigui/res/images/legal.jpg |
777.6KiB | A graphic seemingly used in the Arcade1Up Atari Couchcade. Strange that we see this graphic here as I don’t see any relation between Arcade1Up and MyArcade online. Atari must have given these files to MyArcade given the 2021 copyright date and MyArcade must have modified the graphics for their needs. | /assets/posts/myarcadedoom/cutcrap/legal.jpg |
/usr/local/share/minigui/res/images/logo.jpg |
69.3KiB | The Arcade1Up logo. | /assets/posts/myarcadedoom/cutcrap/logo.jpg |
/etc/gbqq1.wav |
9.1MiB | I’m not sure what this is for. It appears to be some form of foreign music. This is one of two occurrences of foreign music appering on this console that I’ve noticed, the other I’ll talk about later. | /assets/posts/myarcadedoom/cutcrap/gbqq1.wav |
If we remove all of these files, it frees up 18.5MiB on rootfs, which ought to be plenty for the new core and required libs. After re-squashing our rootfs and uploading again, rewriting the EXT2 partition as well to fix any possible corruption we may have done, the console begins behaving as expected again.
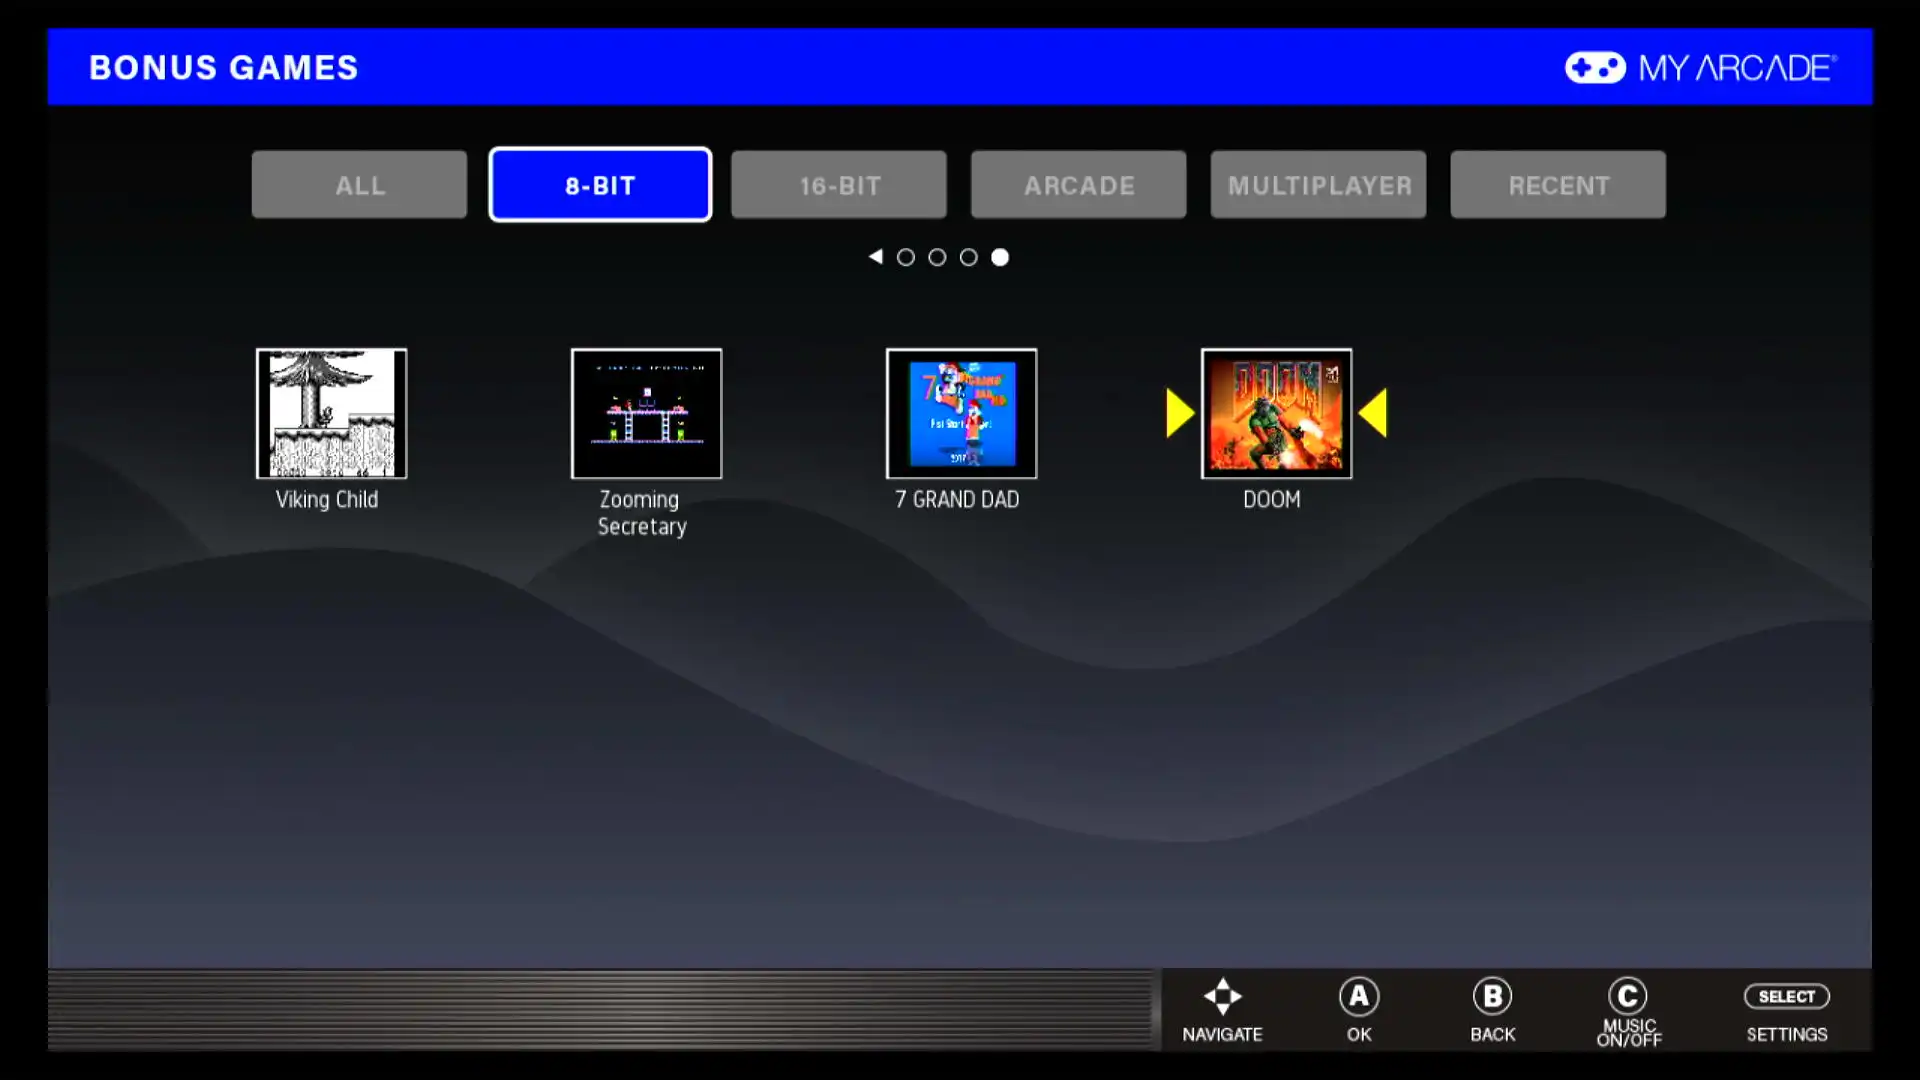
Adding A Game
So if we can make modifications to the partitions, let’s add a game! This’ll require changes to both the rootfs (squashfs) and data (EXT2) partitions. Thankfully, it’ll be a lot easier to modify the EXT2 partition. We can simply mount it as a loop device, write our changes to the empty space left over on the partition, of which there’s plenty, and then eject and write the partition back.
So, onto specifics. For the rootfs partition, we need to write the game into the database at /usr/local/share/minigui/res/db/games.db.
This’ll be easy enough as we just need to copy the entry for an existing game. Since there’s a few NES games, we’ll copy
and modify the entry for “8 Eyes” under the “Bonus Games” section. We’ll also need to remember to add the English title translation
to “table_en”.
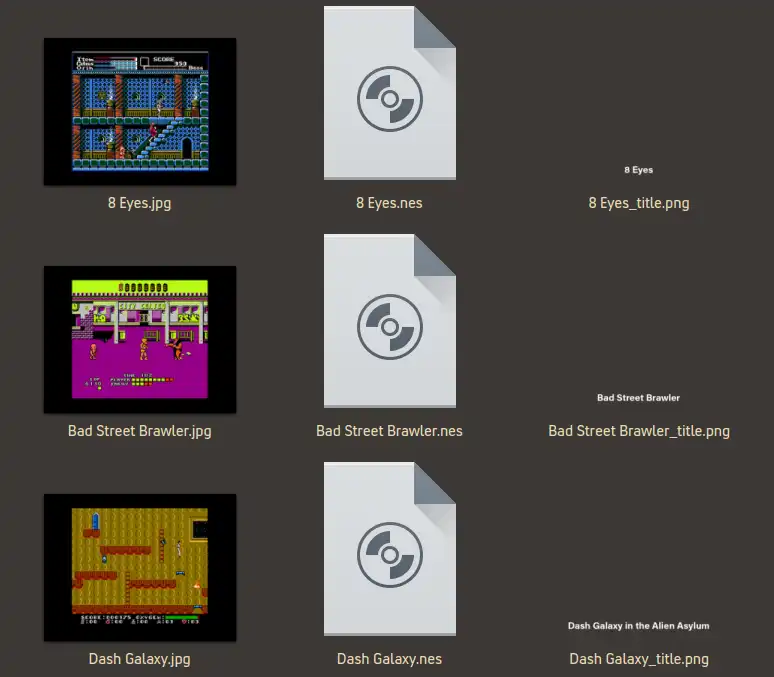
Next, we need to copy the game to the data partition and create graphics. For bonus games, there’s two graphics, the banner and a preview screenshot. Editing these in GIMP is more than enough to get these squared away. As for naming, as previously discussed, the game name in the database must exactly match the game title before the extension in terms of the ROM. For the banner, it’s the game name suffixed by “_title.png”. The screenshot is simply the name of the game suffixed with “.jpg”.
We write these back, boot up the console, and oh boy,
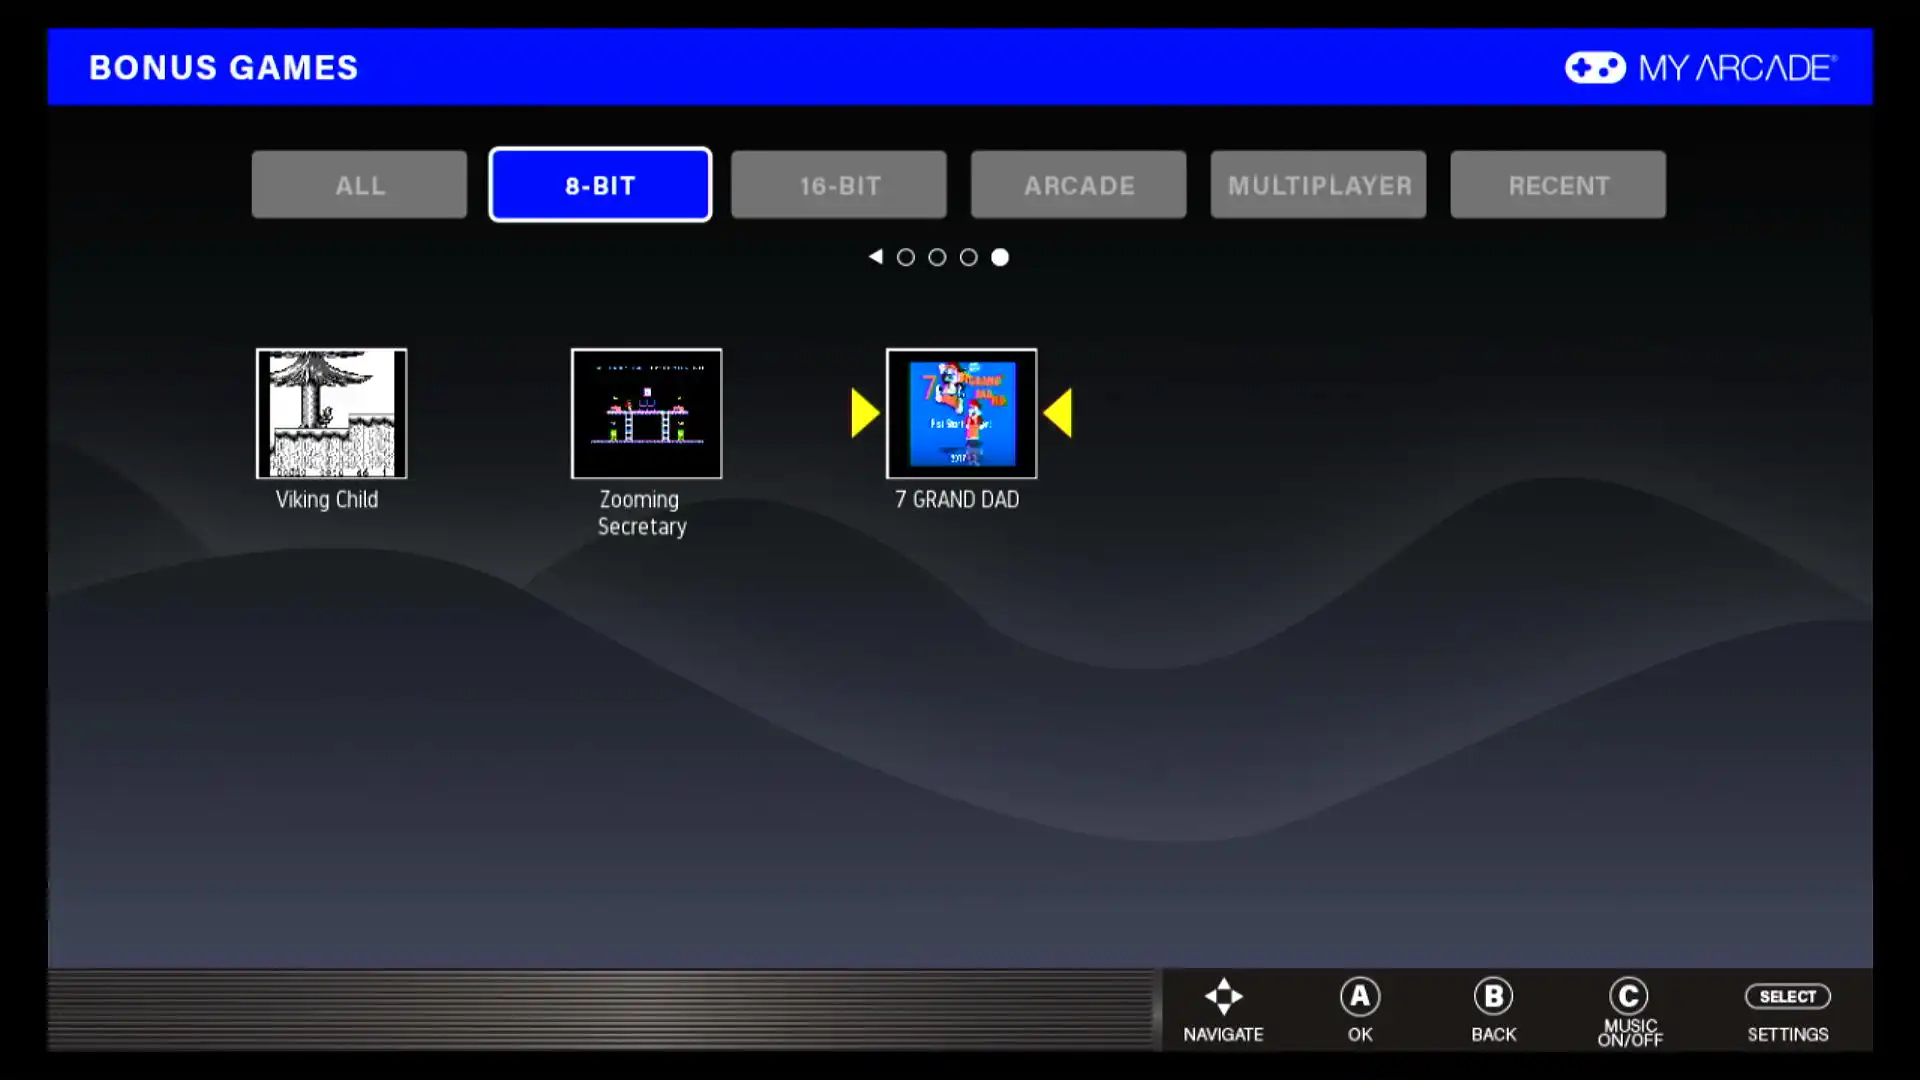
OH BOY,

OH BABY,
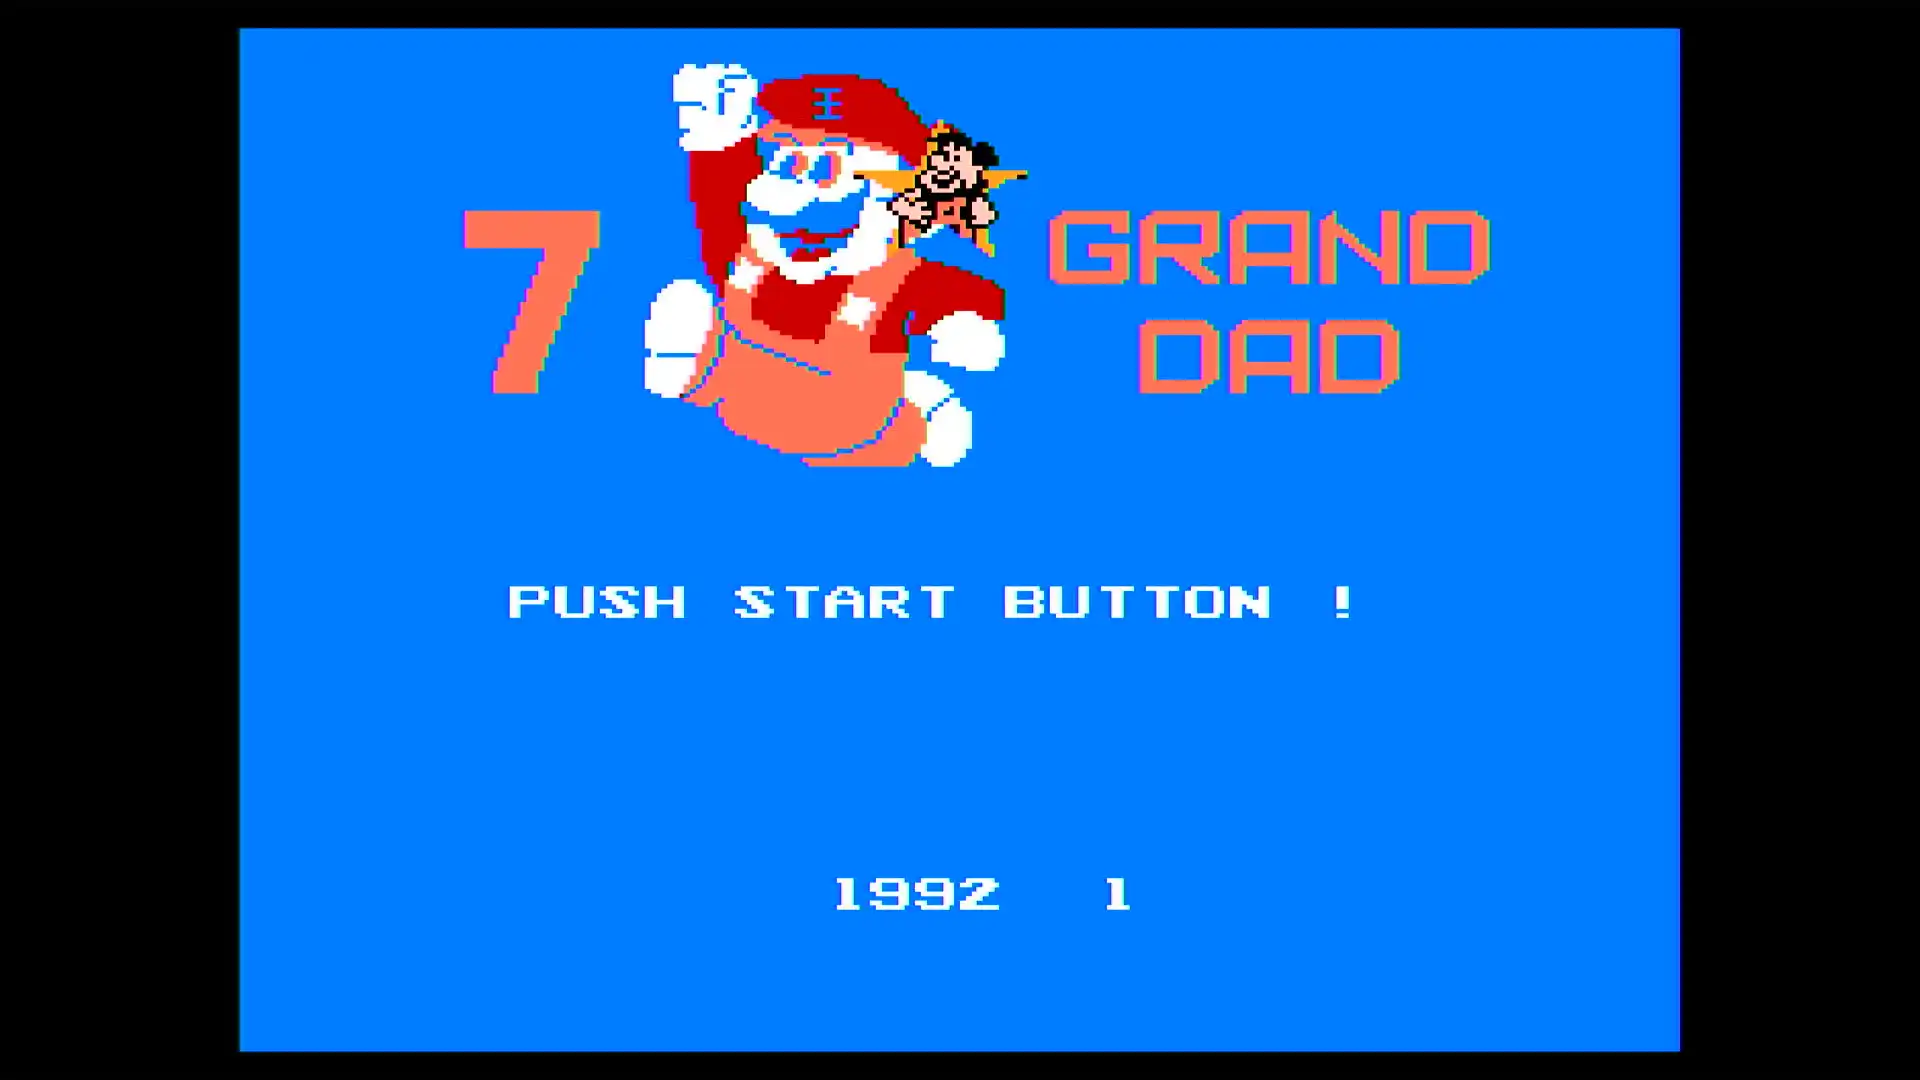
We’ve got 7 GRAND DAD running.
Cross-Compiling for the RK3032
Alright. We’ve got an item added to the menu. Let’s up the ante. DOOM time. Reading over the PrBoom sourceforge page, it looks as if we’ll need SDL1.2, SDL_mixer, and SDL_net. In retrospect, I’m not actually sure if these libs were needed, but I’ll still write out my spiel on them as figuring out how to get them to compile was a good primer for building the prboom core. Thankfully, while SDL1.2 is end-of-life, libsdl-org on GitHub has repos or branches for each lib for 1.2.
Given we’re compiling for arm, we need to choose the right GCC toolchain… or something. I’ve never actually cross-compiled before.
After skimming StackOverflow for a few hours, I came up with the following process. I’d export ARCH=arm
and CROSS_COMPILE=arm-linux-gnueabi-, and after setting up multilib on my virtual machine and pulling down all the required libs
for compilation, I’d build like so for the SDL libraries:
1) Running ./configure
./configure CC="arm-linux-gnueabihf-gcc" CPP="arm-linux-gnueabihf-cpp" --host=arm-linux-gnueabihf
configure: WARNING: If you wanted to set the --build type, don't use --host.
    If a cross compiler is detected then cross compile mode will be used.
checking build system type... x86_64-unknown-linux-gnu
checking host system type... arm-unknown-linux-gnueabihf
checking for arm-linux-gnueabihf-gcc... arm-linux-gnueabihf-gcc
checking for C compiler default output file name... a.out
checking whether the C compiler works... yes
checking whether we are cross compiling... yes

...

Generating dependencies for ./timidity/tables.c
Generating dependencies for ./timidity/timidity.c
Generating dependencies for ./dynamic_mp3.c
echo "\$(objects)/playwave.lo: \$(srcdir)/playwave.c" >>build-deps
echo "	\$(LIBTOOL) --mode=compile \$(CC) \$(CFLAGS) \$(SDL_CFLAGS) -c \$(srcdir)/playwave.c  -o \$@" >>build-deps
echo "" >>build-deps
echo "\$(objects)/playmus.lo: \$(srcdir)/playmus.c" >>build-deps
echo "	\$(LIBTOOL) --mode=compile \$(CC) \$(CFLAGS) \$(SDL_CFLAGS) -c \$(srcdir)/playmus.c  -o \$@" >>build-deps
echo "" >>build-deps
2) Running make
make
/bin/bash ./build-scripts/mkinstalldirs build
mkdir -p -- build
/bin/bash ./libtool --mode=compile arm-linux-gnueabihf-gcc  -D_GNU_SOURCE=1 -I/usr/local/include -I/usr/include/SDL -D_GNU_SOURCE=1 -D_REENTRANT -DCMD_MUSIC -DWAV_MUSIC -DMOD_MUSIC -I./mikmod -DMID_MUSIC -DUSE_TIMIDITY_MIDI -I./timidity -DMP3_MUSIC -I/usr/include/smpeg -I/usr/include/SDL -D_GNU_SOURCE=1 -D_REENTRANT -c ./effect_position.c  -o build/effect_position.lo
mkdir build/.libs
 arm-linux-gnueabihf-gcc -D_GNU_SOURCE=1 -I/usr/local/include -I/usr/include/SDL -D_GNU_SOURCE=1 -D_REENTRANT -DCMD_MUSIC -DWAV_MUSIC -DMOD_MUSIC -I./mikmod -DMID_MUSIC -DUSE_TIMIDITY_MIDI -I./timidity -DMP3_MUSIC -I/usr/include/smpeg -I/usr/include/SDL -D_GNU_SOURCE=1 -D_REENTRANT -c ./effect_position.c  -fPIC -DPIC -o build/.libs/effect_position.o

...
3) Running make install
make DESTDIR="${PWD}/destdir" install
/bin/bash ./build-scripts/mkinstalldirs /home/kilobyte/src/SDL_mixer-1.2.7/destdir/usr/local/include/SDL
mkdir -p -- /home/kilobyte/src/SDL_mixer-1.2.7/destdir/usr/local/include/SDL
for src in ./SDL_mixer.h; do \
    file=`echo $src | sed -e 's|^.*/||'`; \
    /usr/bin/install -c -m 644 $src /home/kilobyte/src/SDL_mixer-1.2.7/destdir/usr/local/include/SDL/$file; \
done
/bin/bash ./build-scripts/mkinstalldirs /home/kilobyte/src/SDL_mixer-1.2.7/destdir/usr/local/lib
mkdir -p -- /home/kilobyte/src/SDL_mixer-1.2.7/destdir/usr/local/lib
/bin/bash ./libtool --mode=install /usr/bin/install -c build/libSDL_mixer.la /home/kilobyte/src/SDL_mixer-1.2.7/destdir/usr/local/lib/libSDL_mixer.la
/usr/bin/install -c build/.libs/libSDL_mixer-1.2.so.0.2.5 /home/kilobyte/src/SDL_mixer-1.2.7/destdir/usr/local/lib/libSDL_mixer-1.2.so.0.2.5
(cd /home/kilobyte/src/SDL_mixer-1.2.7/destdir/usr/local/lib && { ln -s -f libSDL_mixer-1.2.so.0.2.5 libSDL_mixer-1.2.so.0 || { rm -f libSDL_mixer-1.2.so.0 && ln -s libSDL_mixer-1.2.so.0.2.5 libSDL_mixer-1.2.so.0; }; })
(cd /home/kilobyte/src/SDL_mixer-1.2.7/destdir/usr/local/lib && { ln -s -f libSDL_mixer-1.2.so.0.2.5 libSDL_mixer.so || { rm -f libSDL_mixer.so && ln -s libSDL_mixer-1.2.so.0.2.5 libSDL_mixer.so; }; })
/usr/bin/install -c build/.libs/libSDL_mixer.lai /home/kilobyte/src/SDL_mixer-1.2.7/destdir/usr/local/lib/libSDL_mixer.la
/usr/bin/install -c build/.libs/libSDL_mixer.a /home/kilobyte/src/SDL_mixer-1.2.7/destdir/usr/local/lib/libSDL_mixer.a
chmod 644 /home/kilobyte/src/SDL_mixer-1.2.7/destdir/usr/local/lib/libSDL_mixer.a
arm-linux-gnueabihf-ranlib /home/kilobyte/src/SDL_mixer-1.2.7/destdir/usr/local/lib/libSDL_mixer.a
libtool: install: warning: remember to run `libtool --finish /usr/local/lib'
After that, I had a folder in each source directory with the outputted libs compiled for armhf or something. Great! Now we just need to compile the PrBoom Libretro core. We’ll do that like so from the libretro-super repo:
First, fetch the core.
./libretro-fetch.sh prboom
PLATFORM: Linux
ARCHITECTURE: arm
TARGET: unix
=== PrBoom
Fetching prboom...
cd "/home/kilobyte/src/libretro-super/libretro-prboom"
git pull
Already up-to-date.
Then, compile it!
CC="arm-linux-gnueabihf-gcc" CXX="arm-linux-gnueabihf-g++" ./libretro-build.sh prboom
PLATFORM: Linux
ARCHITECTURE: arm
TARGET: unix
CC = arm-linux-gnueabihf-gcc
CXX = arm-linux-gnueabihf-c++
CXX11 =
CXX17 =
STRIP =
Compiler: CC="arm-linux-gnueabihf-gcc" CXX="arm-linux-gnueabihf-c++"
unix
unix
=== PrBoom
Building prboom...
cd "/home/kilobyte/src/libretro-super/libretro-prboom"

...


1 core(s) successfully processed:
	prboom
Awesome! We’ll copy these libs over to the rootfs. Now we need to get the game in the menu.
What we’ll do is add it the same way as 7 GRAND DAD, but this time, we’ll also modify the
start_local_sd.sh file so we can load the core. Since we have some empty slots, we’ll use one
of those. Let’s pick 7.
  7)
    GAME_LIB=
    ;;
Now we just add our core name!
  7)
    GAME_LIB=prboom_libretro.so
    ;;
We write out our new data to the relevant partitions, flash them over to the console, and like magic,
And the preview screen,

And in game!
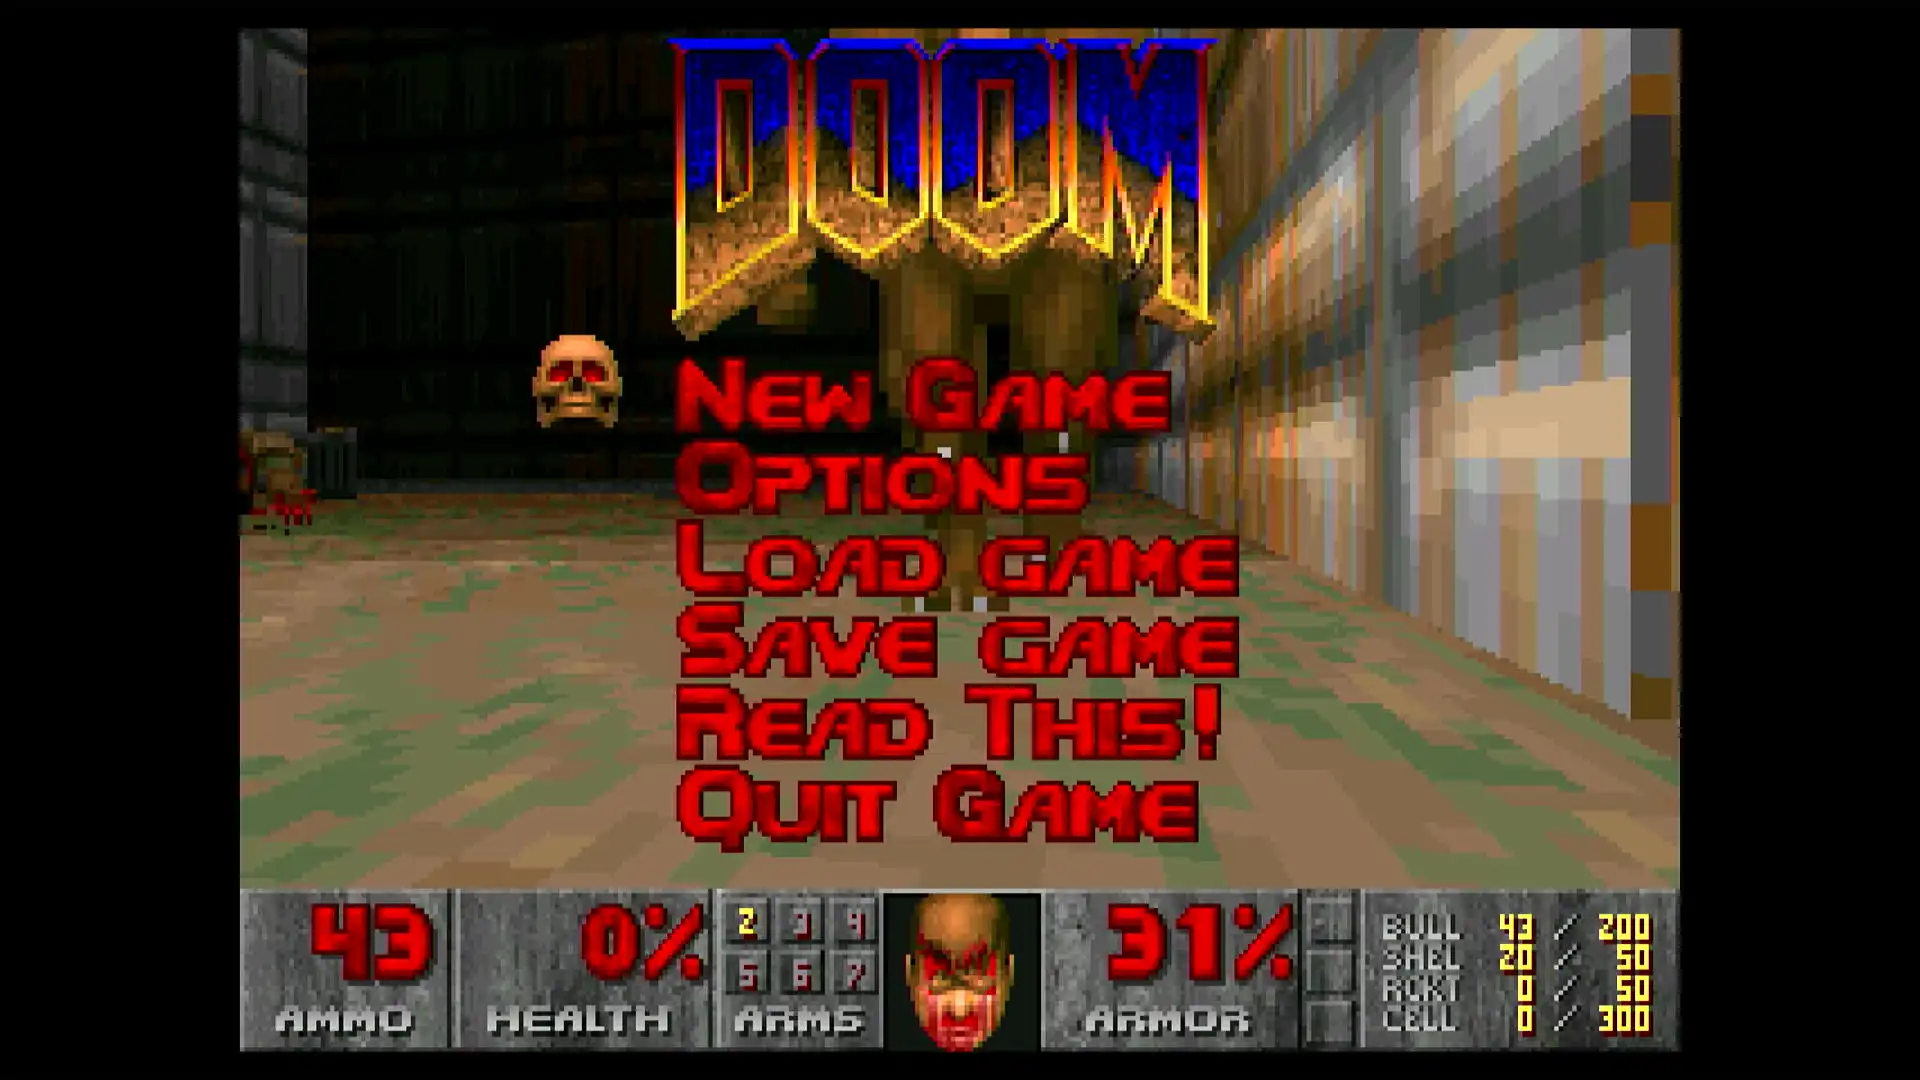
There’s the issue of the control binds not being properly configured, but it’s still enough to launch into the game and run around. You can also connect a controller over USB and that’ll work too. I was fortunate enough to have an Xbox 360 controller on me while out of town and found that it did have enough binds to move around, open doors, and shoot. I’m content with that. The MIDIs play, the resolution and framerate are acceptable, and even the console’s built in menus and savestates kind of work! Great!!
More Madness
We’ve attained our original goal of porting PrBoom, but since we’ve got the cross-compilation environment set up and a bit of left over free space, let’s do some other things!
FFMPEG
There’s an FFMPEG core for Retroarch, so why not play Bad Apple? I attempted to compile this for a while but ultimately
decided to just to use the FFMPEG binary that ships on the console. I modified the end of start_local_sd.sh as so for this:
if [ "$2" == 15 ]; then
#/usr/bin/stella "$3"
/usr/bin/stella $3 "$4"

elif [ "$2" == 0 ]; then
#4096kb's change
/usr/bin/ffplay -x 1280 -y 720 -hide_banner -nostats -fs -vcodec h264 -autoexit $4

else

/usr/bin/retroarch -y "12"\
	-k "$1"\
    -c "$3"\
    -L /usr/lib/libretro/$GAME_LIB "$4"

#/usr/lib/libretro/$GAME_LIB "$3"
fi
We then add the MP4 for Bad Apple just as any other game and attempt to load it.

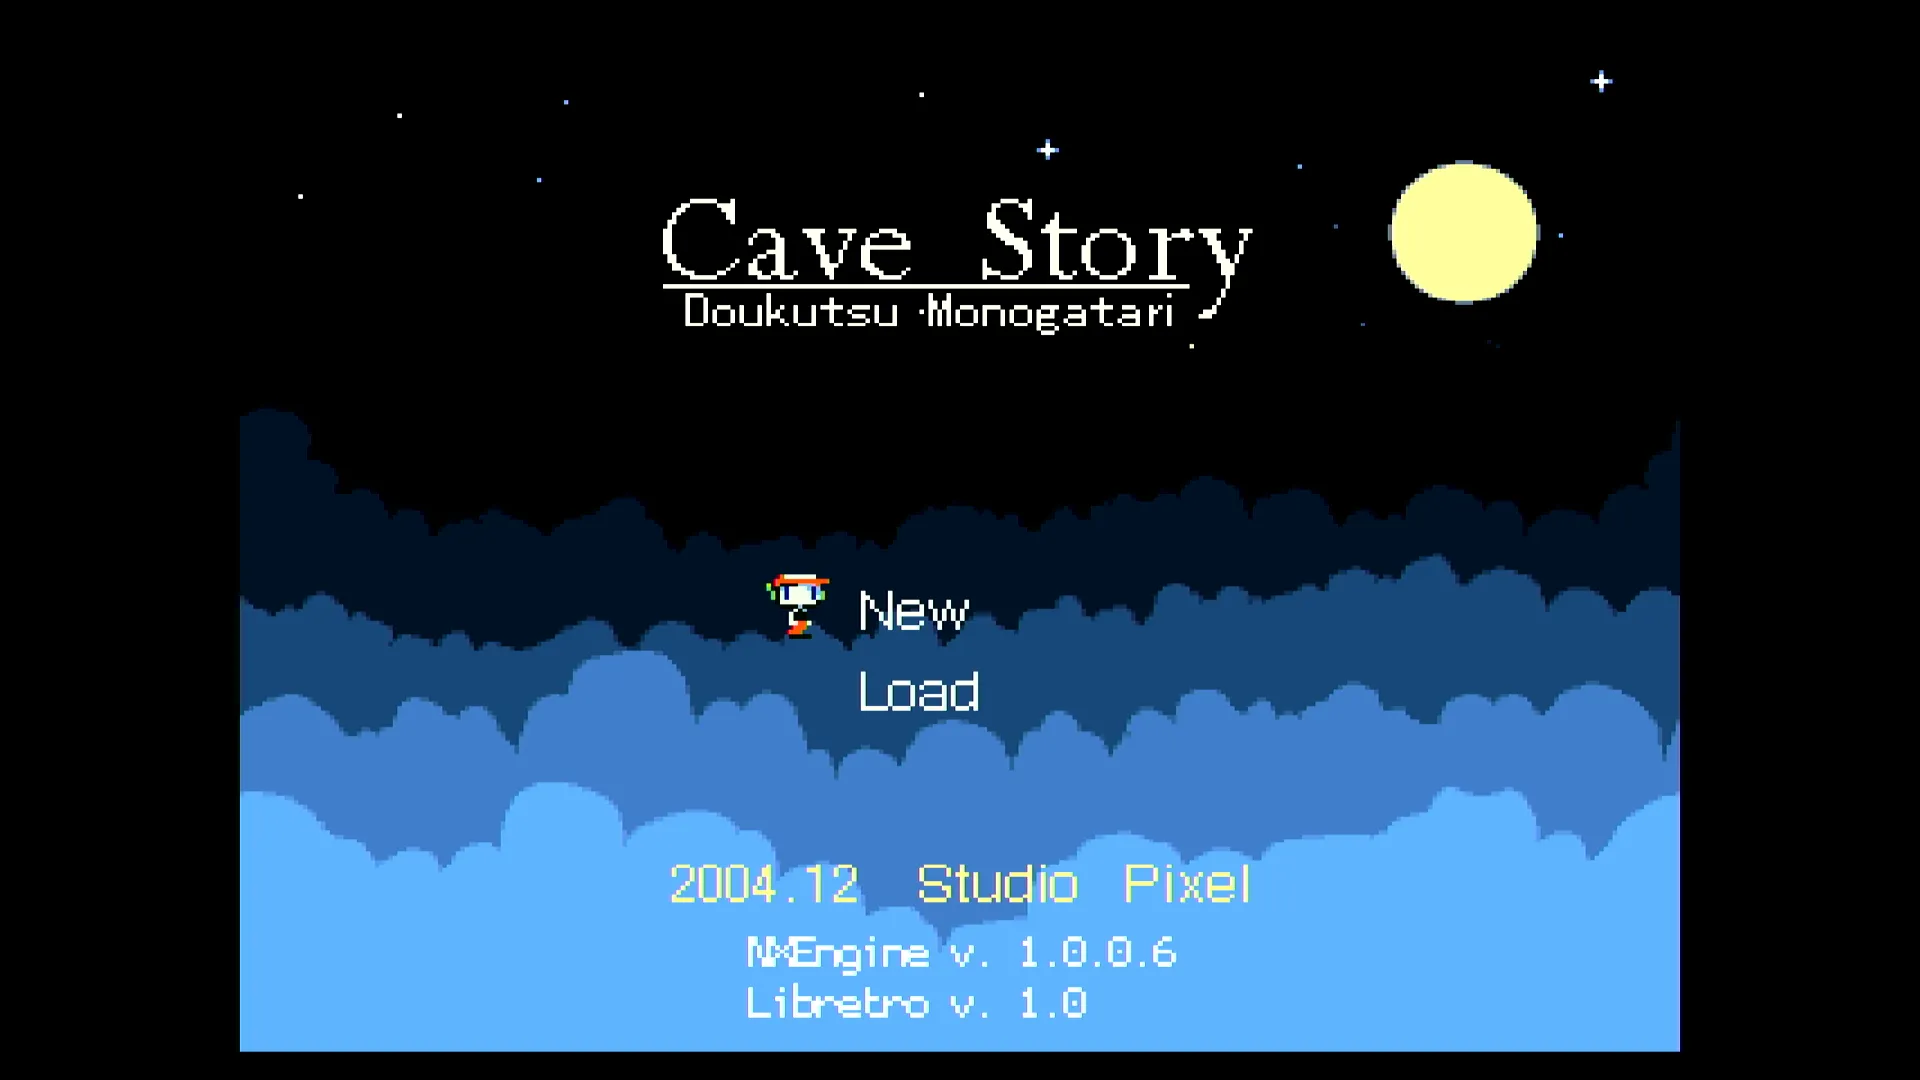
Cave Story
Here’s Cave Story alive and well. It was quite simple compiling the core and was implemented the same way as the DOOM core.
Mario 64
I tried for many hours to cross compile the Super Mario 64 decomp, mupen64plus, and parallel64, but alas, I could not get this shit to run! Maybe I’ll find a Raspberry Pi to compile on once I’m back home as I’m out of town as I write this. Cross compiling is really filtering me so hard so I’m going to have to call it here I think.
Other Oddities
Debugging Menus
If we look in that init script at /etc/init.d/S49launcher again, we can see an interesting code snippet:
    if [ `cat sys/devices/platform/gpio-keys/test_mode` == 1 ]; then
        /usr/bin/aplay -q /usr/local/share/minigui/res/music/select_ding_low.wav
	sleep 2
        /usr/bin/PCBA_TEST &
     elif [  -e "/sdcard/game/GBX107_test.txt" ]; then
	/usr/bin/game_test&
    else

    # cd /data/Games/ && ./PacMan

	    dd if="/dev/zero" of="/dev/fb0"

      /usr/bin/game &
It looks like two debug menus can be loaded on startup: One by setting “test_mode” via GPIO, and one via checking for the existence of a file on the SD card.
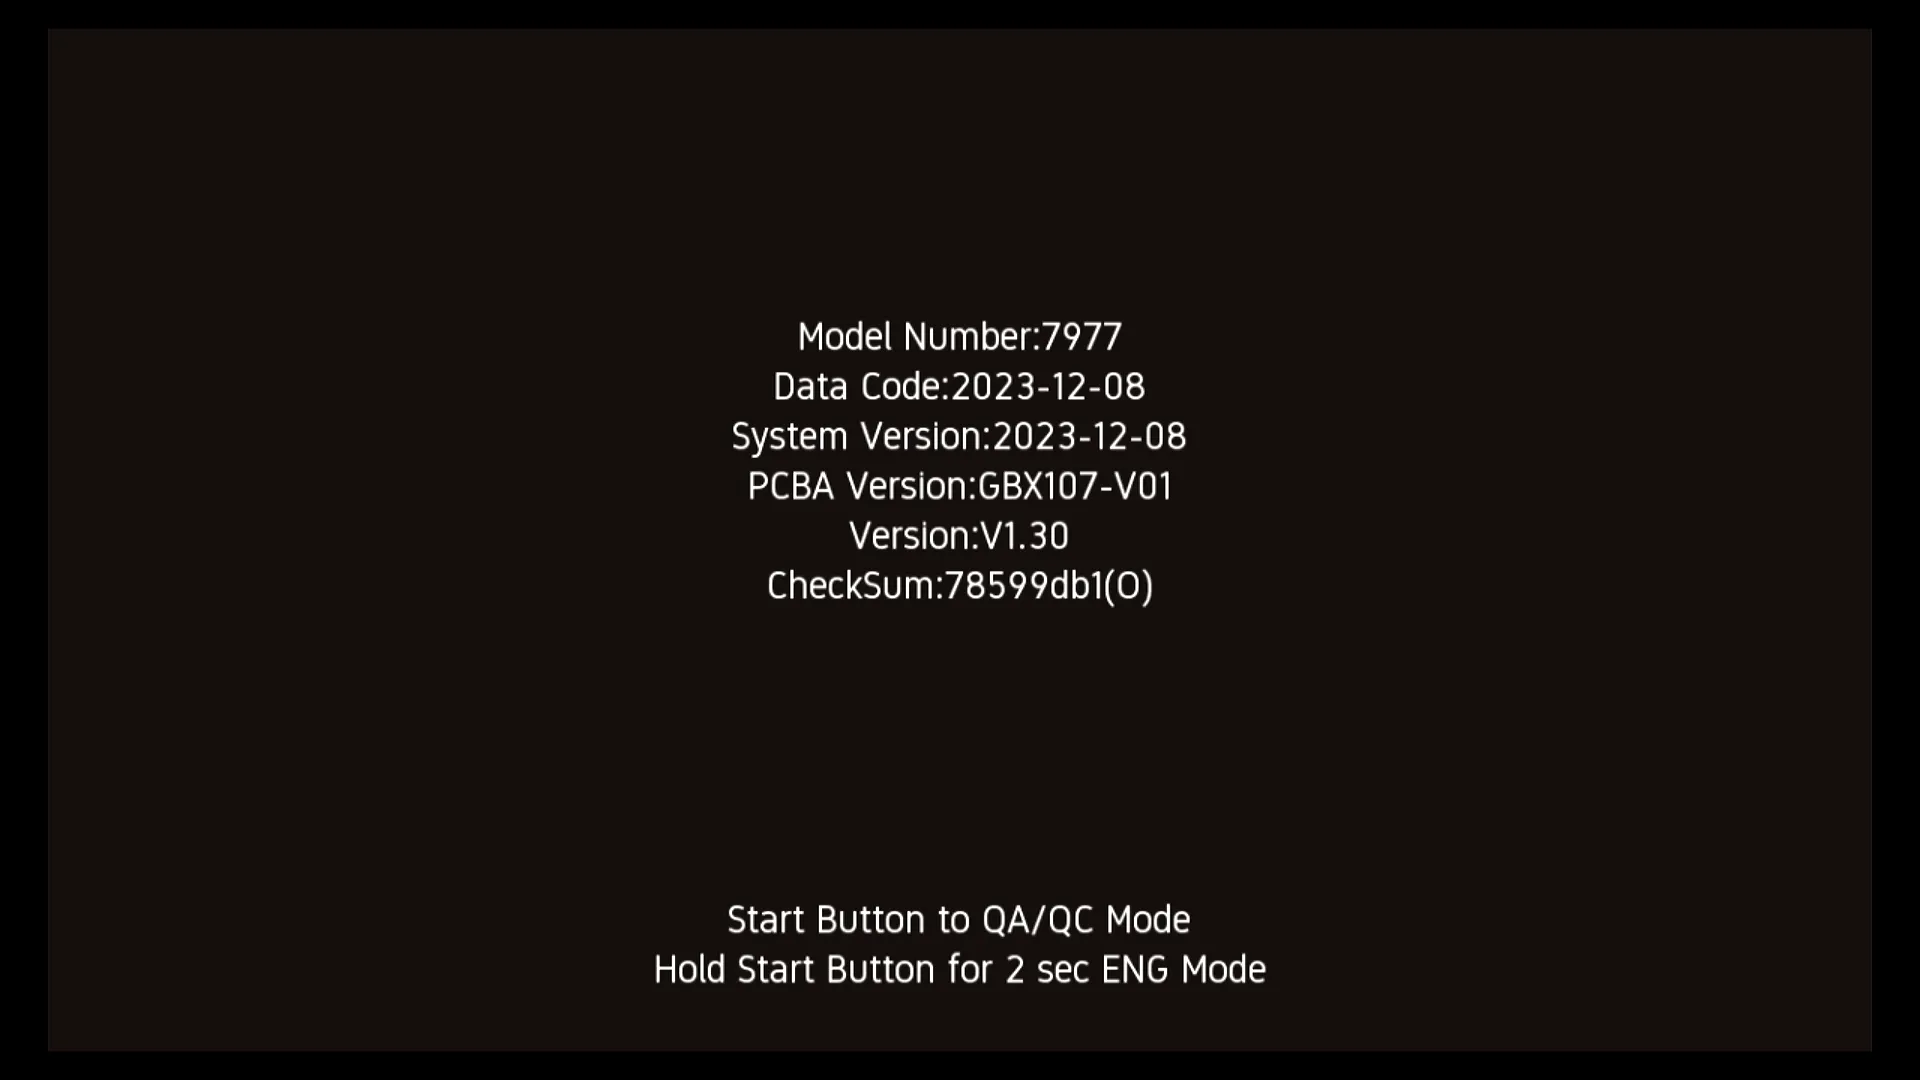
For that first debug menu, I found that the GPIO thing it’s referencing before actually looking into this file too deep. If you hold the home button while powering up the console, you’ll boot into a QA testing menu after hearing a tone that isn’t normally played during boot. You’ll be prompted to hold START (which they actually mislabeled, SELECT works instead) for two seconds to enter “ENG Mode” or to just press the button for “QA Mode”. Some build info is present on this screen like compile times and whatnot.
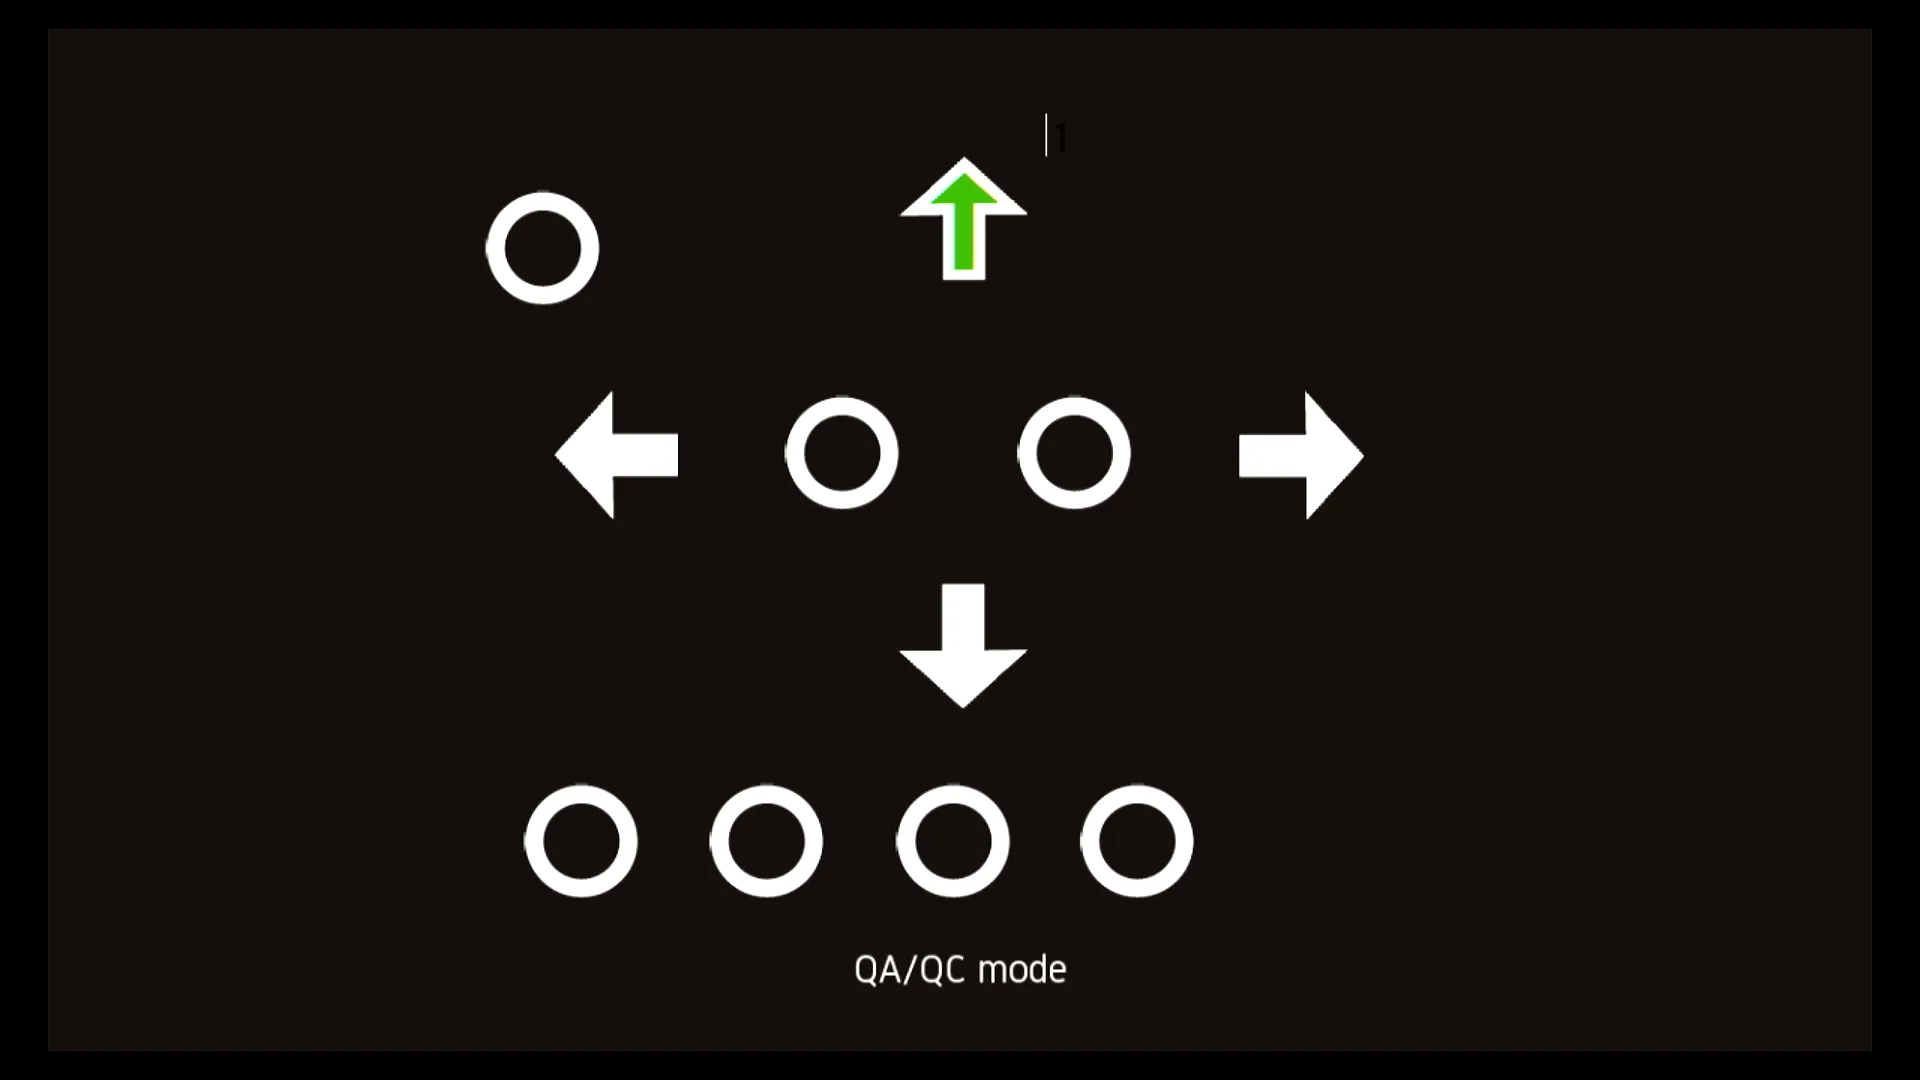
Here’s “QA Mode”. It’ll prompt you to hit each of the inputs, assumably in order to make sure the controllers are not defective. If you miss an input, you’ll get a harsh tone played through the speakers and a “Key Fail” message in red.

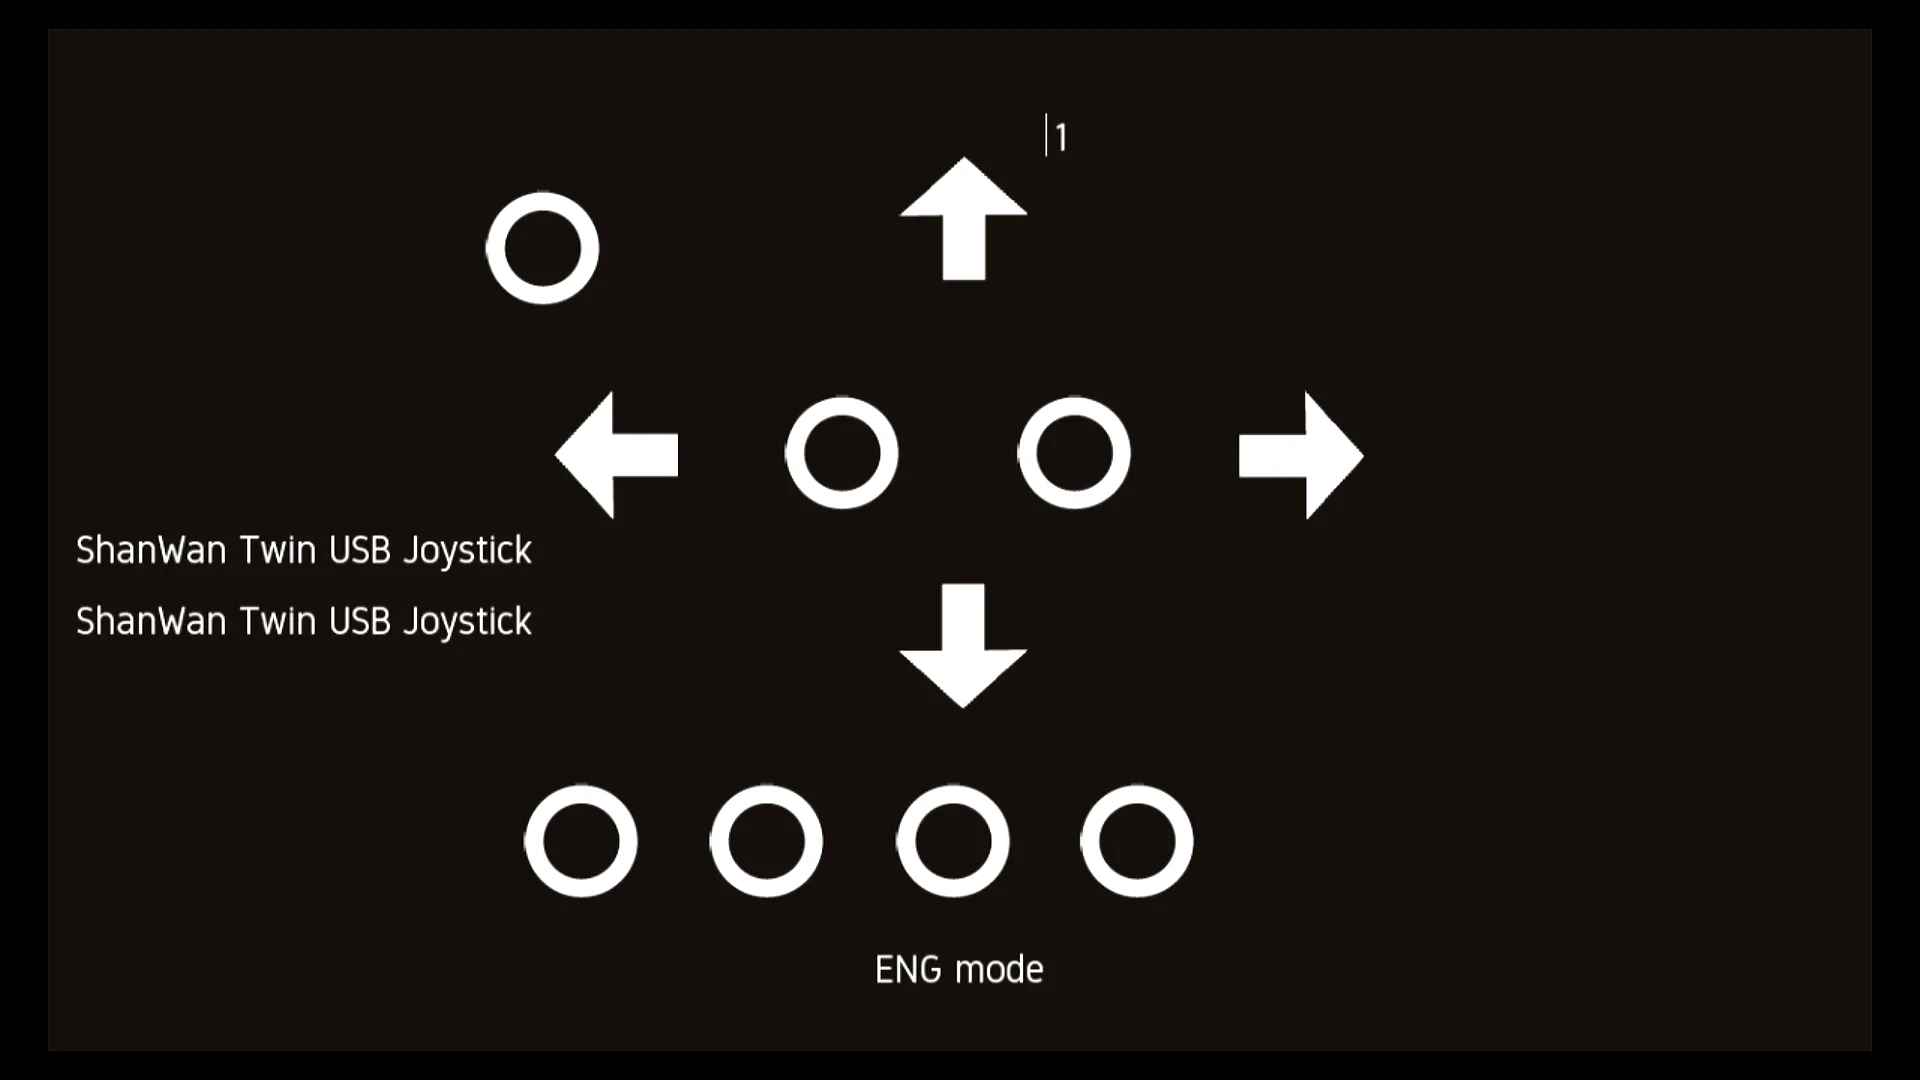
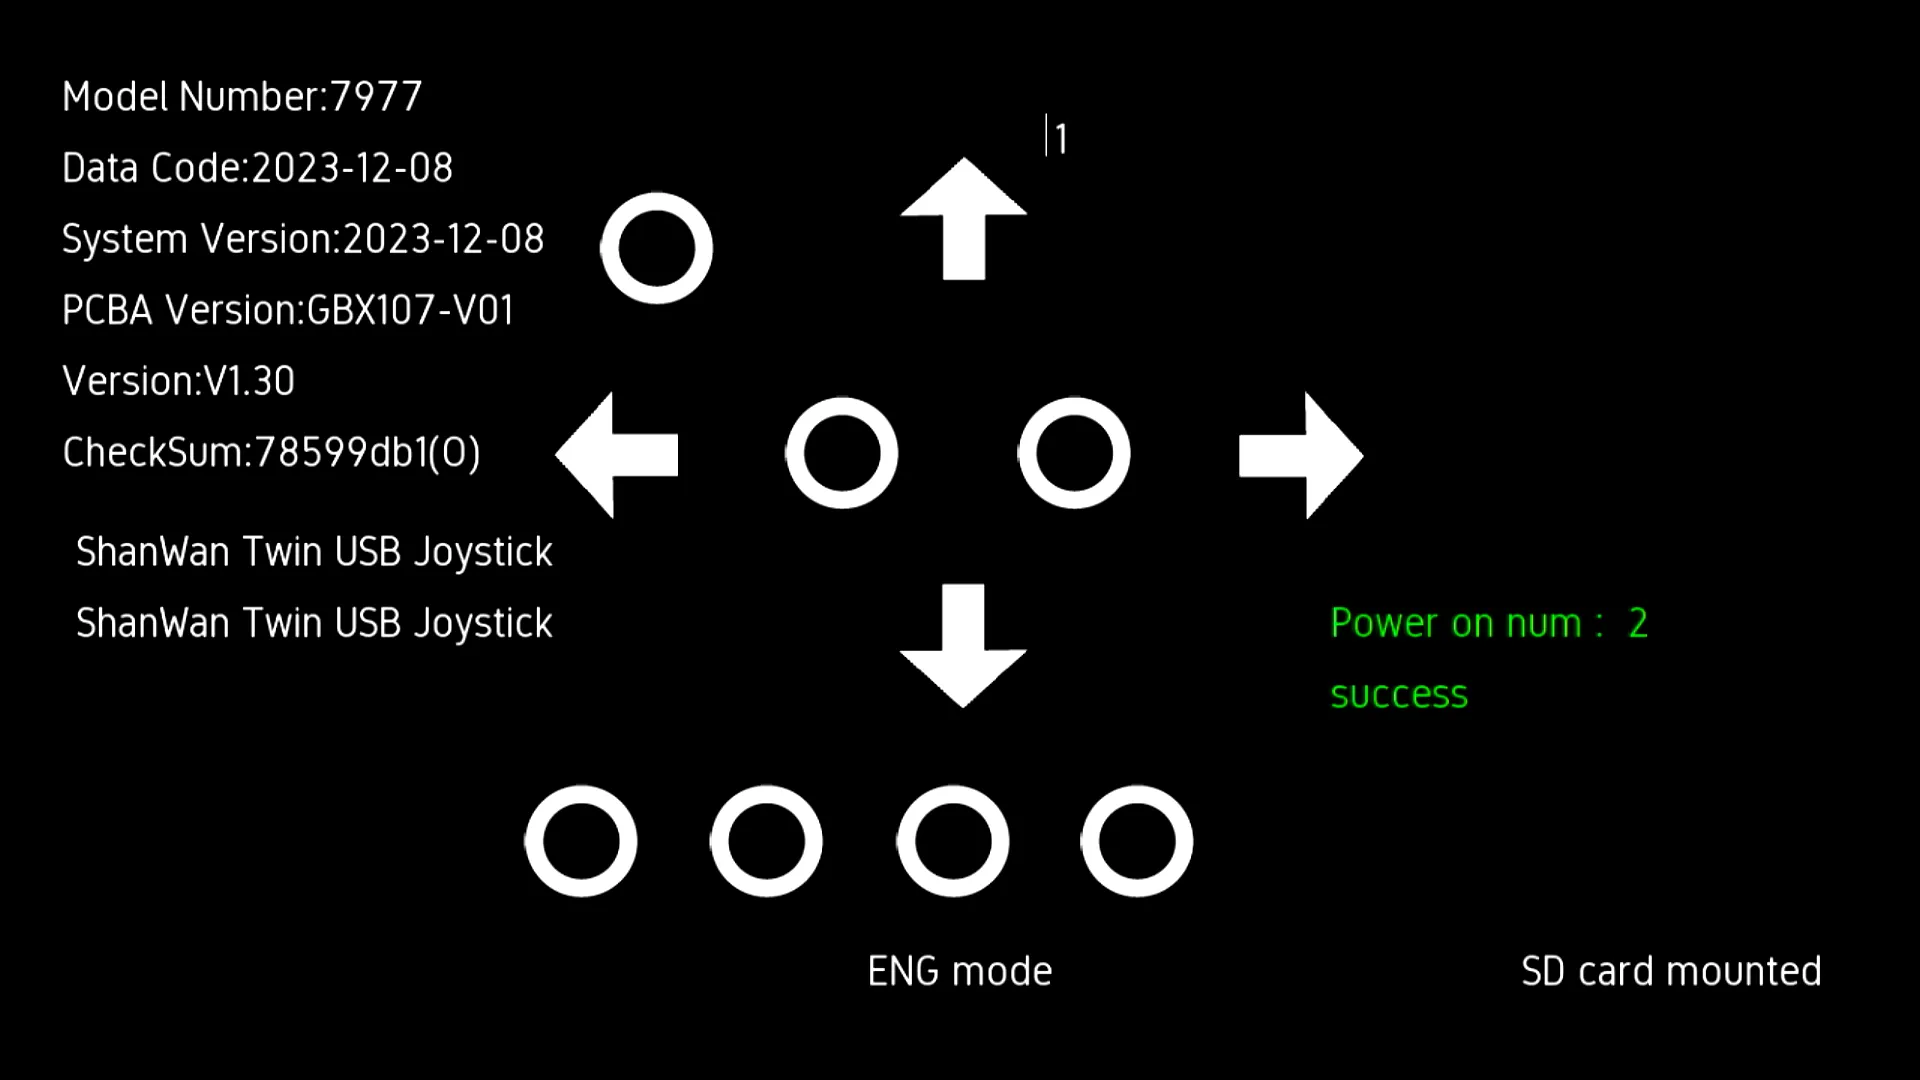
Here’s “ENG Mode”. It’s like “QA Mode” but more of a free roam type deal. You can push any button you want and it’ll display on the screen. There’s also some additional debugging info present.
While in “ENG Mode”, an audio clip of an individual speaking a non-English language will play on loop. This audio clip is followed by what I’d assume is part of a song or jingle. I’ve attached the file below for playback.
As for the second of the two debug menus, the one that searches for a file on the SD card (/sdcard/game/GBX107_test.txt)
simply shows ENG Mode again, but this time with a black background. No log files seem to be placed on the SD card, which I had
hoped would be the case considering this menu is triggered by the existence of a file on an SD card.
Controllers
The controllers are identified as 20bc:5500 ShenZhen ShanWan Technology Co., Ltd. Frostbite controller when connected over USB.
The built-in QA menu corroborates this manufacturer name, listing “ShanWan Twin USB Joystick” in the “ENG mode” menu.
The controllers work just fine as a generic gamepad on Windows. They don’t appear to operate over Bluetooth.
Loading Games via MicroSD
Allegedly, you can load games onto this via MicroSD. There’s no fun in doing that for me, but GenXGrownUp on YouTube has a few videos on that if that’s up your alley. It was quite helpful having that SD card slot to write logs to while attempting (and failing) to port the Mario 64 decomp and N64 cores though.
I’ve found that there’s a udev rule to automatically mount the SD card at /sdcard/. With enough effort, it may
be feasible to modify the rule to push any files on the SD card into the sqlite database that holds game metadata,
but I don’t much care to do that so I won’t.
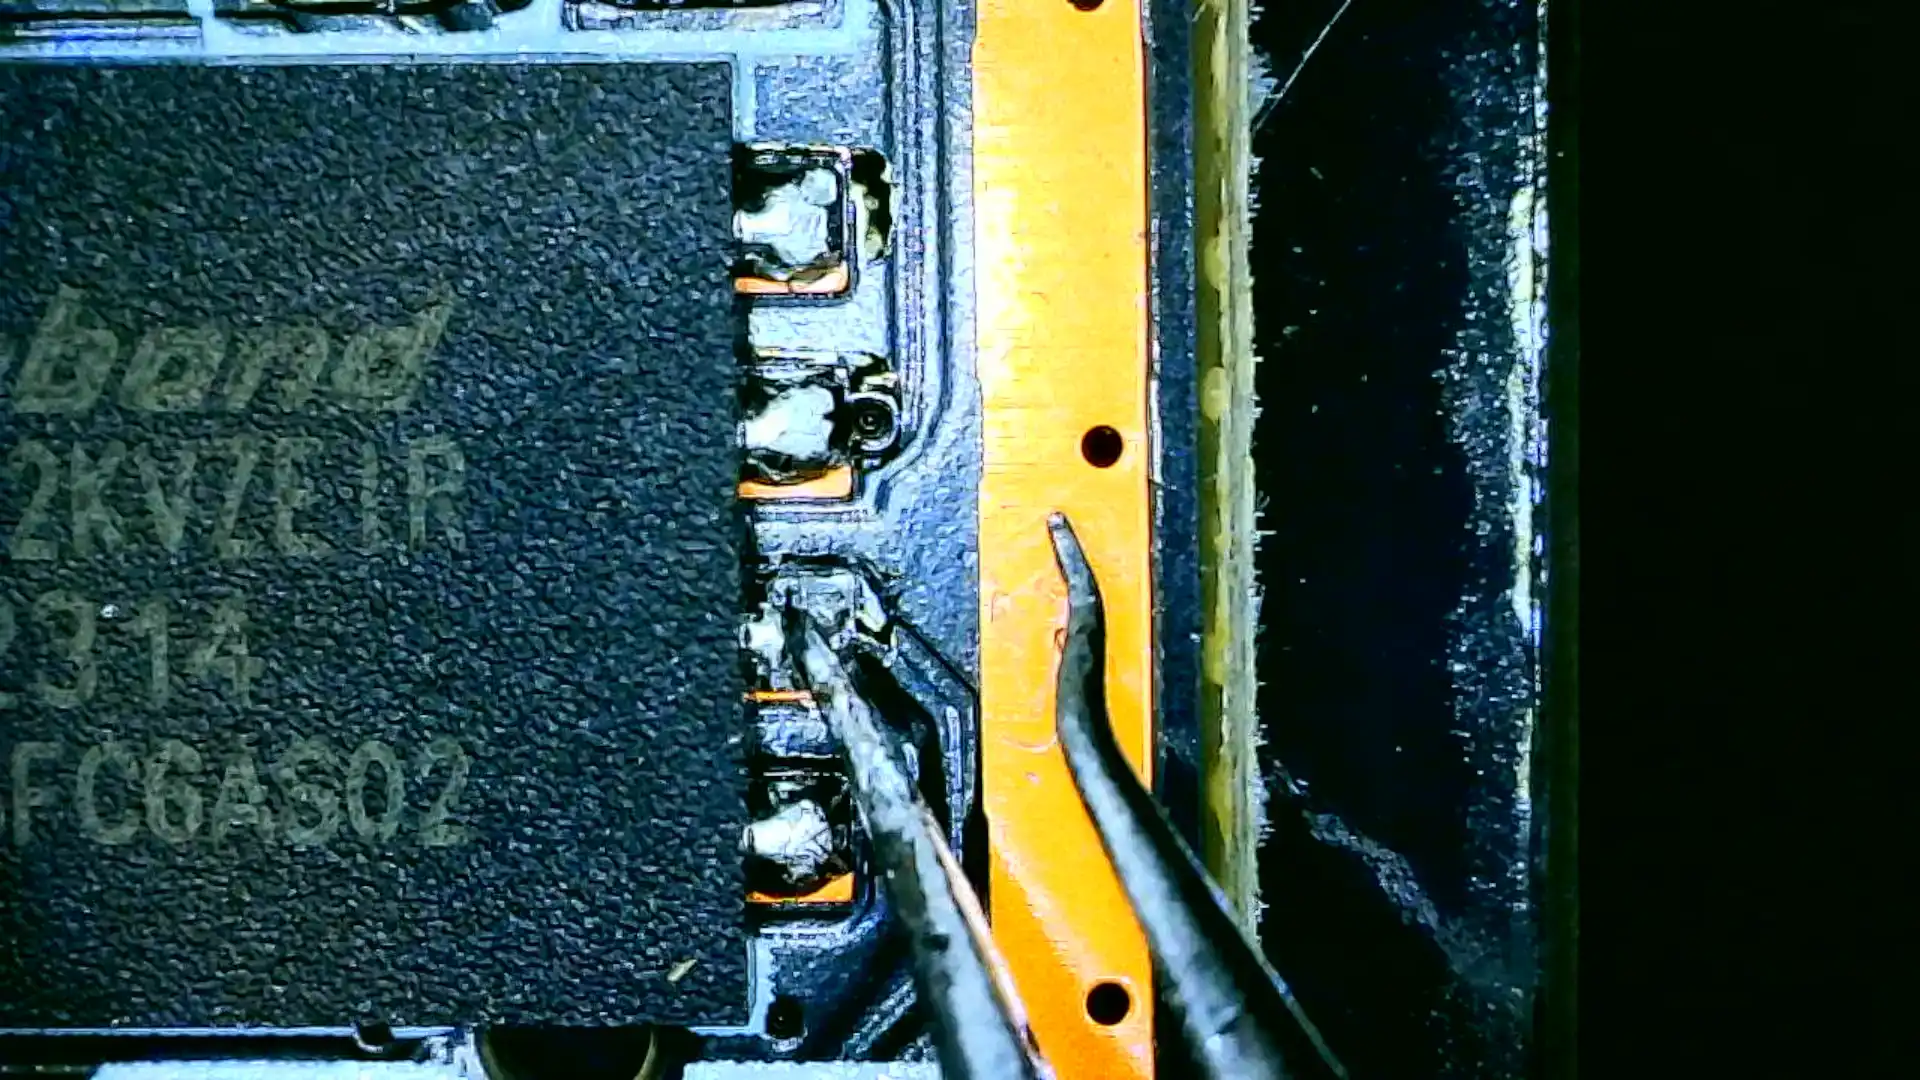
Possible UART TTY Access
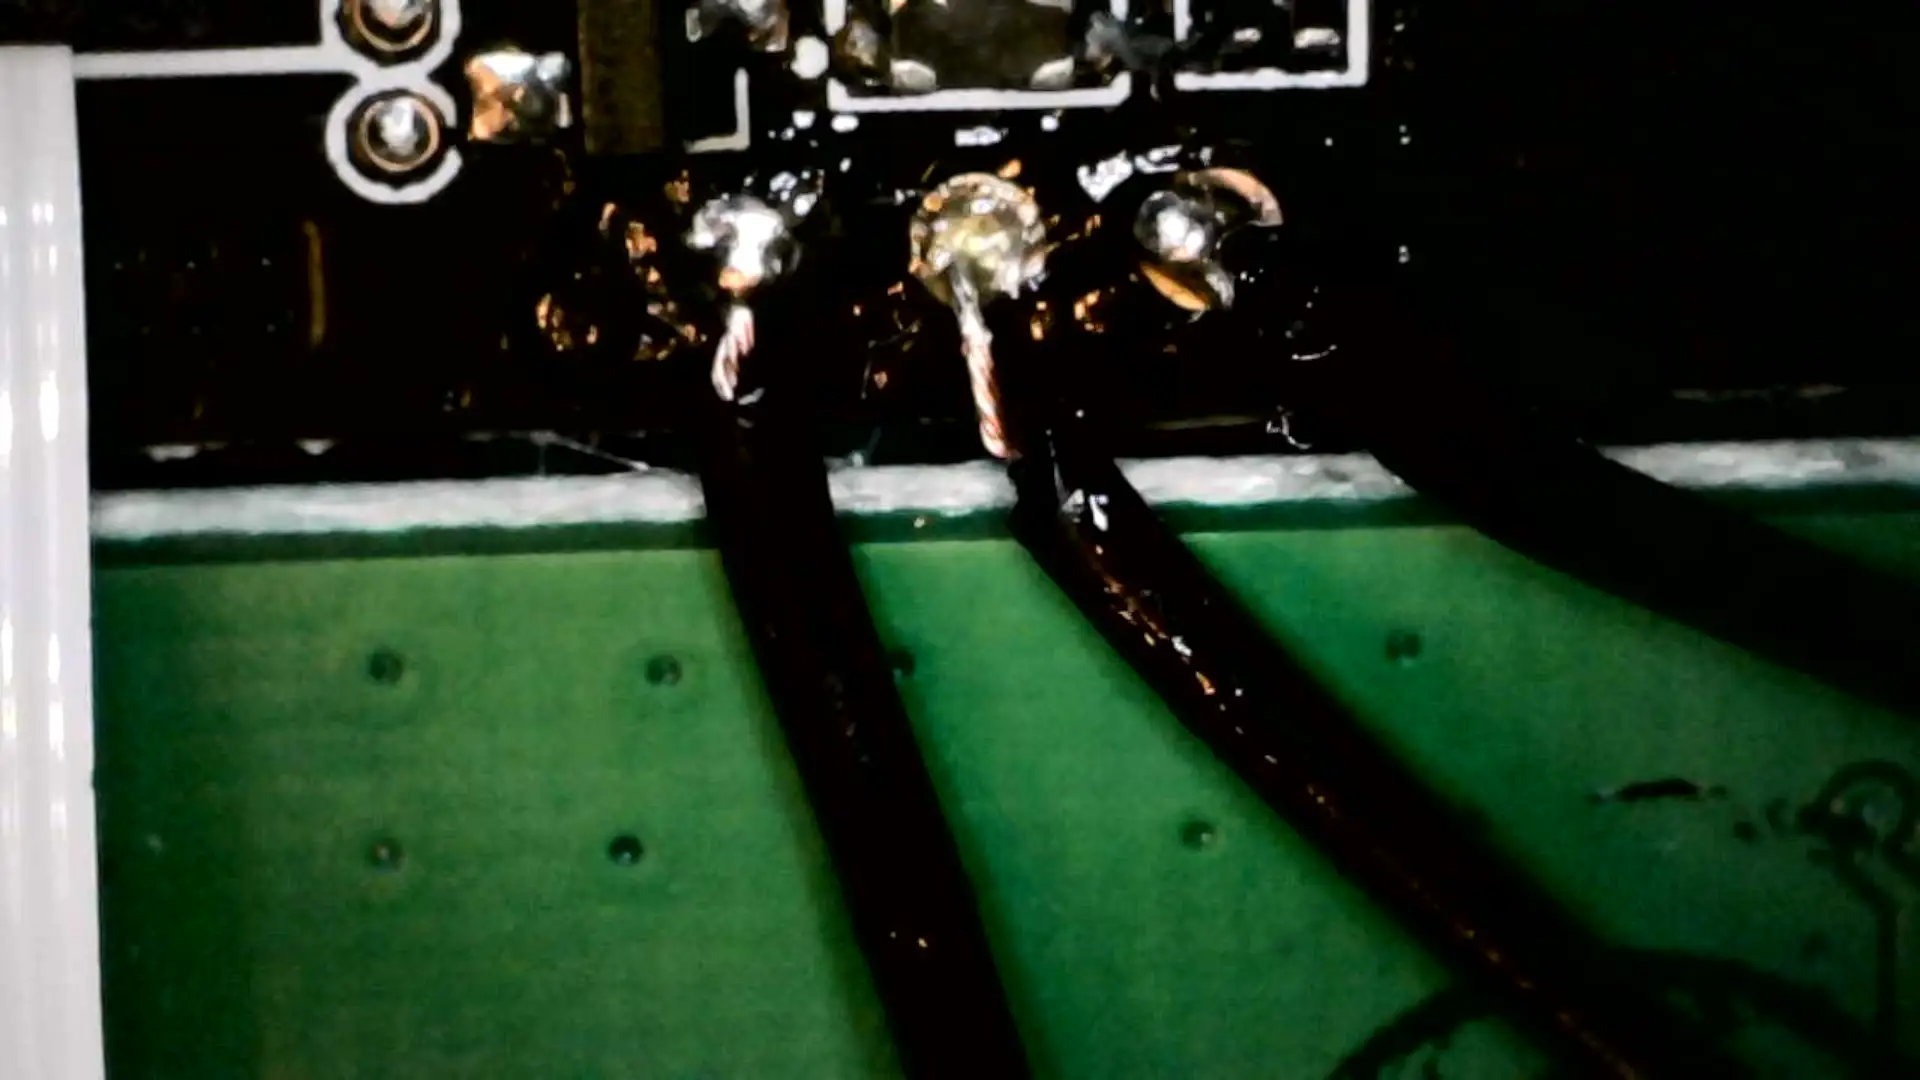
I didn’t much think of it when initially surveying things, but this header exists on the edge of the main board.
However, I also saw this line in /etc/inittab:
# Put a getty on the serial port
#ttyFIQ0::respawn:/sbin/getty -L  ttyFIQ0 0 vt100 # GENERIC_SERIAL
While reviewing this page before publication, I noticed that I had never dug too deep into that header. Thinking back to that line in the inittab file, I looked online for what that header may be. I have reason to believe that this is a UART header. The RK3032 chipset supports UART. Additionally, it appears that ttyFIQ0 is commonly used for UART connections. I don’t have one now, but once I get a chance to head to Microcenter again, I’ll solder to this header and see if I can’t obtain a shell.
Possible FOSS License Violations
I never saw any indication in materials from MyArcade that disclosed the use of GPL licensed material, i.e., Busybox, Linux, Retroarch, FFMPEG, etc. There may also be other things that I missed.
Here’s the license info for each piece of software I identified on the system.
| Software | License |
|---|---|
| MiniGUI (Frontend) | GPLv3 |
| BusyBox | GPLv2 |
| Linux | GPLv2 or something, IDK |
| Retroarch | GPLv3 |
| FFMPEG | LGPLv2.1, some GPLv2+ components |
| ALSA | LGPLv2.1 |
Additionally, here’s the license info for each core distributed on the system.
| Core | License |
|---|---|
| Jungle2003 (MAME 2003) | MAME NonCommercial |
| Jungle2014 (MAME 2014/15) | MAME NonCommercial (Differs from 2003 License!) |
| Jungle2016 (MAME 2016) | GPLv2 |
| a5200 (Atari 5200) | GPLv2 |
| Fceumm (NES/Famicon) | GPLv2 |
| Genesis Plus GX (Sega Genesis/Master System) | Genesis Plus GX NonCommercial |
| Mednafen PCEngine | GPLv2 |
| mGBA (Gameboy Advance) | MPLv2 |
| Prosystem (Atari 7800) | GPLv2 |
| Snes9x (Super Nintendo) | Snes9x NonCommercial |
| Stella (Atari 2600) | GPLv2 |
| Vice (Commodore 64) | GPLv2 |
AtariAge Thread
Near the end of my writeup, I discovered a thread on AtariAge.com discussing the GameStation Pro. Looks as if there are other people dissecting this console online. Of note is that it seems that users there have gotten a pretty good understanding of remapping controller bindings.
Dmesg Output
For you girlies who want to dig deeper into this, here’s the dmesg output I captured using
the SD card. Email me if there’s anything else you’d like to see, use contact (at) 4096kb (dot) gay.
You can also reach out to me on Mastodon if that works better. See my site footer for a link to my profile.
In Closing
I’ve attempted to withhold my opinions on thing up until this point. Generally, I found this console to be quite underwhelming in regards to its intended use. The controllers feel not great to use, there’s fake weight added, and menus feel sluggish and slow. A lack of documentation for features useful for consumers is also enraging. Besides that, though, I just feel like there’s so many odd choices made along the way. The garbage startup animation that unnecessarily extends boot time. Weird, mismatched graphics. Files from a competing company’s product in the root partition. Distributing a firmware update using development tools. It all just strikes me as so sloppy. With proper love put into the creation of this, I’m sure the Gamestation Pro could have been much better, but in implementation, it’s a sloppy, undocumented, license-violating piece of crap.
I’d love to keep working on this device. I’ve marked off points where I intend to keep going with this. Additionally, I have emailed MyArcade in search of source code for GPL-licensed components. I await their response and will update this post if I receive a copy of the source code. I’ll certainly mirror whatever source code I receive on Gitlab if I do hear back favorably.
Jan 27th Update: The UART Header
OK. I purchased a UART serial cable doohickey. Much like cross compiling, this is outside of my usual skillset. Alas, I was ready to start working on the device again. I cracked open the device and soldered on some jumper wires so I could wire up to the headers with ease.
I found that one of the pins had near zero resistance to ground. Logically, this would be our ground pin if this is truly a UART header. Thus, we only need to figure out Tx and Rx. We can try to gain a console, and if we don’t, we’ll flip Tx and Rx and try again!
screen /dev/ttyUSB0 115200
====add lv drivers/mmc/rockchip_dw_mmc.c,rockchip_dwmmc_ofdata_to_platdata,86========
====add lv drivers/mmc/rockchip_dw_mmc.c,rockchip_dwmmc_probe,215========
====add lv drivers/mmc/rockchip_dw_mmc.c,rockchip_dwmmc_ofdata_to_platdata,86========
====add lv drivers/mmc/rockchip_dw_mmc.c,rockchip_dwmmc_probe,215========
dwmmc@1021c000: 0, dwmmc@10214000: 1
Card did not respond to voltage select!
mmc_init: -95, time 9
Card did not respond to voltage select!
mmc_init: -95, time 9
Unknown command 'mtd_blk' - try 'help'
Unknown command 'mtd_blk' - try 'help'
Unknown command 'mtd_blk' - try 'help'

Device 0: unknown device

Device 0: sfc nor id: ff ef aa
ret -1
sfc_nand id: ef aa 22
SFTL version: 5.0.55 20200925
Vendor: 0x0308 Rev: V1.00 Prod: rkflash-SpiNand
            Type: Hard Disk
            Capacity: 230.0 MB = 0.2 GB (471040 x 512)
... is now current device
Bootdev: spinand 0
PartType: EFI
rockchip_get_boot_mode: Could not found misc partition
boot mode: None
Found DTB in boot part
DTB: rk-kernel.dtb
HASH: OK(s)
Hotkey: ctrl+`
Model: Rockchip RK3032 Dongle
CLK: (uboot. arm: enter 600000 KHz, init 600000 KHz, kernel 0N/A)
  apll 600000 KHz
  dpll 912000 KHz
  gpll 24000 KHz
Net:   Net Initialization Skipped
No ethernet found.
Hit key to stop autoboot('CTRL+C'):  0
Could not find misc partition
ANDROID: reboot reason: "(none)"
Fdt Ramdisk skip relocation
Booting ZIMAGE kernel at 0x62000000(Uncompress to 0x60000000) with fdt at 0x68300000...


## Booting Android Image at 0x61fff800 ...
Kernel load addr 0x62000000 size 4263 KiB
## Flattened Device Tree blob at 68300000
   Booting using the fdt blob at 0x68300000
   XIP Kernel Image ... OK
   Using Device Tree in place at 68300000, end 68308de7
Adding bank: 0x60000000 - 0x70000000 (size: 0x10000000)
Total: 766.238 ms

Starting kernel ...
Wonderful, we’ve got… some output. It looks like we get output from UBoot but not Linux. Unfortunately, the output stops right after the kernel is started. Before moving on, though, here’s a diagram of the pinout that ultimately worked with my UART cable thing.

One bit of this output caught my attention, Hit key to stop autoboot('CTRL+C'): 0. It looks like there’s a timeout
before boot continues but the timeout is set to zero. Alas, I still wanted to try it. I turned the Gamestation Pro
off, held CTRL + C, then turned the console back on. Fortunately, this worked! I was met with a UBoot shell… thing.
Still not quite there with my terminology.
I started poking around in this shell and eventually came across the device tree. Upon further research,
this is what informs the kernel on what hardware is available. I ended up using fdt print to print
the entire tree and skimmed through it. This section was of interest:
serial@20060000 {
        compatible = "rockchip,rk3036-uart", "snps,dw-apb-uart";
        reg = <0x20060000 0x00000100>;
        interrupts = <0x00000000 0x00000014 0x00000004>;
        reg-shift = <0x00000002>;
        reg-io-width = <0x00000004>;
        clock-frequency = <0x016e3600>;
        clocks = <0x00000002 0x0000004d 0x00000002 0x00000155>;
        clock-names = "baudclk", "apb_pclk";
        pinctrl-names = "default";
        pinctrl-0 = <0x00000022>;
        status = "disabled";
        phandle = <0x00000045>;
};
Well shit, status = "disabled"? That’s not what we want, is it? Another parameter for fdt was the set
option, so I set the status as okay in line with other device trees I saw online using the command
fdt set serial0 status okay. This time, if we attempt to boot using the aptly-named boot command,
we see the following:
Could not find misc partition
ANDROID: reboot reason: "(none)"
Fdt Ramdisk skip relocation
Booting ZIMAGE kernel at 0x62000000(Uncompress to 0x60000000) with fdt at 0x68300000...


## Booting Android Image at 0x61fff800 ...
Kernel load addr 0x62000000 size 4263 KiB
## Flattened Device Tree blob at 68300000
   Booting using the fdt blob at 0x68300000
   XIP Kernel Image ... OK
   Using Device Tree in place at 68300000, end 68308de7
Adding bank: 0x60000000 - 0x70000000 (size: 0x10000000)
Total: 351928.86 ms

Starting kernel ...

[    0.000000] Booting Linux on physical CPU 0xf00
[    0.000000] Linux version 4.4.194 (sunchip@sunchip-PowerEdge-R740) (gcc version 6.3.1 20170404 (Linaro GCC 6.3-2017.05) ) #5148 SMP Fri Dec 8 14:45:50 CST 2023
[    0.000000] CPU: ARMv7 Processor [410fc075] revision 5 (ARMv7), cr=10c5387d
[    0.000000] CPU: PIPT / VIPT nonaliasing data cache, VIPT aliasing instruction cache
[    0.000000] Machine model: Rockchip RK3032 Dongle
[    0.000000] cma: Reserved 4 MiB at 0x6fc00000
[    0.000000] Memory policy: Data cache writealloc
[    0.000000] PERCPU: Embedded 13 pages/cpu @cf9c9000 s24216 r8192 d20840 u53248
[    0.000000] Built 1 zonelists in Zone order, mobility grouping on.  Total pages: 65024
[    0.000000] Kernel command line: storagemedia=nand androidboot.storagemedia=nand androidboot.mode=normal  androidboot.slot_suffix= androidboot.serialno=c3d9b8674f4b94f6  rw rootwait console=ttyS0,115200 root=PARTUUID=614e0000-0000 rootfstype=squashfs
Yes! We’ve got serial output for Linux now!
I ended up having some trouble with the shell dropping characters seemingly at random
after obtaining a root shell. The fix for this was to modify my /etc/inittab as
follows:
...
# now run any rc scripts
#::respawn:-/bin/sh # This line was originally uncommented. Commenting it fixes missed inputs over TTY
::sysinit:/etc/init.d/rcS

# Put a getty on the serial port
#ttyFIQ0::respawn:/sbin/getty -L  ttyFIQ0 0 vt100 # This was commented out by default.
ttyS0::respawn:/sbin/getty ttyS0 115200 vt100     # My addition
...
We also need to set a root password since we don’t know the current one.
I thus modified /etc/shadow and inserted a new password hash.
We can generate a new hash like so:
openssl passwd -1 password
$1$.s505in1$yAKAu9qmZRsB3RLGPJP1y.
One hiccup here though is that the UBoot shell needs to be accessed every boot in order to turn on the serial port. Settings are not saved across boots. I decided to try to edit the device tree directly by modifying the system firmware image in HxD. Unfortunately, I found after changing the device tree that the system failed to boot, stating that a checksum on the device tree failed. It seems we’ll have to rebuild UBoot entirely in order to get the device tree modified.
Jan 27th Update: Mailing MyArcade
Unfortunately, I’ve yet to receive any word back from my email to MyArcade on the source code for this device. I emailed on the second and as I write this it’s the 27th. Thus, on the 16th of the month, I sent them a letter via snail mail. Here’s a copy of what I wrote with my contact details redacted.